How the Right Light Can Make ANYONE Look Beautiful (Portrait Photo Tips)
Last Updated: February 14th, 2020
Growing up, I can remember not feeling like the most attractive person on the planet on plenty of occasions from puberty into adulthood. These types of feelings are extremely common in people around the world. We can point to things like celebrity culture, fashion magazines, and glorified “beautiful people” shown in TV and movie productions to play a big role. Even more than that, many ads we’re exposed to are for products meant to help us look better – makeups, fashionable clothing, anti-aging creams, and more.
Over time, I’ve come to be more accepting of myself. I generally consider myself “average” in appearance – mostly because I feel like I look really good one day, then maybe not so hot the next. I’d like to think a lot of people hit a point in life where they feel the same, but the truth is many people do continue to suffer from self-esteem troubles, anxiety, and even worse as a result of just not feeling good about the skin they are in.
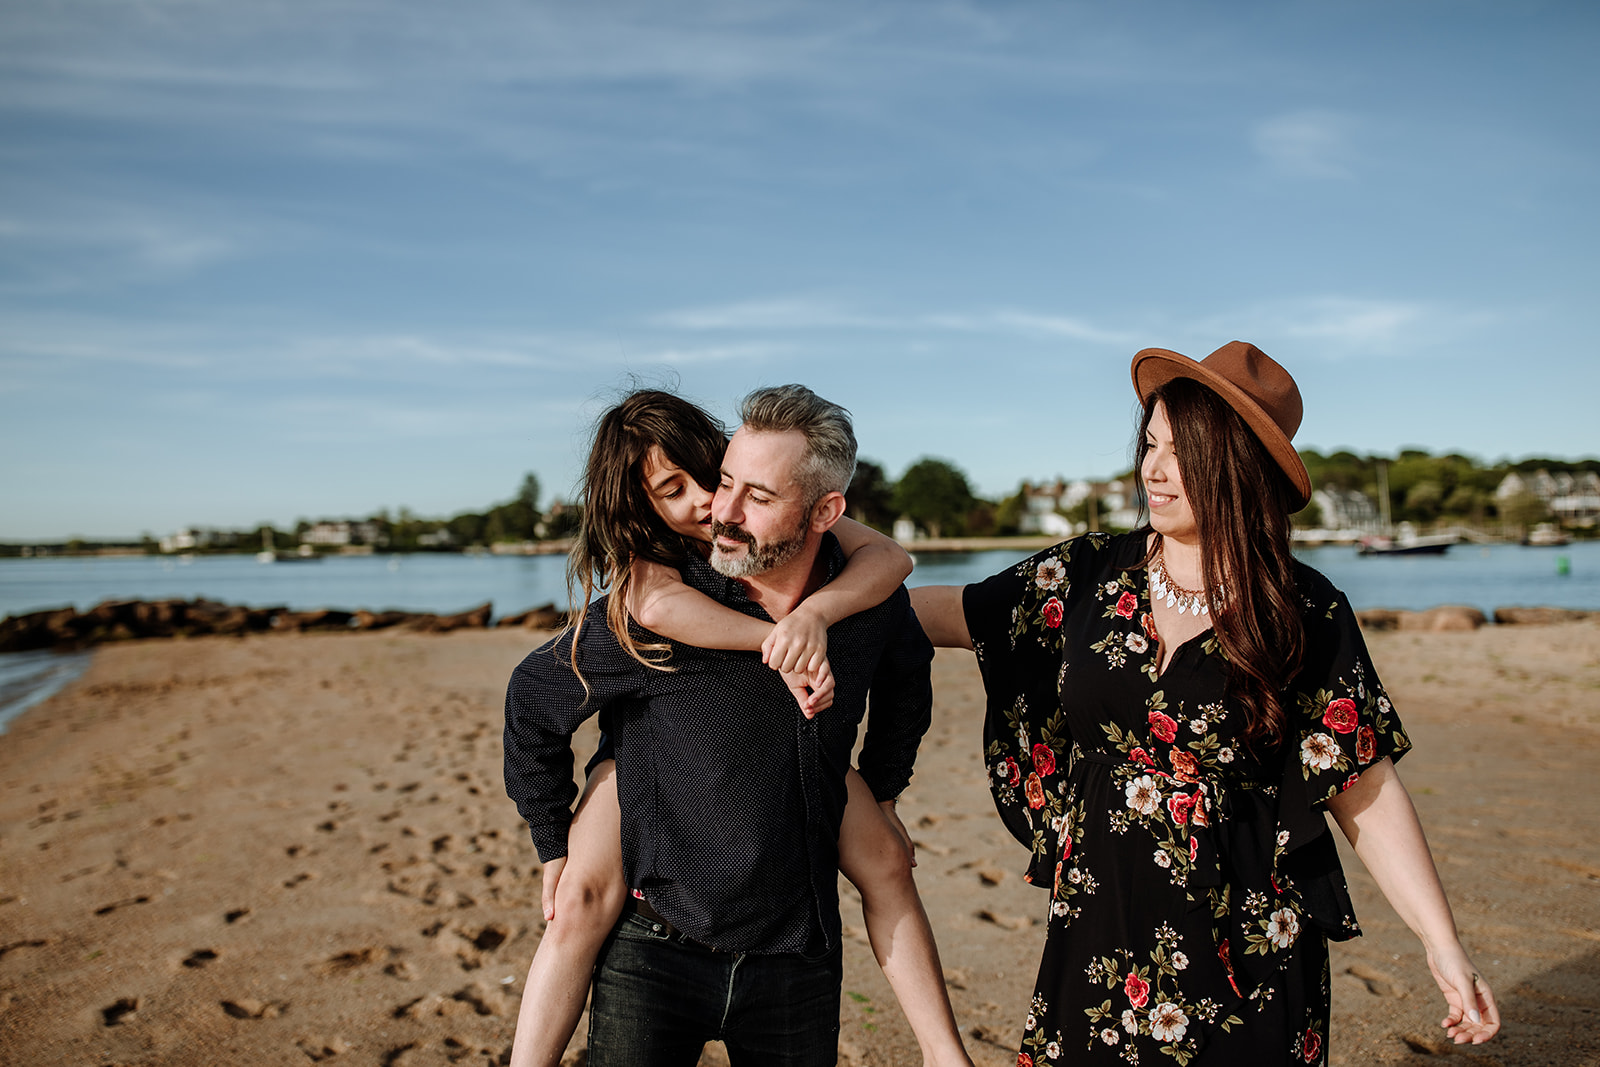
Over the past few years, my wife and I have taken to photographing many people – all having their own characteristics. Solo portraits, photos of couples for their engagements and weddings, and even big families – we’ve seen and shot them all.
One aspect of portrait photography that often goes neglected, especially when being talked about on photography education websites like this, is just how much of a role photography plays into the self-esteem of a person in front of the camera.
From Selfies to Professional Portraits
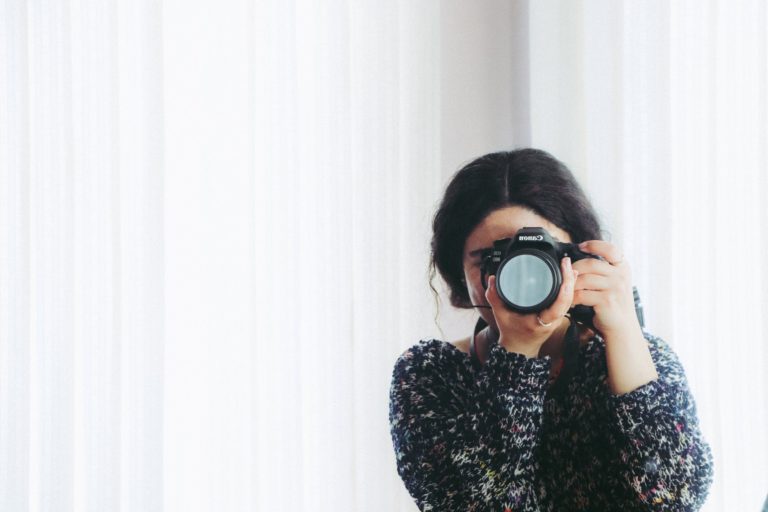
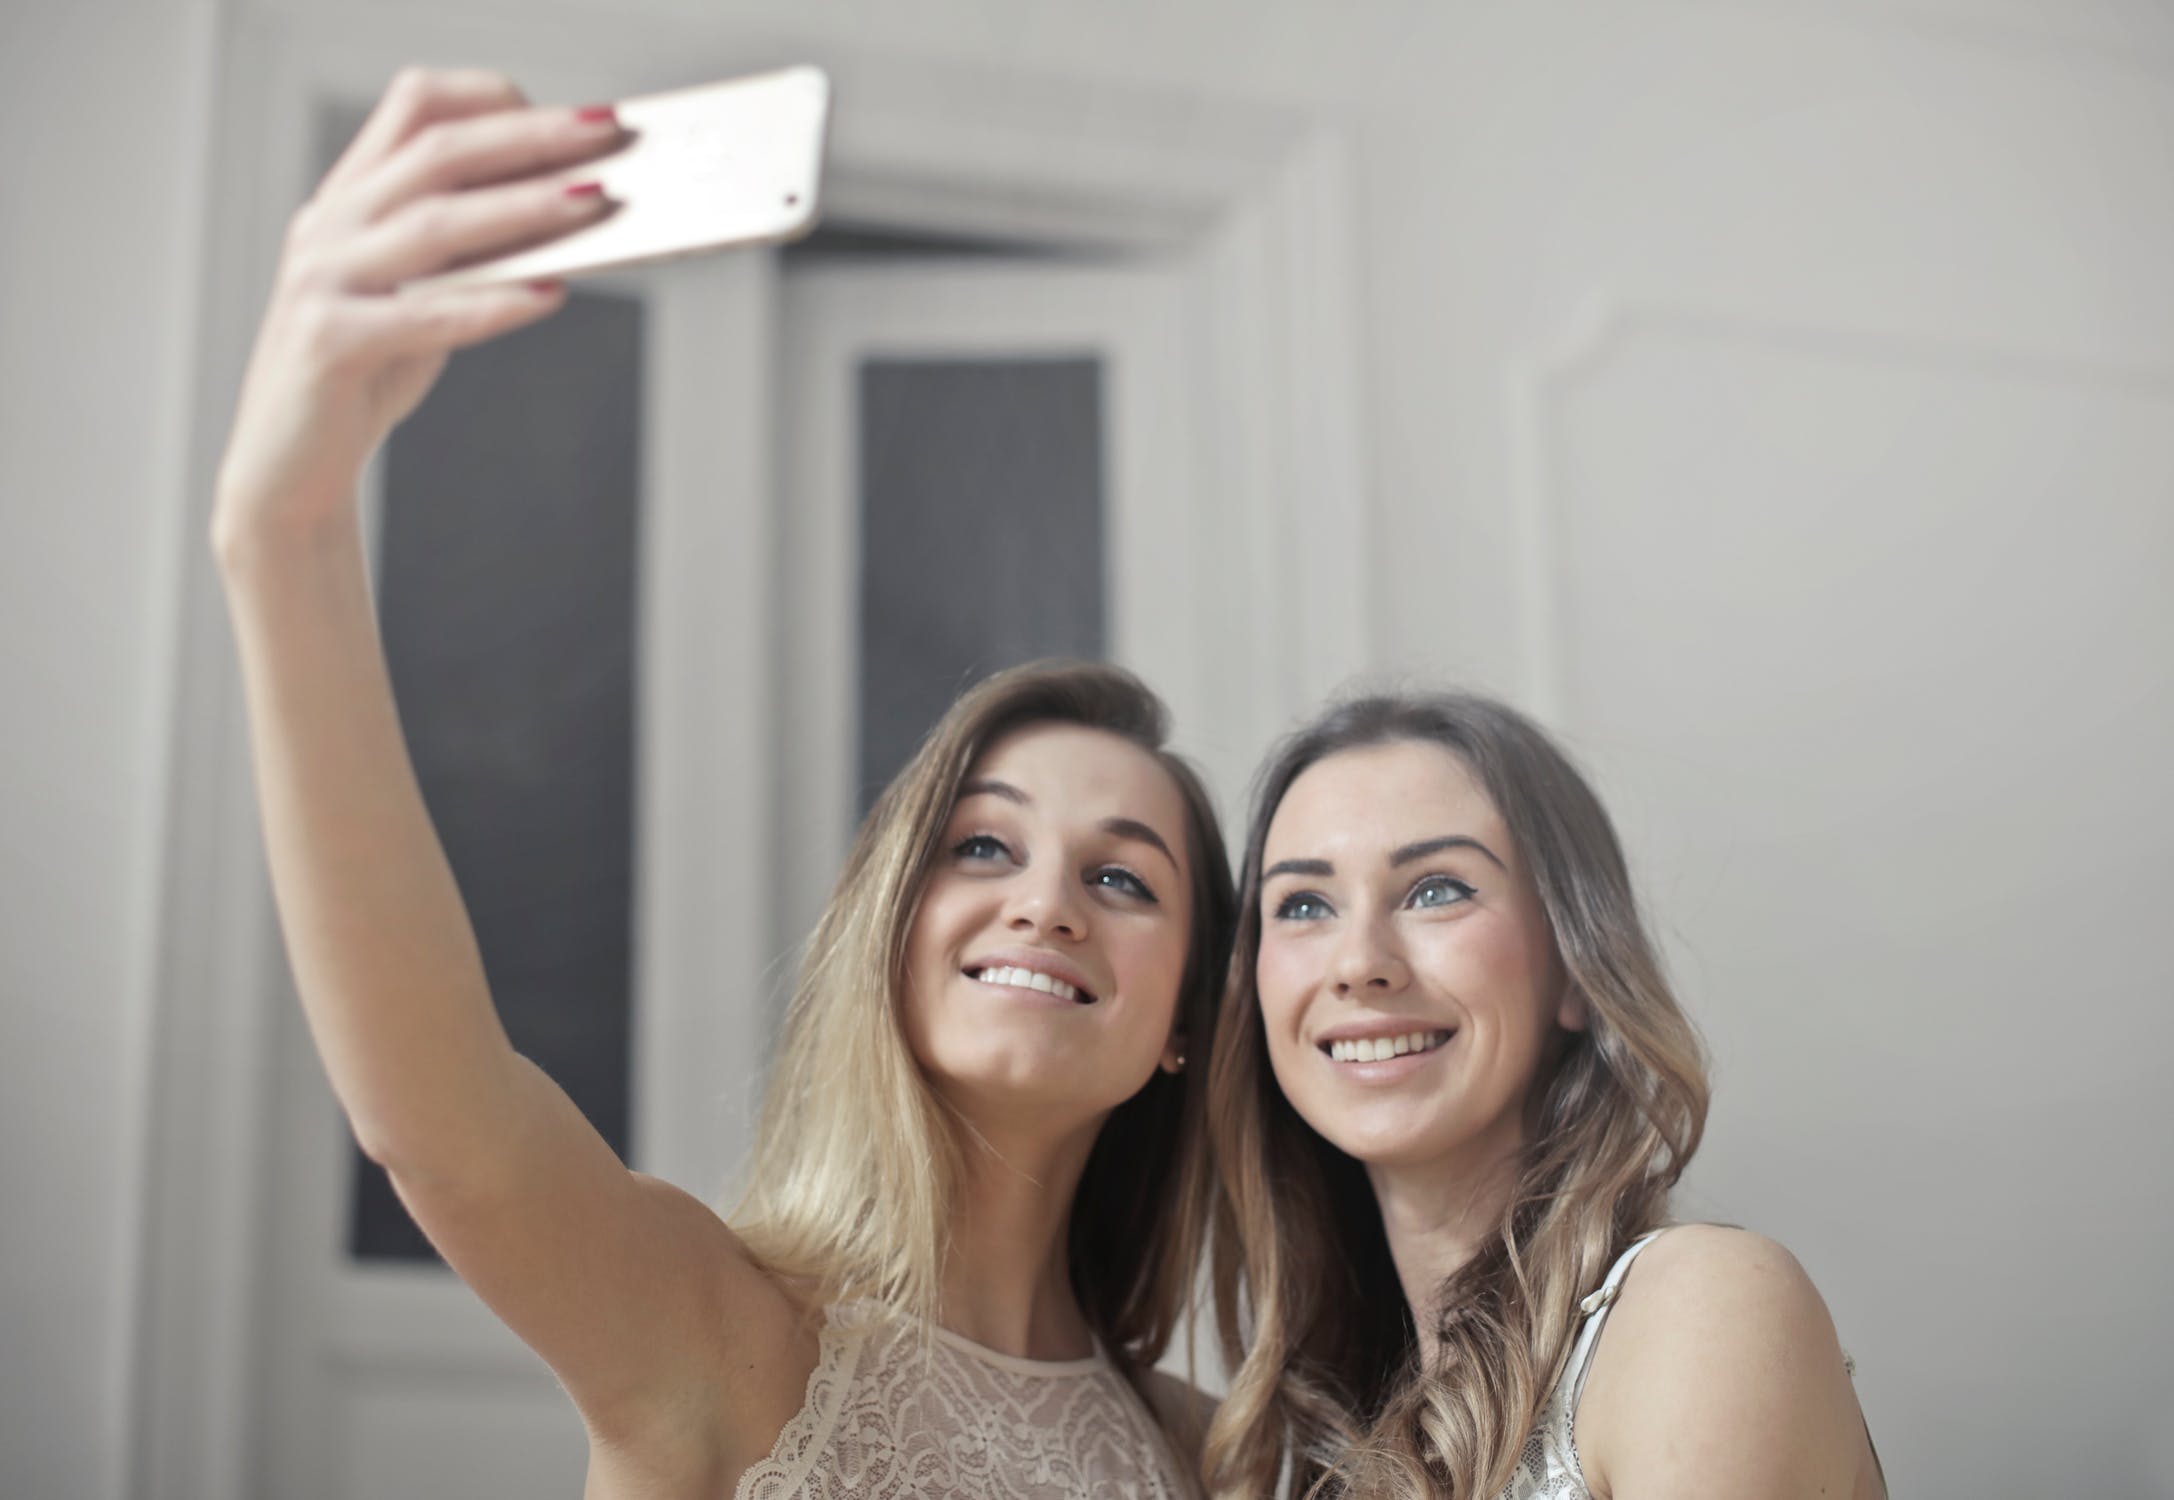 There are an estimated 93 million selfies taken every day based on this Adweek infographic. Selfies are, by their very nature, portraits we take of ourselves. While some of these might include documenting ourselves being at special places (like on vacation, at a wedding, etc.), more than enough are comprised of people at home wanting to just see how they look in a photo. Why they want to do this in a bathroom mirror with a toilet in plain view is beyond me! 🙂
Sometimes, these selfies we take of ourselves either do us a lot of justice thanks to good knowledge of camera angles and the right lighting, and other times these photos can be just as self-destructive when they show us looking less than appealing. Why would anyone want to be around me if I don’t look insanely attractive??
There are plenty of conversations going on that talk about how selfie culture is being fueled by narcissism, but it may just be the case that people want to feel better about themselves by seeing a good picture representing them. In other words: they want to be seen in a good light.
Why Good Portraits Matter
 Trust me, I’ll be getting into how to take beautiful portraits in a minute, but I want to continue laying the foundation, so you can clearly understand why good portraits matter.
So…why do they?
“Good portraits” can be broadly defined as images that both a photographer (the “creator”) and a subject are happy with.
Happiness is a subjective word, but a few key attributes we can look at…
- Is the image good from a technical standpoint?
- Or – does the portrait fulfill the artistic intention of the photographer?
- Does the image have a sufficient quality for the type of use it will receive?
- Does the image provide a better than average look at the subject?
- Is the portrait highlighting blemishes (like an acne breakout) and other characteristics the subject might feel anxious and even shameful about, or does it minimize the impact of these things?
- What did the subject want from the photo before having their shoot?
- And did the photographer help set expectations to fulfill them effectively?
Ultimately – portraits are usually used for 2 types of reasons:
- As a living document of a person. They might be placed around a family room or something similar. Mostly, these are photos used for personal use.
- To be a representation of a person to an audience. I’d argue that most portraits are used in this way. Whether they are just posted all over social media or included with a resume for a new job, many people are using portraits to showcase themselves to an audience. The audience might be friends & family, or it could be people they don’t know online, potential dates on dating websites, potential new colleagues via LinkedIn and other sources, etc.
I am highlighting all of these things because the reasons for having a portrait taken are vast. Keeping in mind why portraits are being desired in the first place can help a photographer to make sure they are taking the best possible photos.
How Light Shapes Beautiful Images of People
Getting it out of the way right now – yes, photography is a subjective art form. You may not agree with everything I have to say here, but it’s worth noting that my expertise is realized by a consistently booked calendar of people wanting my wife & I to take their photos. While the way we do things is not the only “right” way, it is a method that leaves people happy with the results of their images. Take from that what you will as I guide you through this photography lighting tutorial!
Natural Light vs. Artificial Light
Let me define these terms really quick…
Natural light is the light produced by the sun. Most photographers would argue natural light is the best type of light.
Artificial light is any light source that is man-made. The trouble with artificial light is that it comes in many different forms. It ranges from really harsh blue fluorescent light you might find in an office space, warm mood lights on an outdoor patio, and even includes studio flashes, speedlights, video lights, and so on.
In my experience, natural light tends to be the “easiest” light to work with. This is because you can actually see the impact the light has on a person with your eyes very easily, and what you are seeing ends up being reflected pretty accurately by the camera.
Artificial light is much more challenging at times. This is especially true for beginner photographers. There are many things that make it tougher – but 3 immediately come to mind:
- A lot of ambient lighting has unwanted color casts (like cool blues and really warm oranges). This ends up impacting a person’s skin tone pretty significantly. These color casts go beyond just the color that mixes into the skin, but the color mixed into shadows/highlights and color conflicts with other things in the environment.
- It can be difficult, at times, to judge how much light is actually being projected onto a person. I’ve taken portraits by the ambient light that, to my naked eye, seemed pretty significant – but then I’ve ended up raising my ISO so high that it made photos really grainy and virtually unusable. Unlike sun light, ambient light can be trickier to understand how much it’s really illuminating things in the environment.
- With flash – photographers can struggle to understand how exactly it is working and how to adjust their settings because we only see the result after a photo is taken. Unlike natural light where we have a good idea of how a person is being lit, flash photography is infinitely more complex because it’s not always clear how they will be illuminated. As with most things here, experience definitely helps to eliminate the challenge.
The good news in all of this is: beautiful portraits can be taken both in natural and artificial light environments. Some photographers may even mix the two to amazing results.
For those of you just getting started in portrait photography, working with natural light is going to being much, much easier. But, do not let that turn you away from squaring up with the (often fun, sometimes frustrating) challenge of working with flash and other light sources. I have so many gorgeous photos in my portfolio that incorporate flash or other types of light, it would be terrible to suggest you shouldn’t give it a try!
Harsh Light vs. Soft Light
Harsh light is bright and directional lighting that produces strong shadows and well defined lines. In natural lighting outdoors, it is the type of light you would most often experience during the middle of the day.
Soft light is more evenly distributed and diffused. This type of light is more readily available in the shade, on overcast and cloudy days, and regularly on a daily basis during Golden Hour.
While there is no arguing that some portrait photographers can make harsh lighting work – and frankly it works especially well for fashion portraits because the quality of light can help to accentuate a models features – for most people, portraits benefit strongly from soft lighting.
The popularity of the soft light modifier market in the photography industry paired with photographer portfolios made up of images taken during Golden Hour would suggest that many photographers feel the same way. I mean, there is a reason we ended up buying a Gary Fong Lightsphere to go on our flashes – to help diffuse and disperse the light in a more flattering way so people no longer would have that “deer in the headlights” look.
The key benefits of shooting portraits in soft light include…
- It’s very easy to get great results (even for beginners)
- Your camera gear will be less limited – even a beginner camera can take great photos in these types of environments
- Because soft light is evenly distributed, it can disguise some blemishes, aging lines, and similar things people feel self-conscious about
- It is (generally) easier to find shooting spaces that are also evenly lit – meaning less photos with blown out highlights (ie: bright white skies and such)
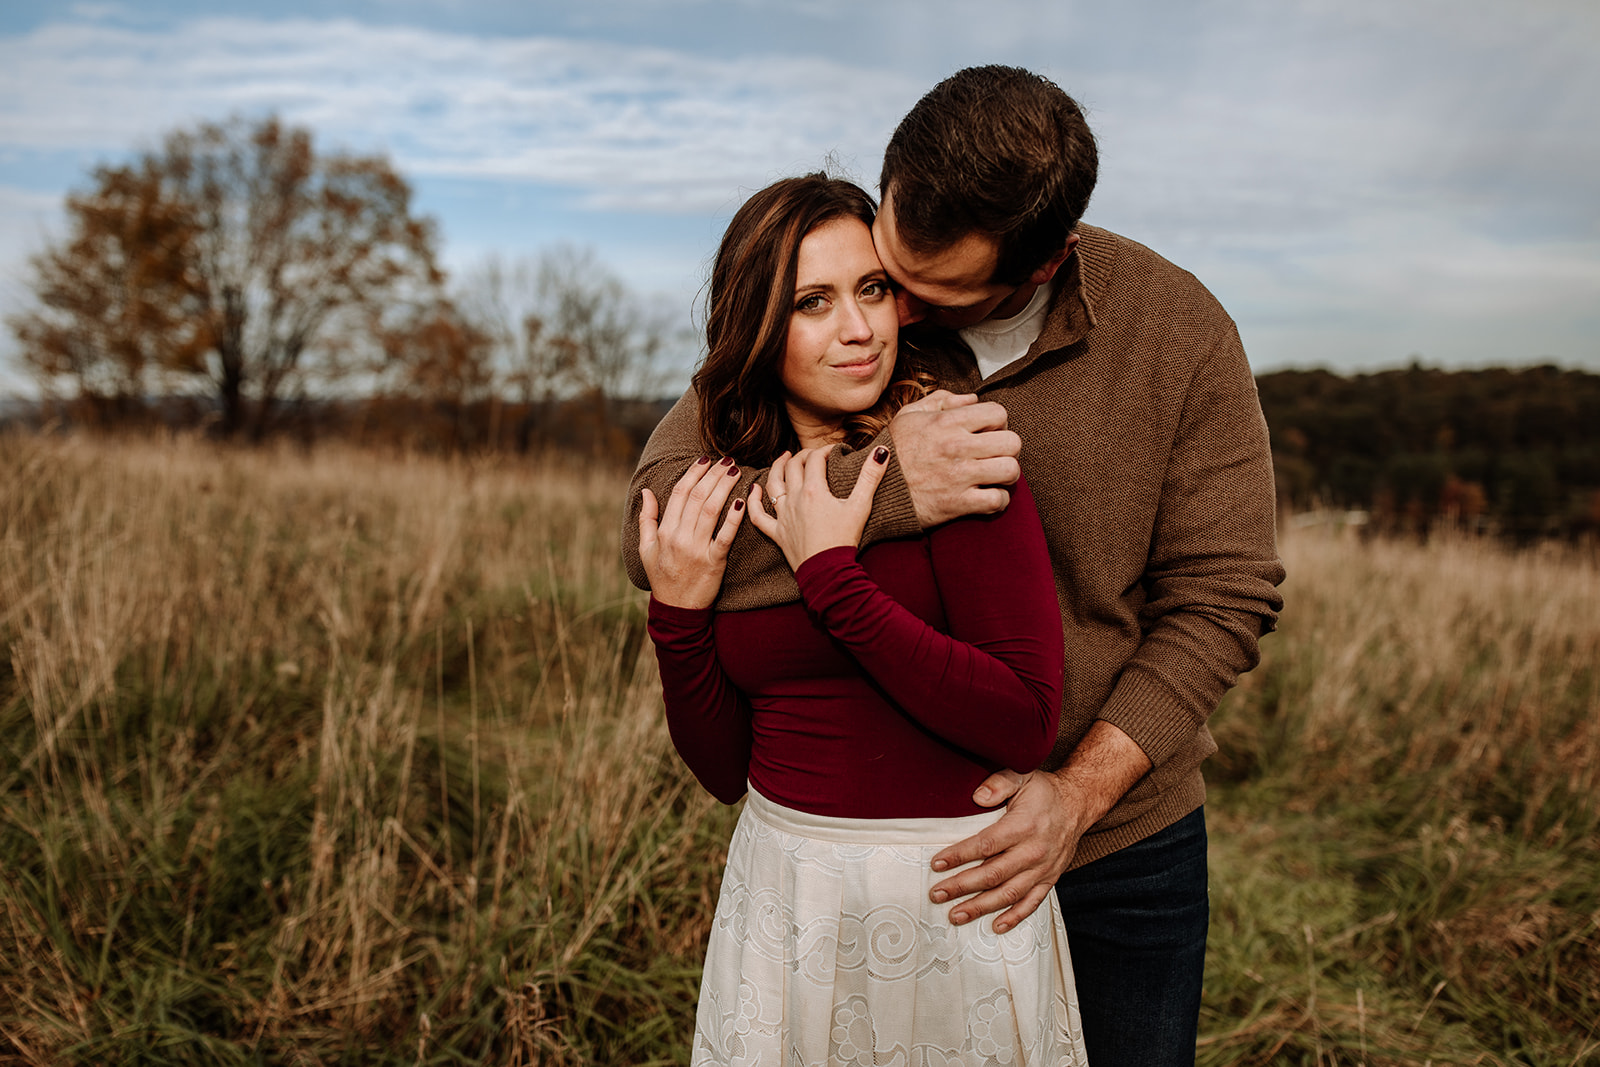
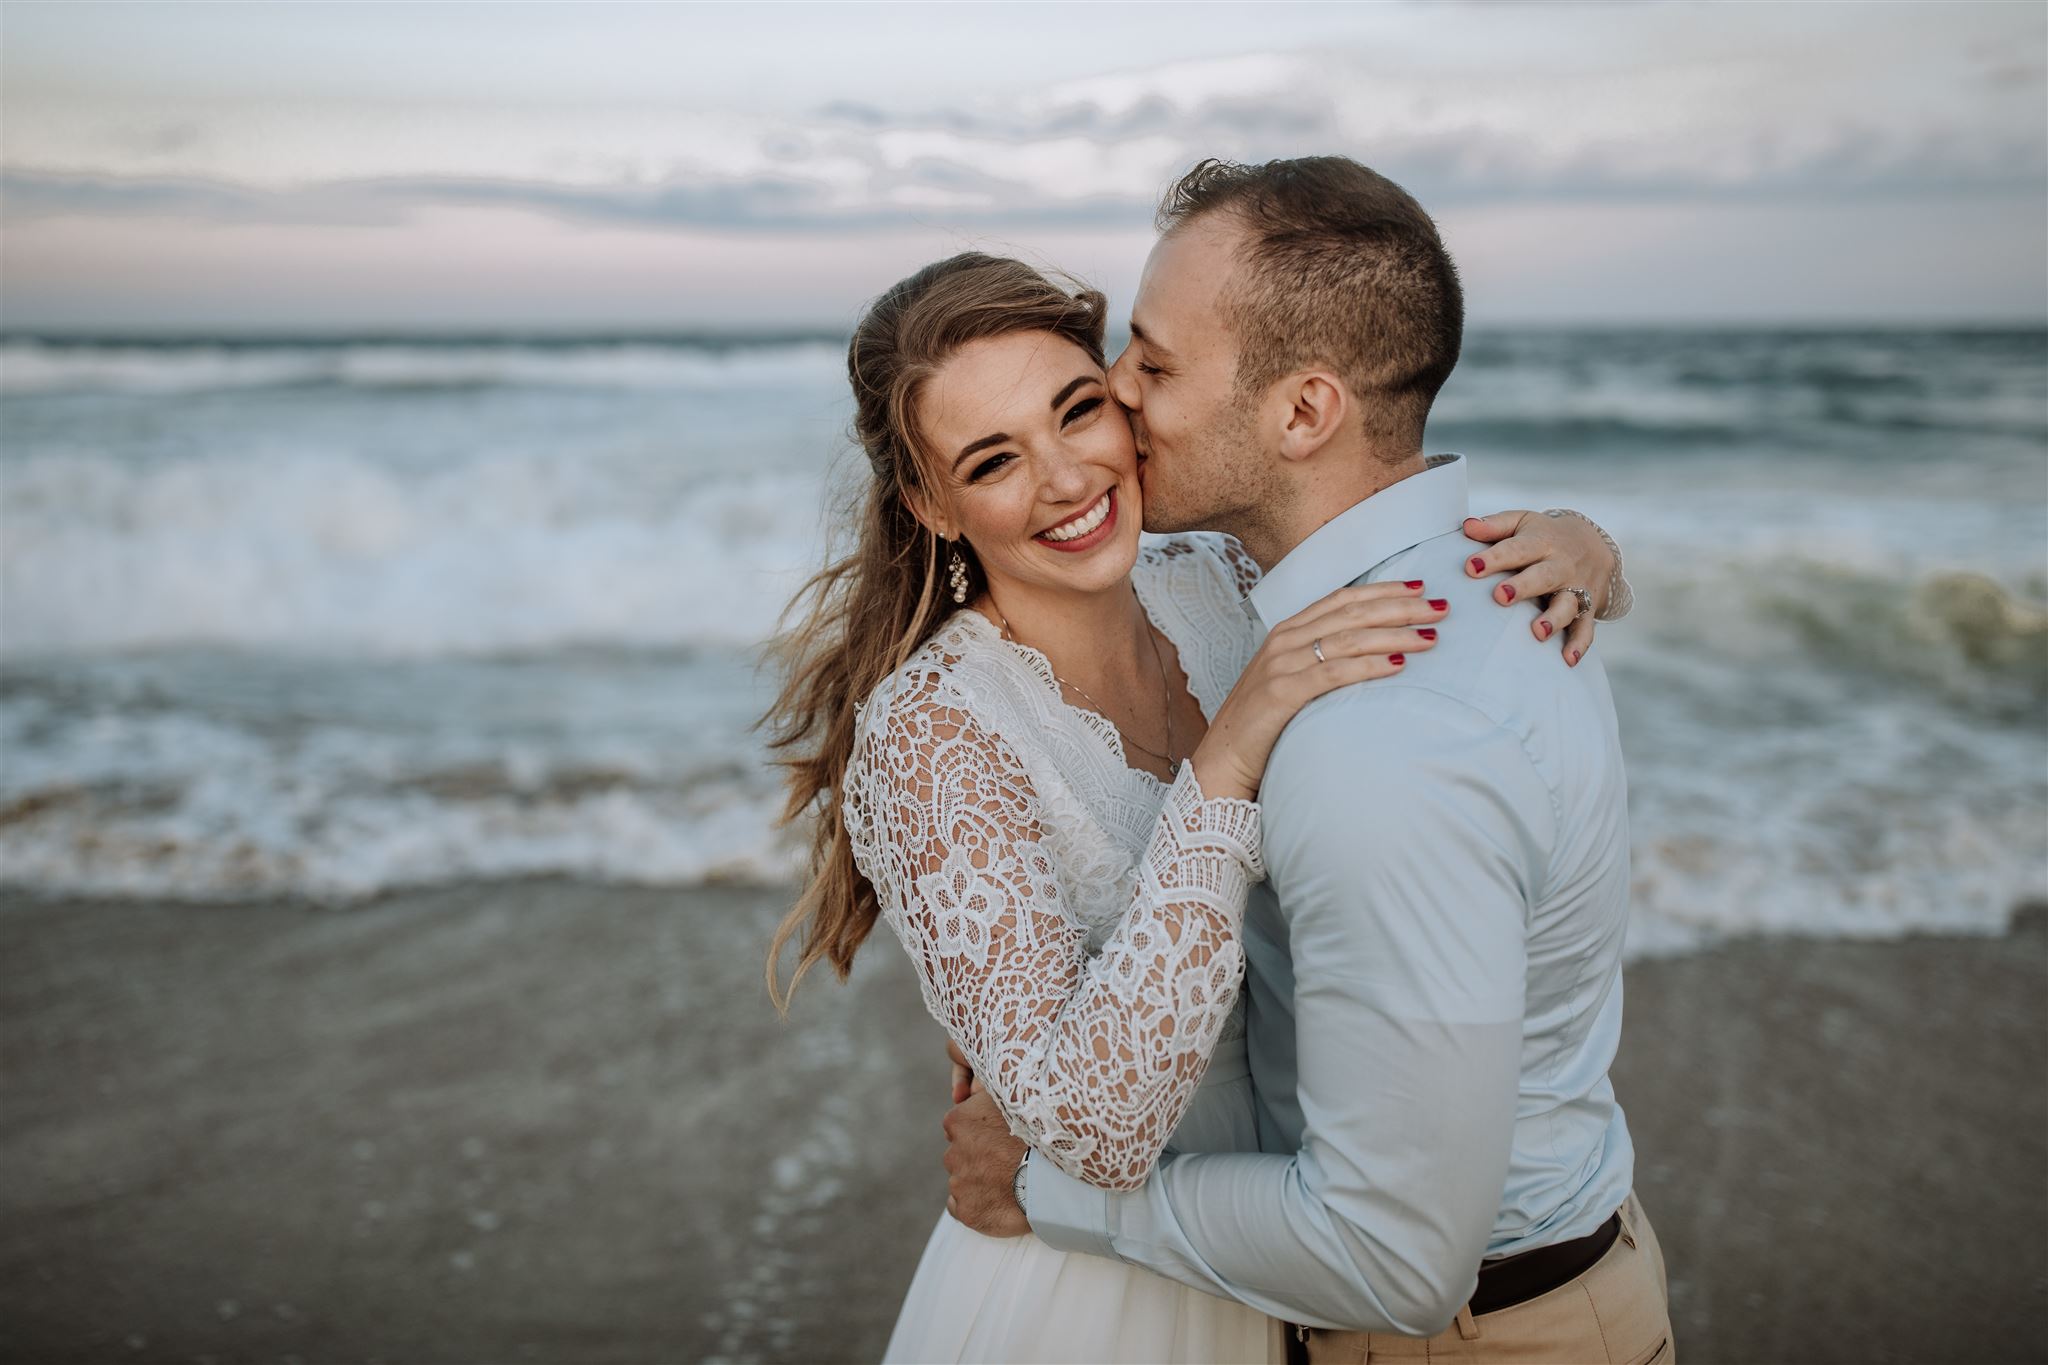
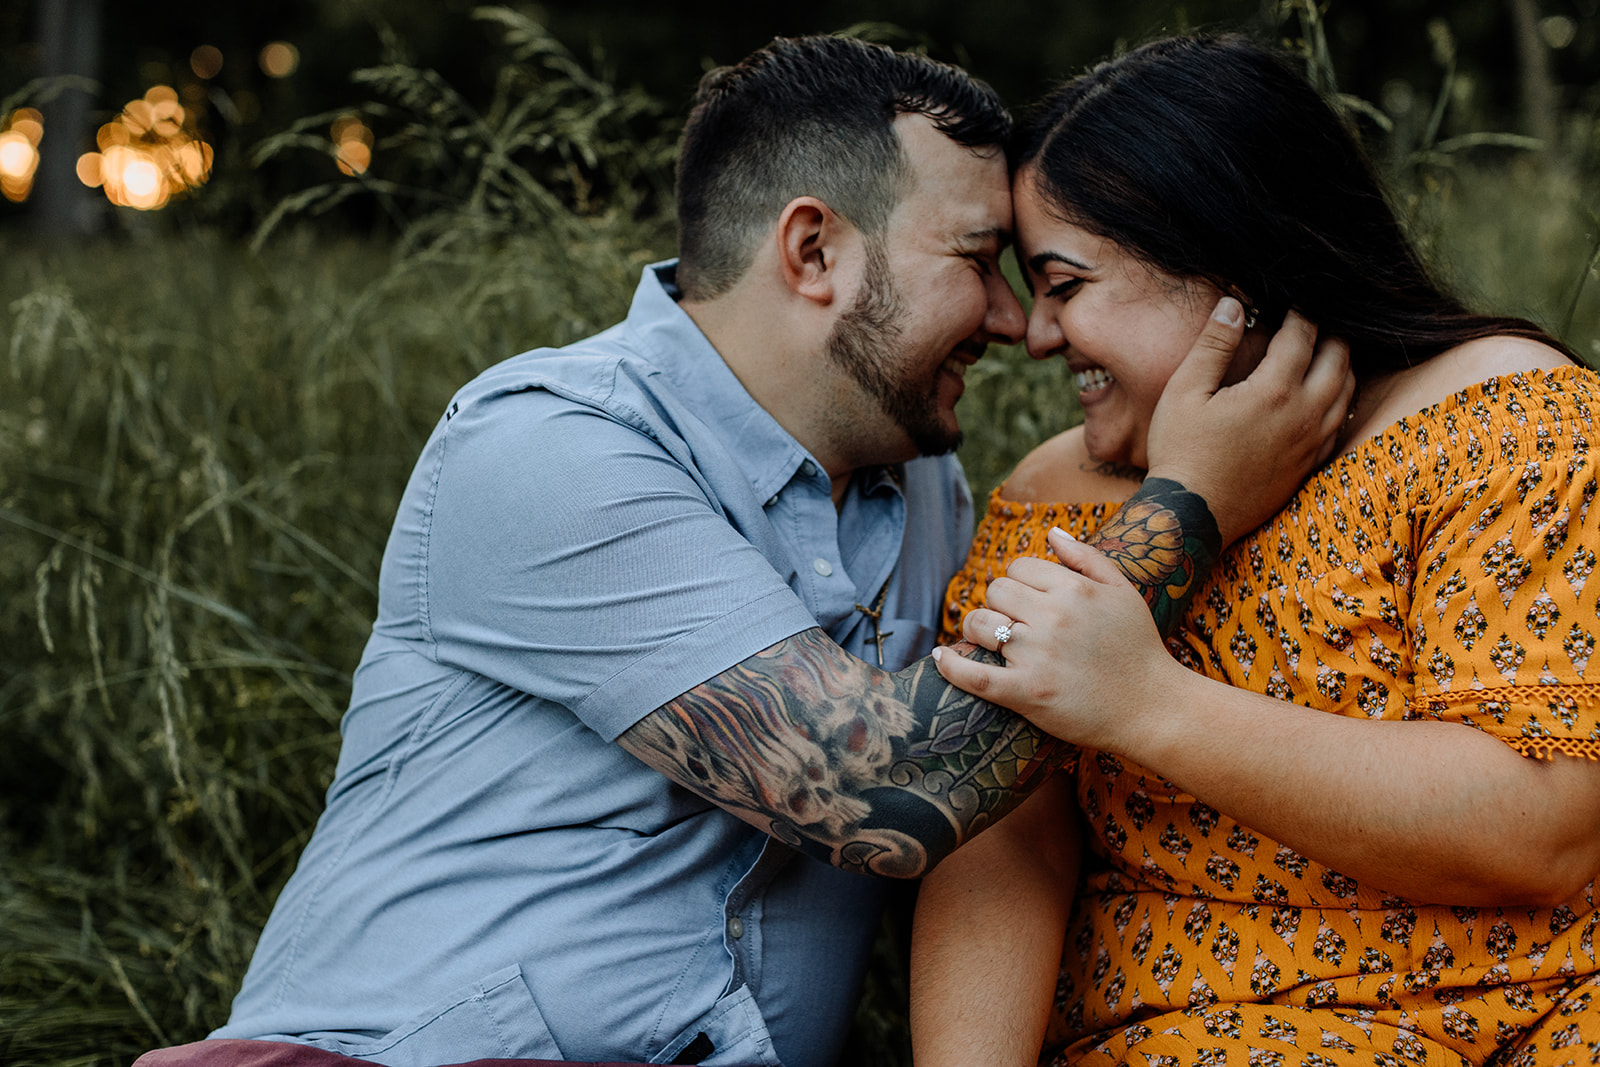
- The light, especially during Golden Hour, is often warmer. Naturally warmer skin is often considered to be more flattering because it adds a “glow” and looks healthier. This look can also be reproduced and enhanced with studio lighting filters like gels and, to some extent, in photo editing.
Maybe most important for me, though, is that shooting with soft light allows me to concentrate more on posing and less on needing to find a good spot or angle that works. My own work really benefits from this because it gives me the chance to concentrate on making sure a person is comfortable and ready to engage with my posing prompts vs. chasing a good location to shoot in.
Ultimately – I’d want to encourage experimentation with different types of lighting to find what works best for your photography style. While I love and prefer soft light, I’ve also made some incredible photos in harsh lighting environments, too!
Shadows & Highlights – Light Direction Matters
Even if this is your first day being exposed to photography concepts, you are already going to be well aware of what shadows and highlights are just from day-to-day living. The challenge becomes understanding how these things play a role in your portrait work.
Shadows are the dark areas of a scene that cannot be reached by the light.
Highlights are the bright areas of the scene that are fully touched by the light.
In many properly exposed images, there will be an area comprised totally of shadows (“pure black”) and an area comprised totally of highlights (“pure white”). Much of the image operates in the space in between where the impact of the shadows/highlights is not overwhelming, instead appearing very natural due to how the light falls in the environment.
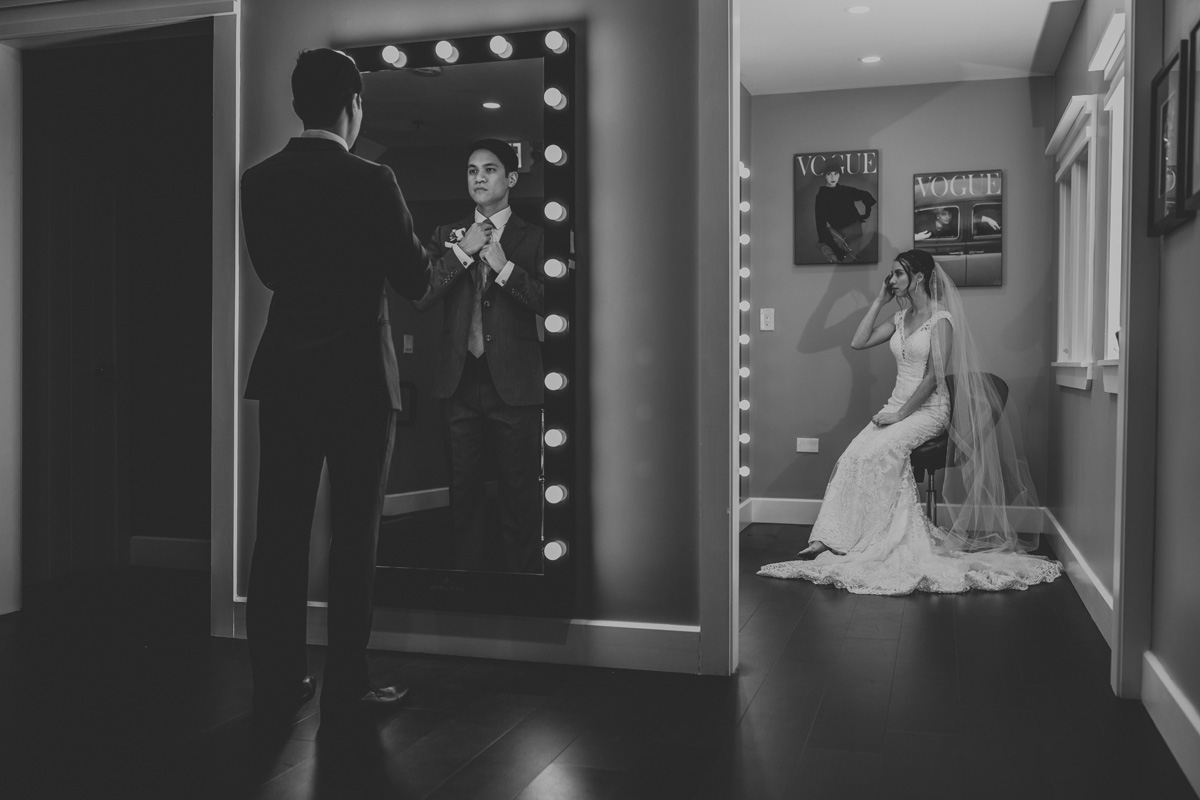
In portrait photography, shadows and highlights play a really significant role. The direction of the light can give (or minimize) emphasis on certain parts of a person because of where highlights and shadows end up falling.
But how?
While controlling something like a shadow can feel really abstract, it’s one of the most fundamental parts of portrait photography. Lighting setups are discussed at length in posts like this, in online courses, and even in photography schools.
The trick with lighting is to learn when to use different arrangements to the benefit of your subject.
For example, Butterfly Lighting is a simple and clean technique that illuminates most of the face and casts shadows downwards (towards the neck) – this is generally flattering for most people. In other instances, use of more intense shadows as can be found in Rembrandt lighting can add not only drama, but be used to disguise blemishes on the face more easily.
While portrait lighting techniques are often discussed in the context of studio flash lighting, all of the photography techniques can be replicated and considered in natural light environments. The trick is learning that, instead of moving a flash around the subject in a studio to get the desired effect, you will need to move the subject around. This does add a little bit of a challenge as moving the subject will also change the backdrop (in many instances).
5 Ways The Right Light Can “Beautify” Anyone
Now that I’ve covered the fundamental things you should know about portrait photography lighting, I want to talk about how these concepts and techniques can be combined to produce consistently beautiful images no matter who is in front of the camera.
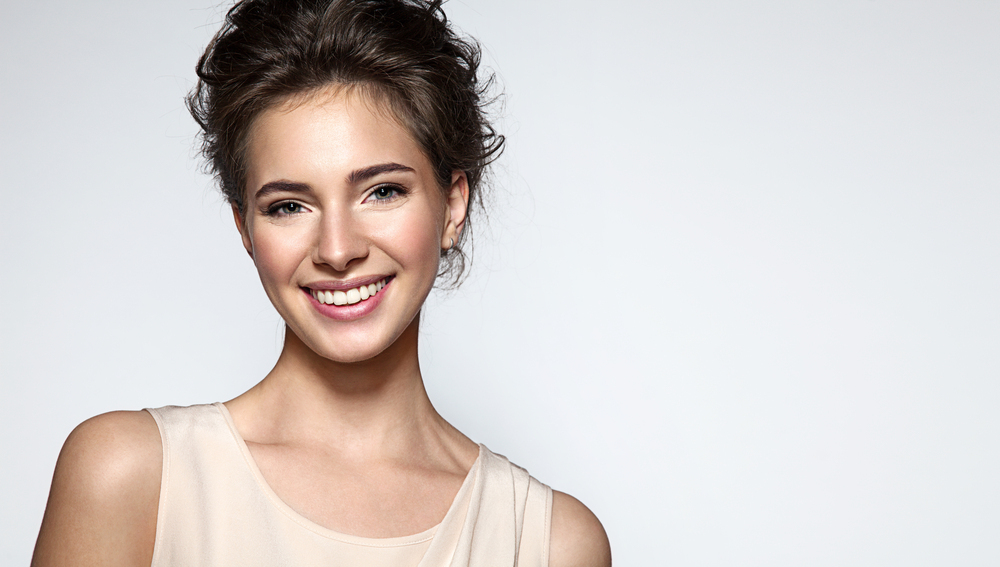
1). Light highlights things we want to showcase.
 Photographers are illusionists.
I can present you with a picture I took and probably do a good job of convincing you that it looks like something in the real world.
“This is a picture of your mom!”
It’s an easy trick to play because, if a person is looking at a picture of their mom, they are very well going to agree!
In truth, the photograph of your mom is only a specific representation of your mom. It’s your mom at this specific moment in time, in this specific light situation, taken on this specific camera, with this specific composition.
By using light to select the things you want to show off in a portrait, you are taking control over your own magic act. The greatest photographers who make amazing images have learned how to refine this!
And remember…your choice of what to highlight also plays into what you are choosing not to highlight!!
2). Fill light can fill in blemishes
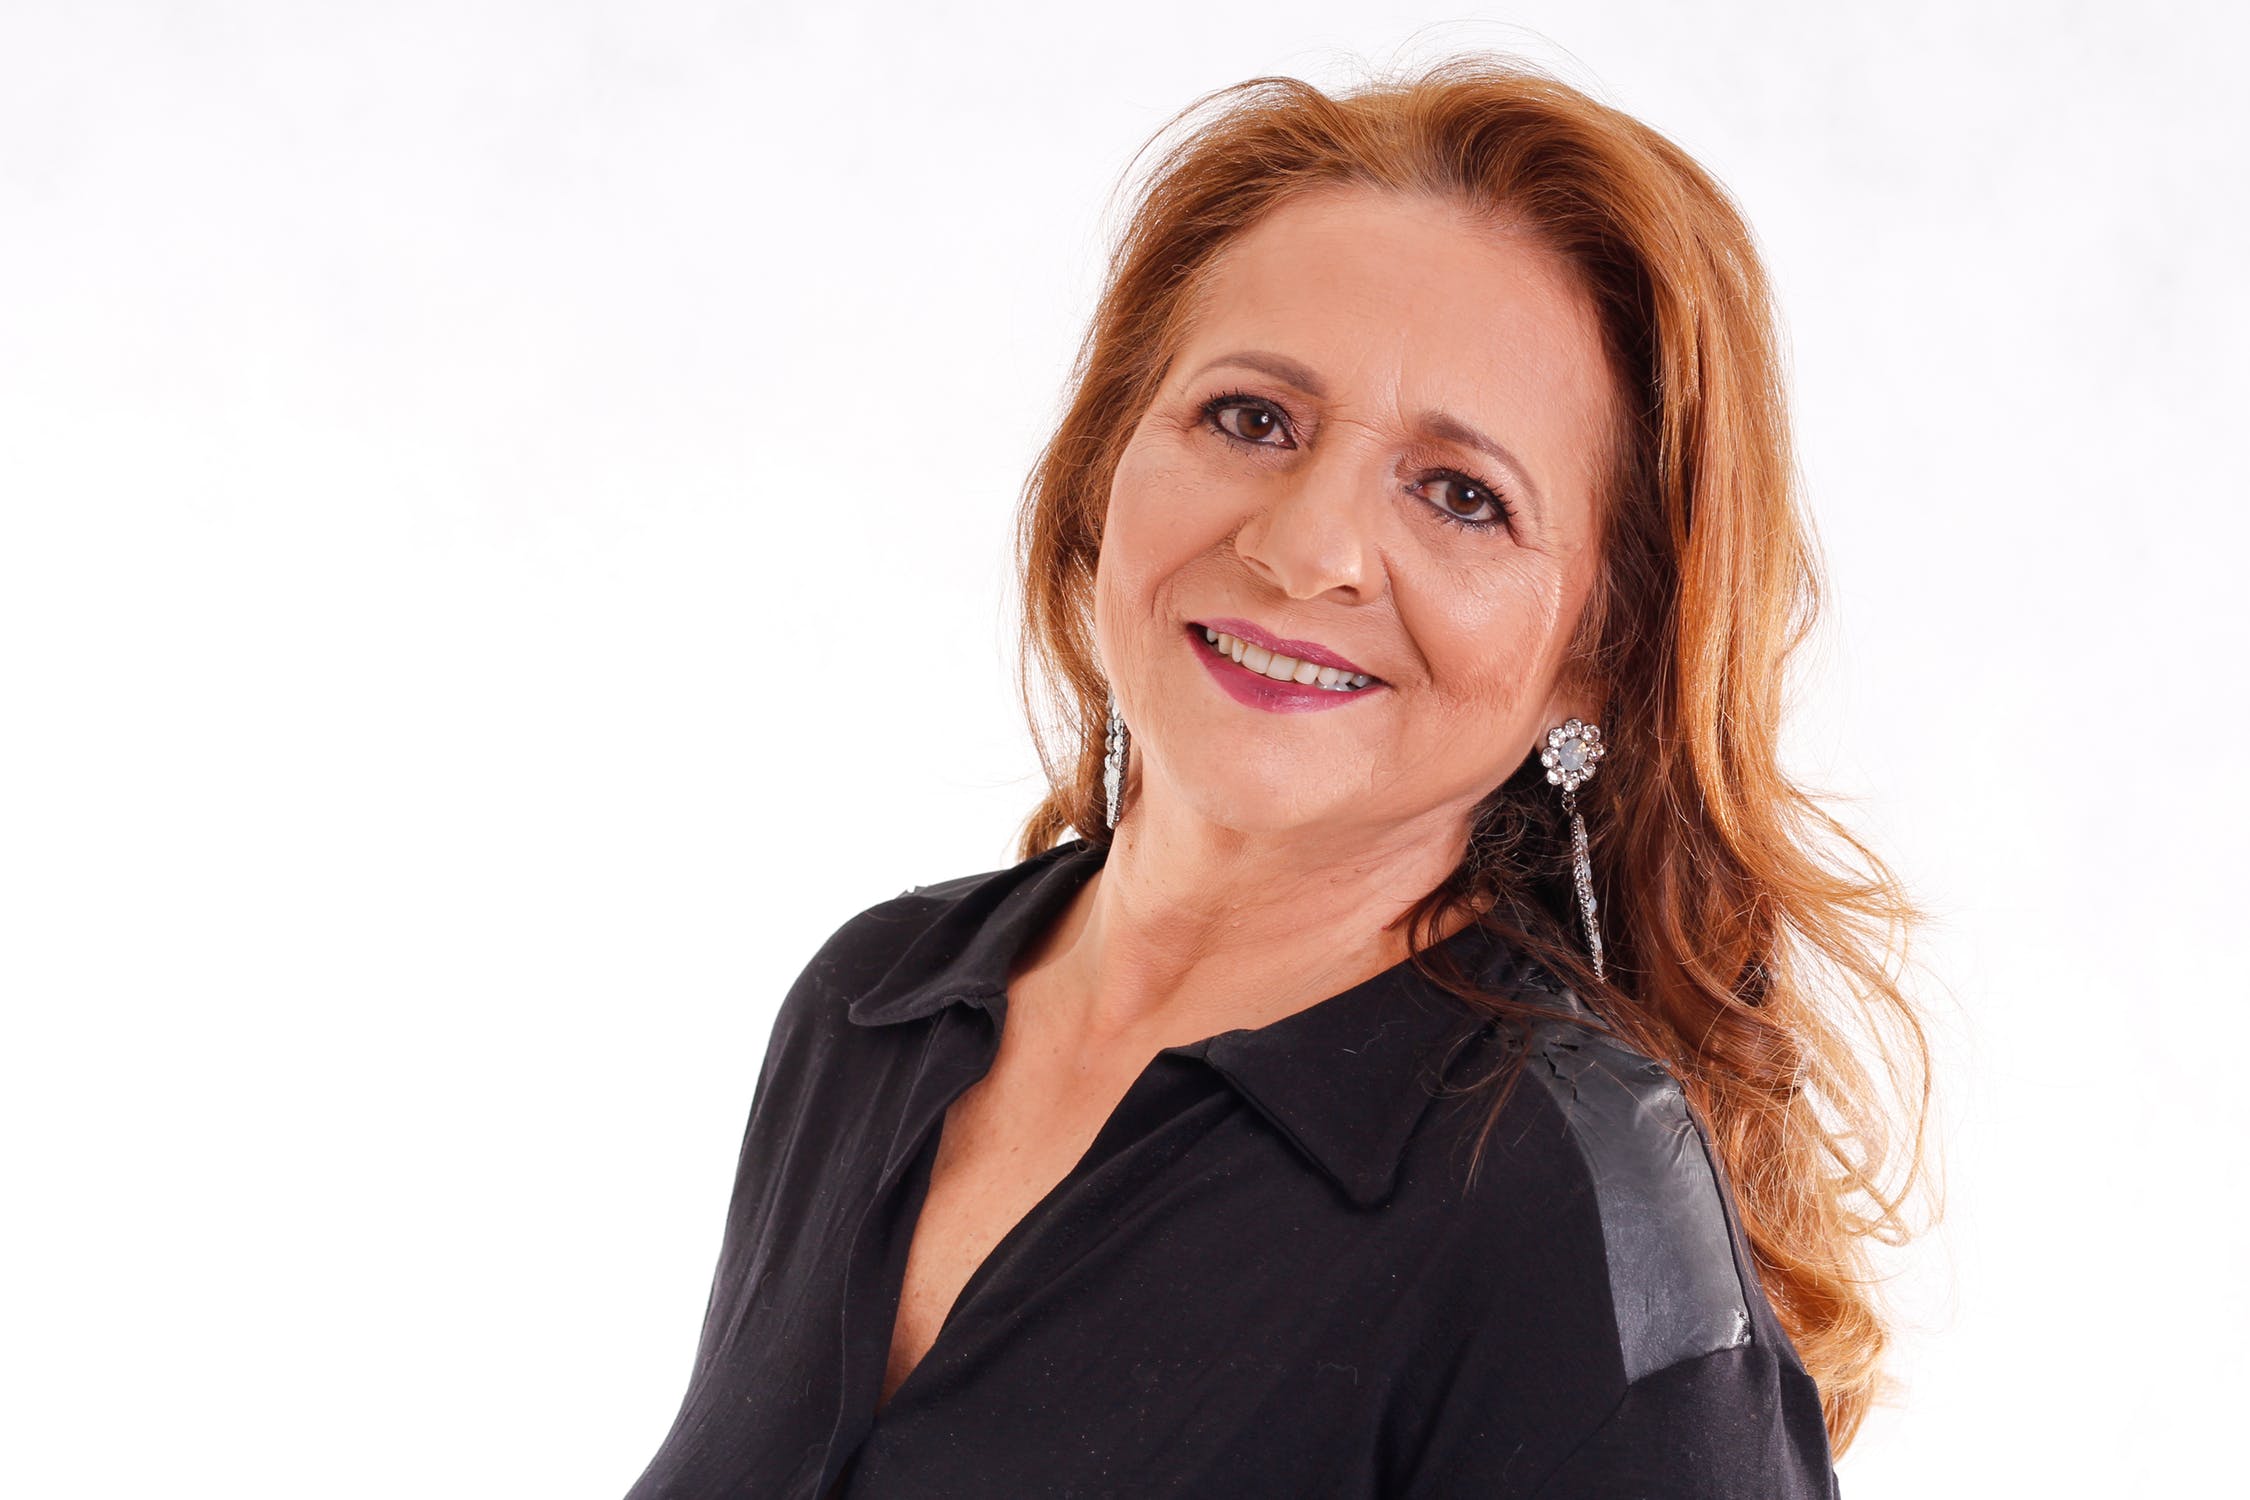 One of the areas people struggle with on a person level are signs of aging. Our skin goes through wear and tear thanks to our life experiences, and it normally leaves us looking pretty wrinkly by the end.
Wrinkles, acne, scars, birth marks, and so on can all be accentuated by poor lighting. Or, you can use light to fill in these spots by reducing emphasis (through use of soft lighting) or eliminating shadows that make them stand out more in a photo (through use of fill lighting).
The incredible thing about light when used like this is that it is a natural way to enhance portraits without the need to use photo editing tools. In my search for authenticity in portraiture, my goal is to minimize editing in this way as much as possible by finding ways to showcase a person as they are under ideal light situations.
Fill light can be created in a couple different ways…
- Flash photography
- Static lighting
- Natural light reflectors
For beginner portrait photographers, I’d highly suggest experimenting with an inexpensive static video light like this to start seeing what kind of effects can be produced. Using this type of lighting is as easy as putting it on a stand (or just on something lying around like a chair), and facing it towards your subject.
If you are taking portraits outdoors, another cheap tool that is easy to use as someone starting out in portrait photography is a reflector. Basically how this works is you can “bounce” sun light onto a person’s face acting as a fill light. It’s the same idea as using a mirror to try and start a fire.
Flash photography is incredible, and gives you the most options to control light, but does take more effort to work out. While there are cheap (and honestly pretty great) flashes that can be bought on a budget like the Yongnuo YN560, the best quality of light and consistency of performance will be found in more expensive models like the Profoto A1 flash I am using. Accessories to diffuse light and give it more direction are also extremely valuable, though even using an on camera flash bouncing off of a wall or ceiling can do wonders.
Related: Profoto A1 flash review AND Profoto A1 vs A1X Comparison
5 Extra Steps to Take to Ensure a Stunning Portrait Every Time
While light plays a HUGE role into taking beautiful portraits, it is not the only factor. The focus of this article has been to highlight (no pun intended!) how to effectively use light – and now we want to provide you with some extra portrait photography tips to help you up your game.
1). Create a comfortable environment for portraits
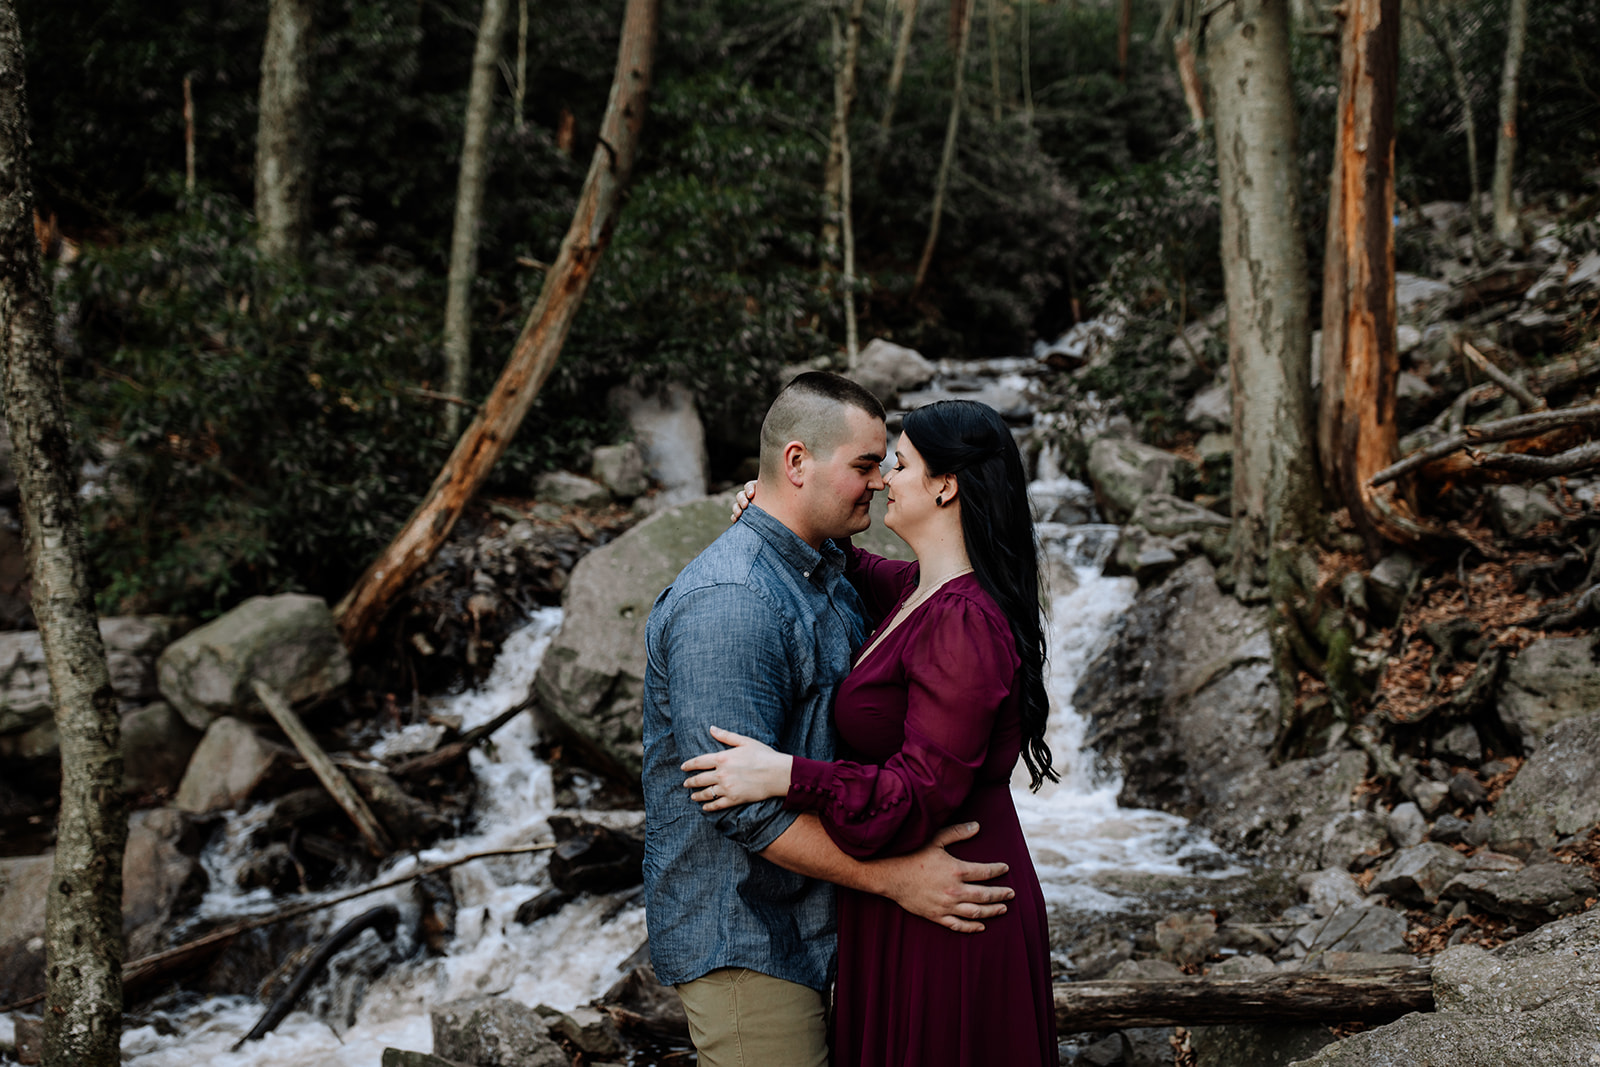
 An important, and often overlooked, aspect of taking portraits is making sure your subject(s) feel comfortable working with you. While portraits can be taken literally anywhere – in a city, in the woods, in a studio, etc. – the “environment” you create is most important.
One thing I’ve started to realize as I work in deathly quiet natural settings and bustling Philadelphia city streets is…when taking portraits of people, everything needs to fade into the background and our relationship (the photographer and subject) needs to be the focus.
By helping to minimize distractions and allow people to feel comfortable with you, you will help to create an atmosphere that makes for authentic portraits to happen.
One aspect I find hugely valuable in my own photo sessions is how I approach posing. Untrained photographers can approach posing in a very awkward and stiff way that leaves people feeling, well, awkward and out of place. Flipping the switch and moving away from this type of posing in exchange for more natural and even candid posing practices can alleviate a lot of these weird feelings.
One tool I’ve used that really helped me to take better portraits is Signature Edit’s Candid Posing Prompts. These prompts helped me to guide people into poses and elicit reactions through verbal cues instead of me needing to be hands on all of the time.
2). Experiment with photo editing techniques
 While I can appreciate portrait photographers who aim to create awesome images strictly in camera, there is no denying how much photo editing can compliment a portrait.
Normally, photo editing gets a bad rep because it instantly makes people think about airbrushing people until they are skinny like models and have the most picture perfect skin that would make anyone jealous. While this is certainly one route you can go with photo editing, it can also be used in smaller and more subtle ways.
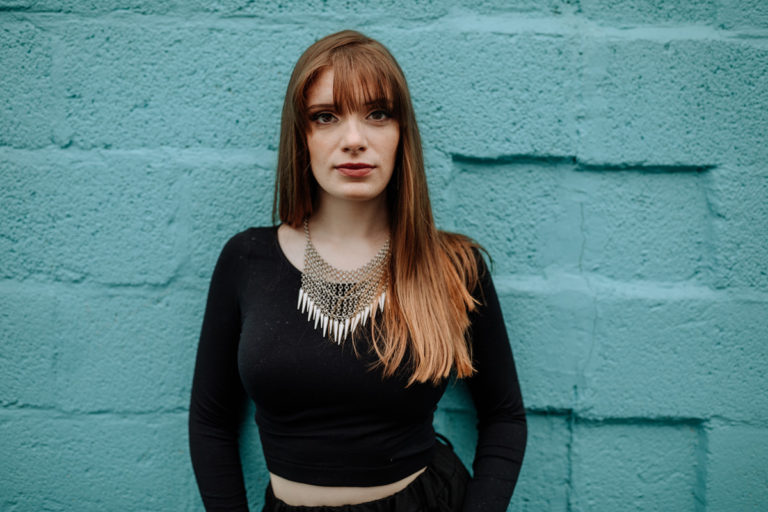
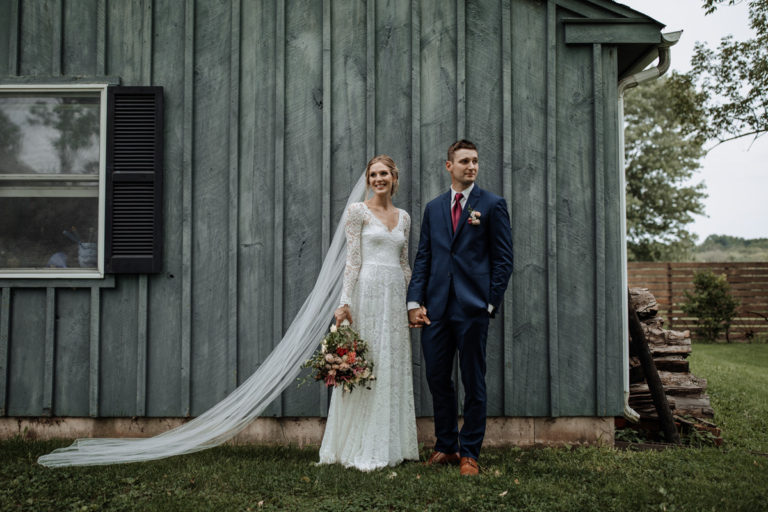
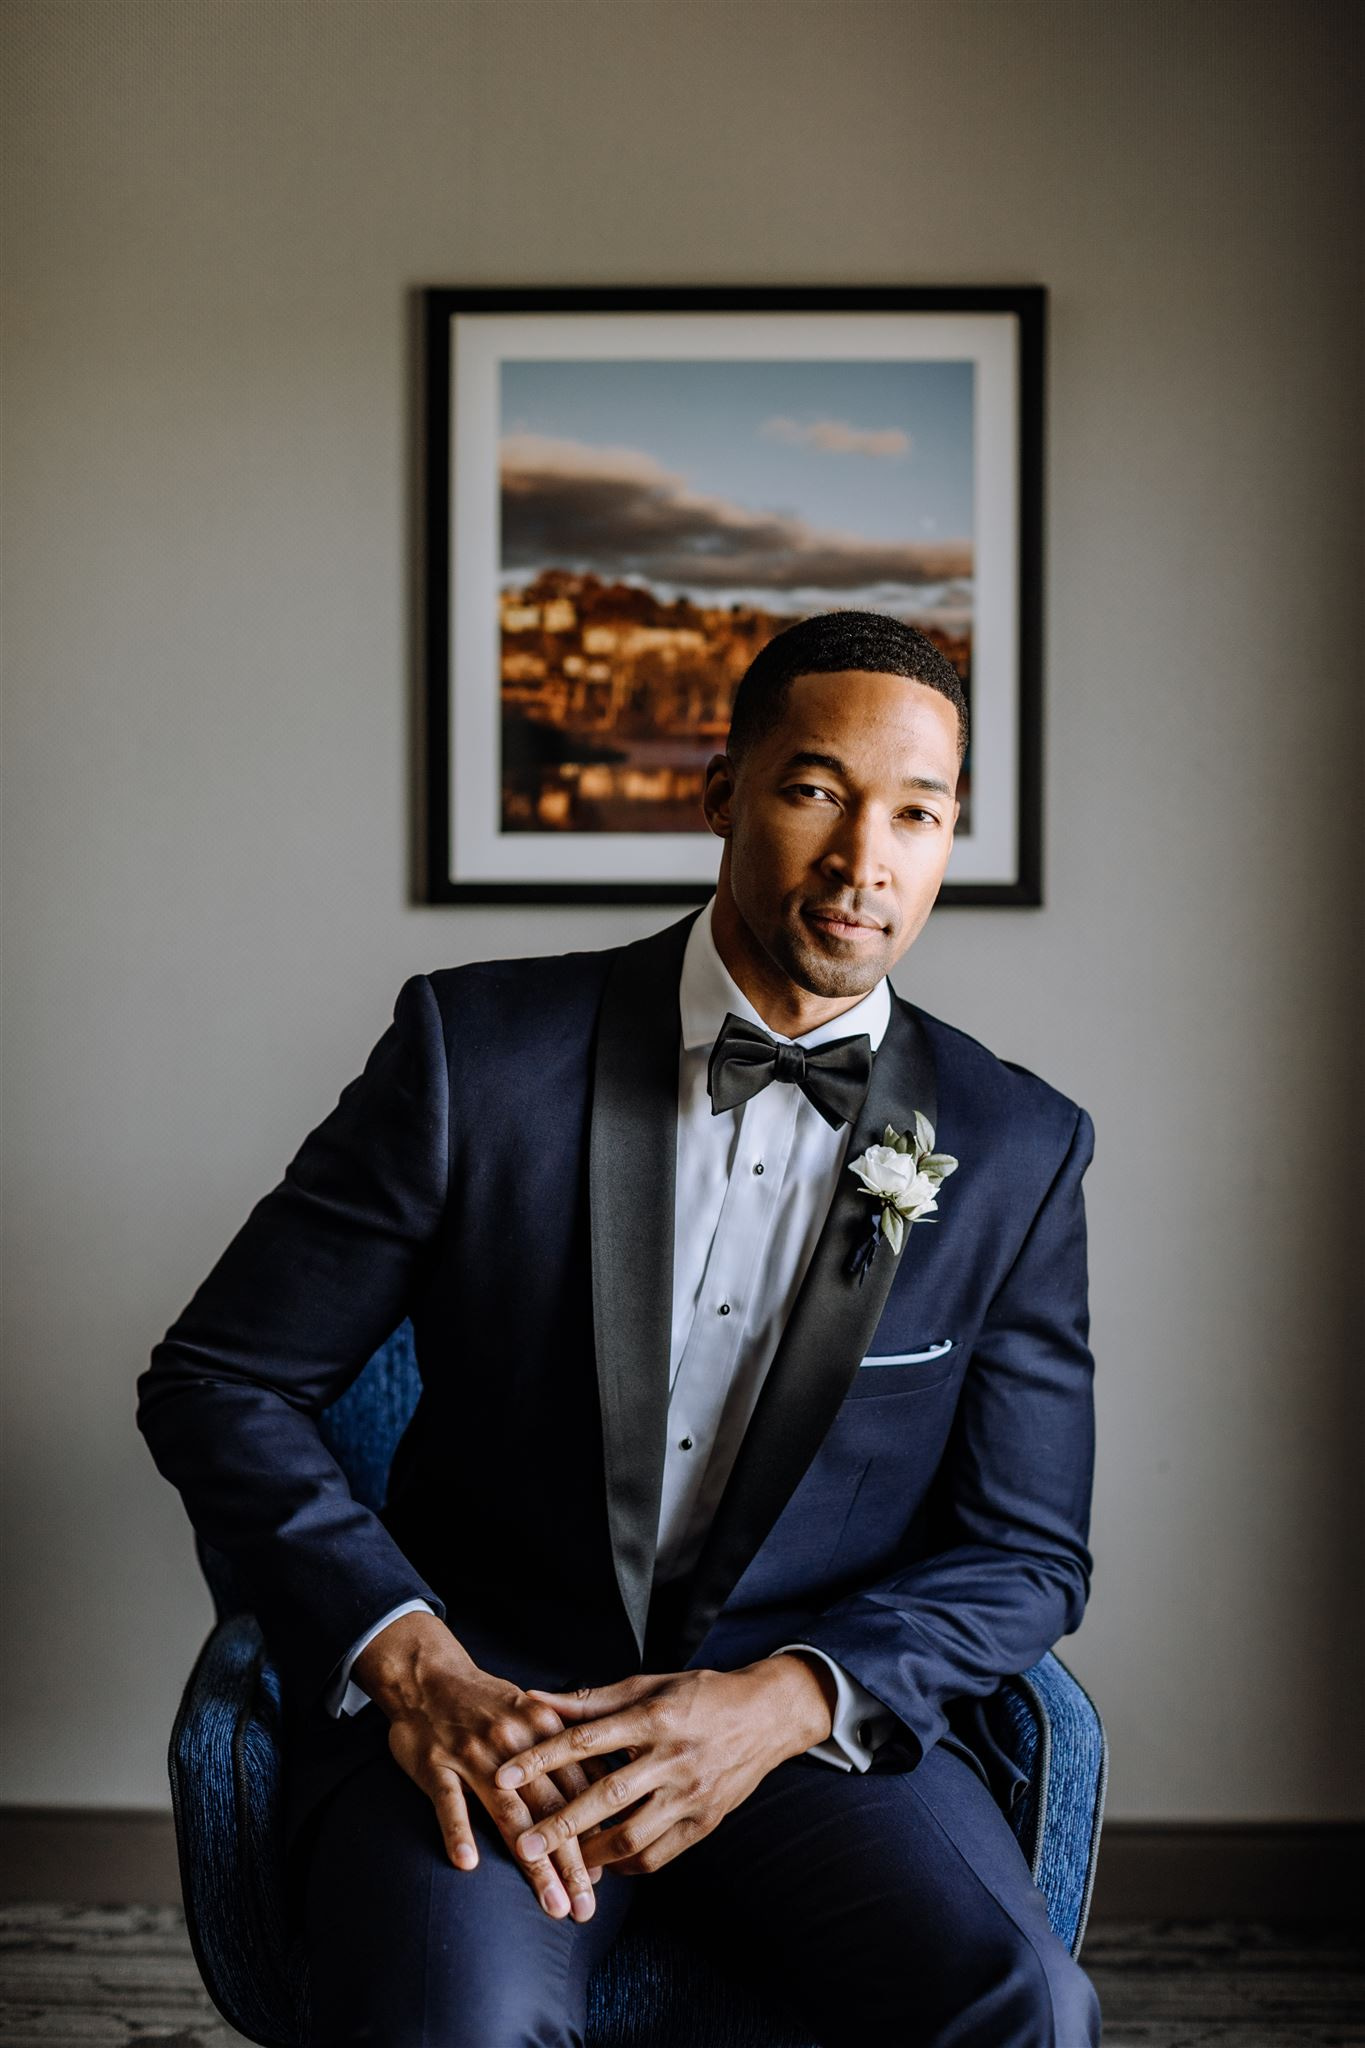
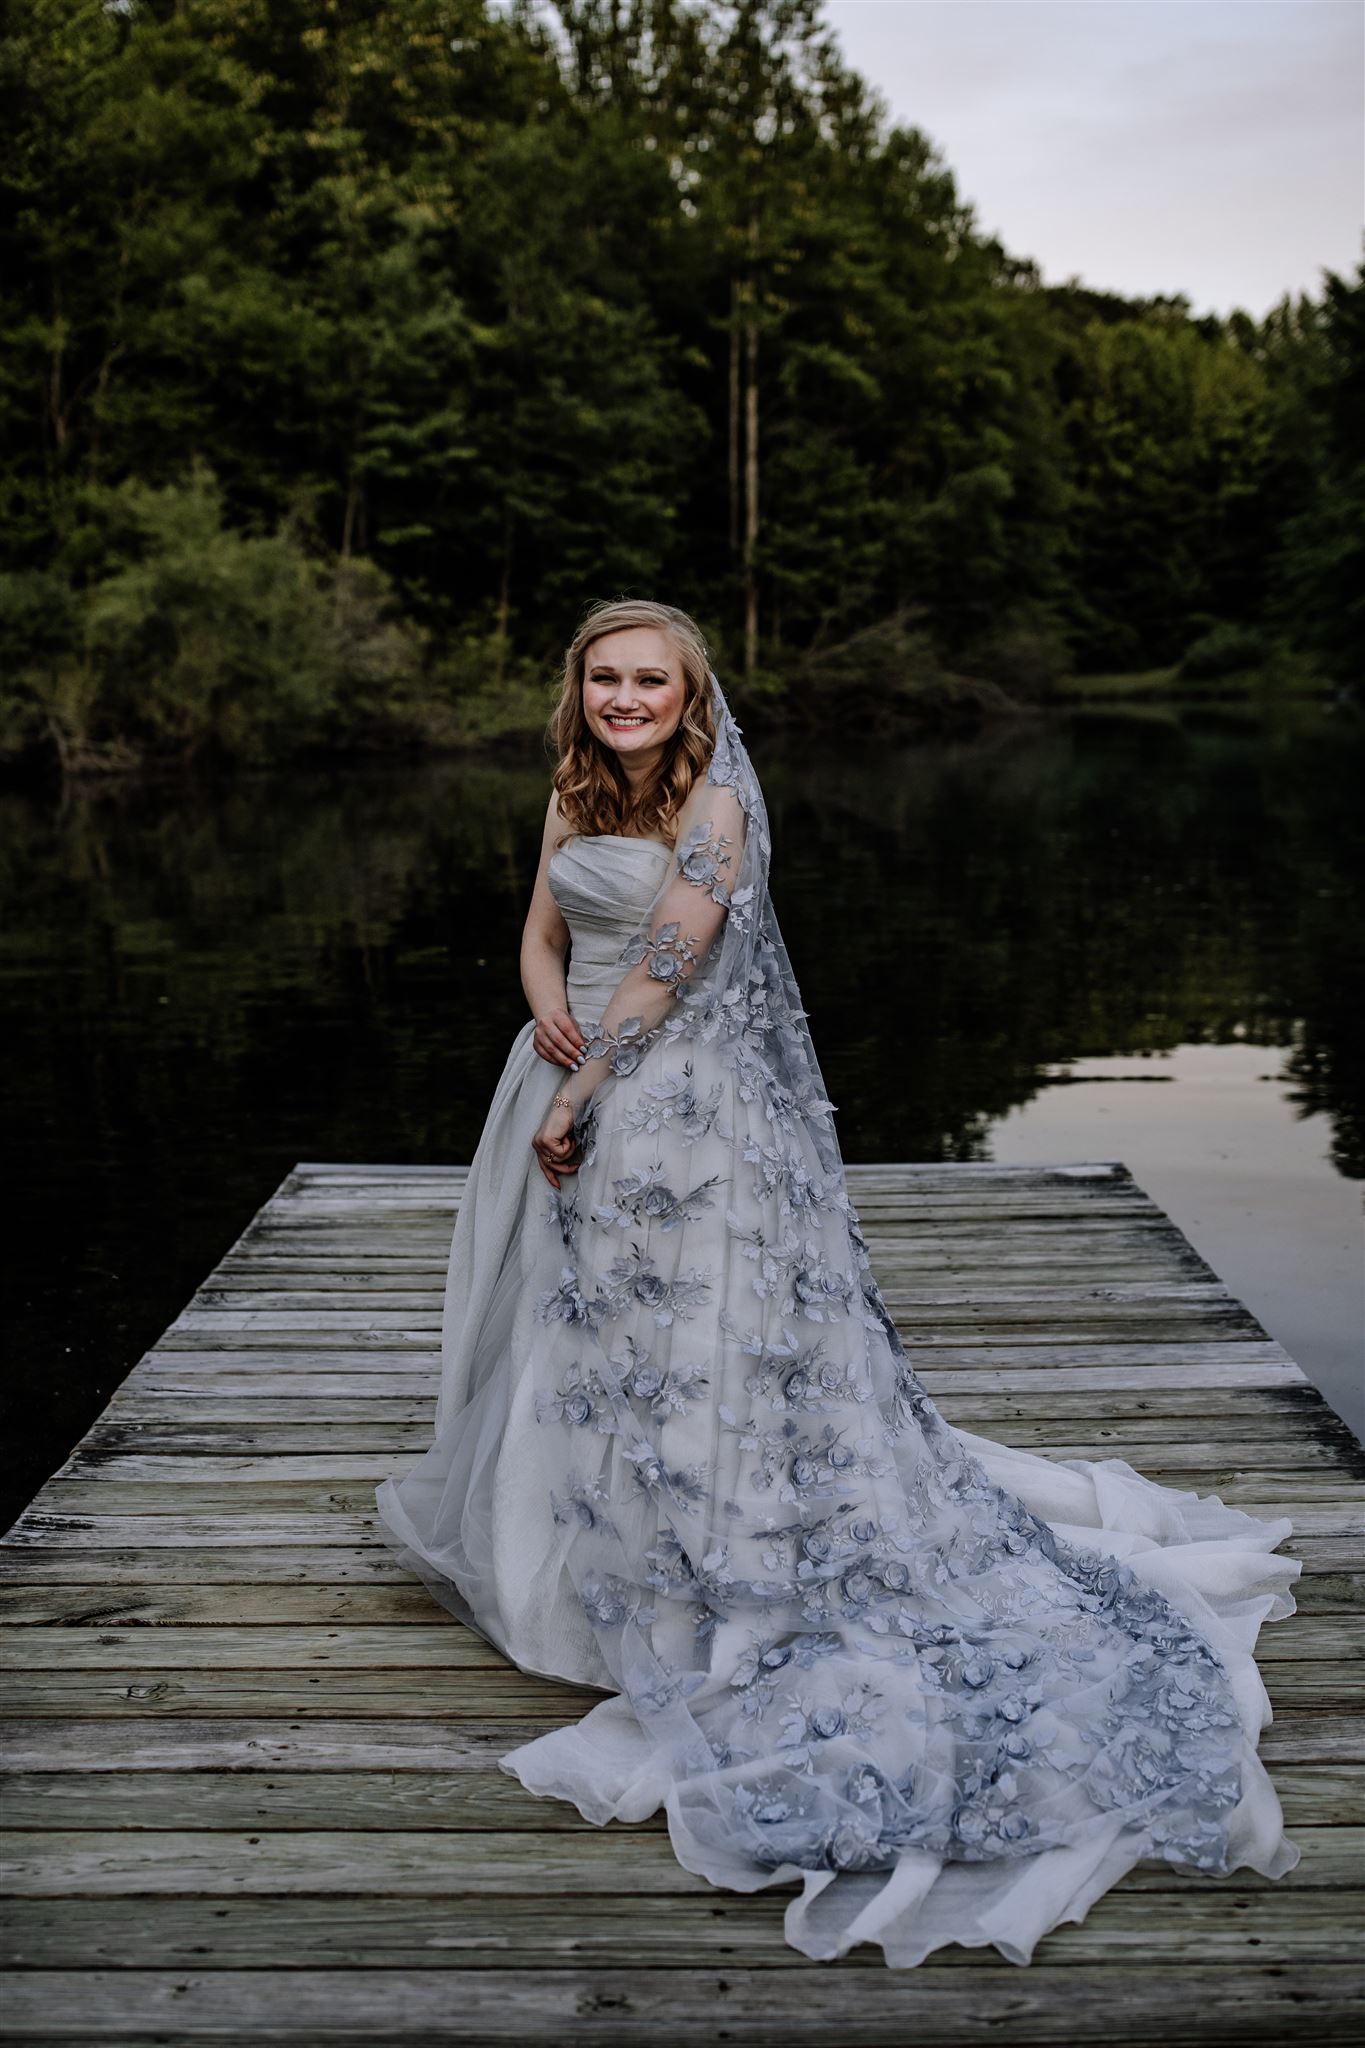
All of the images showcased in this blog post that were taken by my wife & I are edited – but we retain (for the most part) the original colors. We also very minimally edit people’s features – only really removing jarring things (like an acne breakout) that they may not have had control over. We emphasize some colors to make them pop, but more importantly, play with the highlights/shadows to create more depth and contrast.
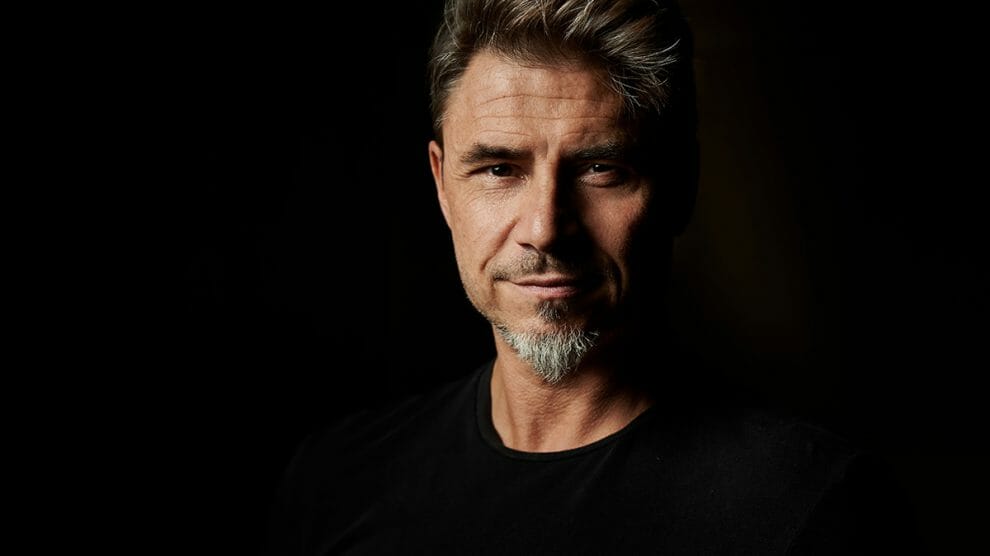
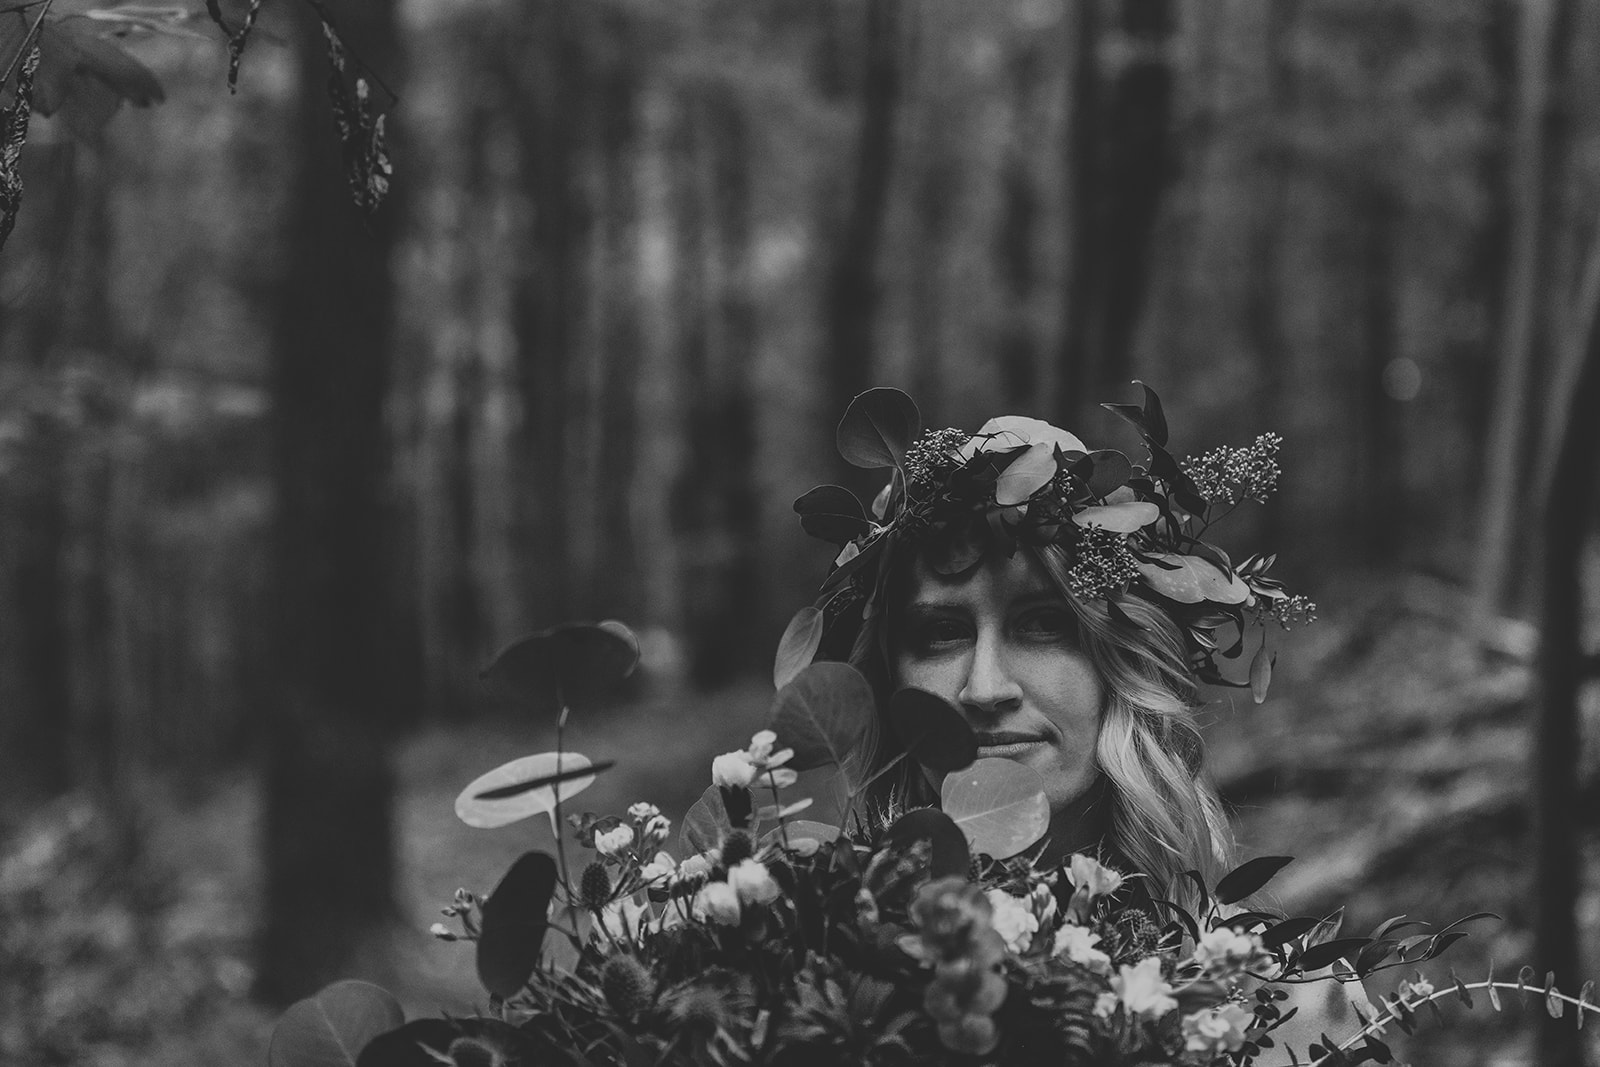
Another route you can go is experimenting with more artistic photo edits. Black and white portrait photography is a prime example of this because digital photography has made this conversion process extremely simple.
Need help getting a good photo edit? Read our review of Genesis presets and give them a try!!
3). Use interesting and compelling compositions
 My favorite portraits fit into one of two camps…
- Super simple compositions
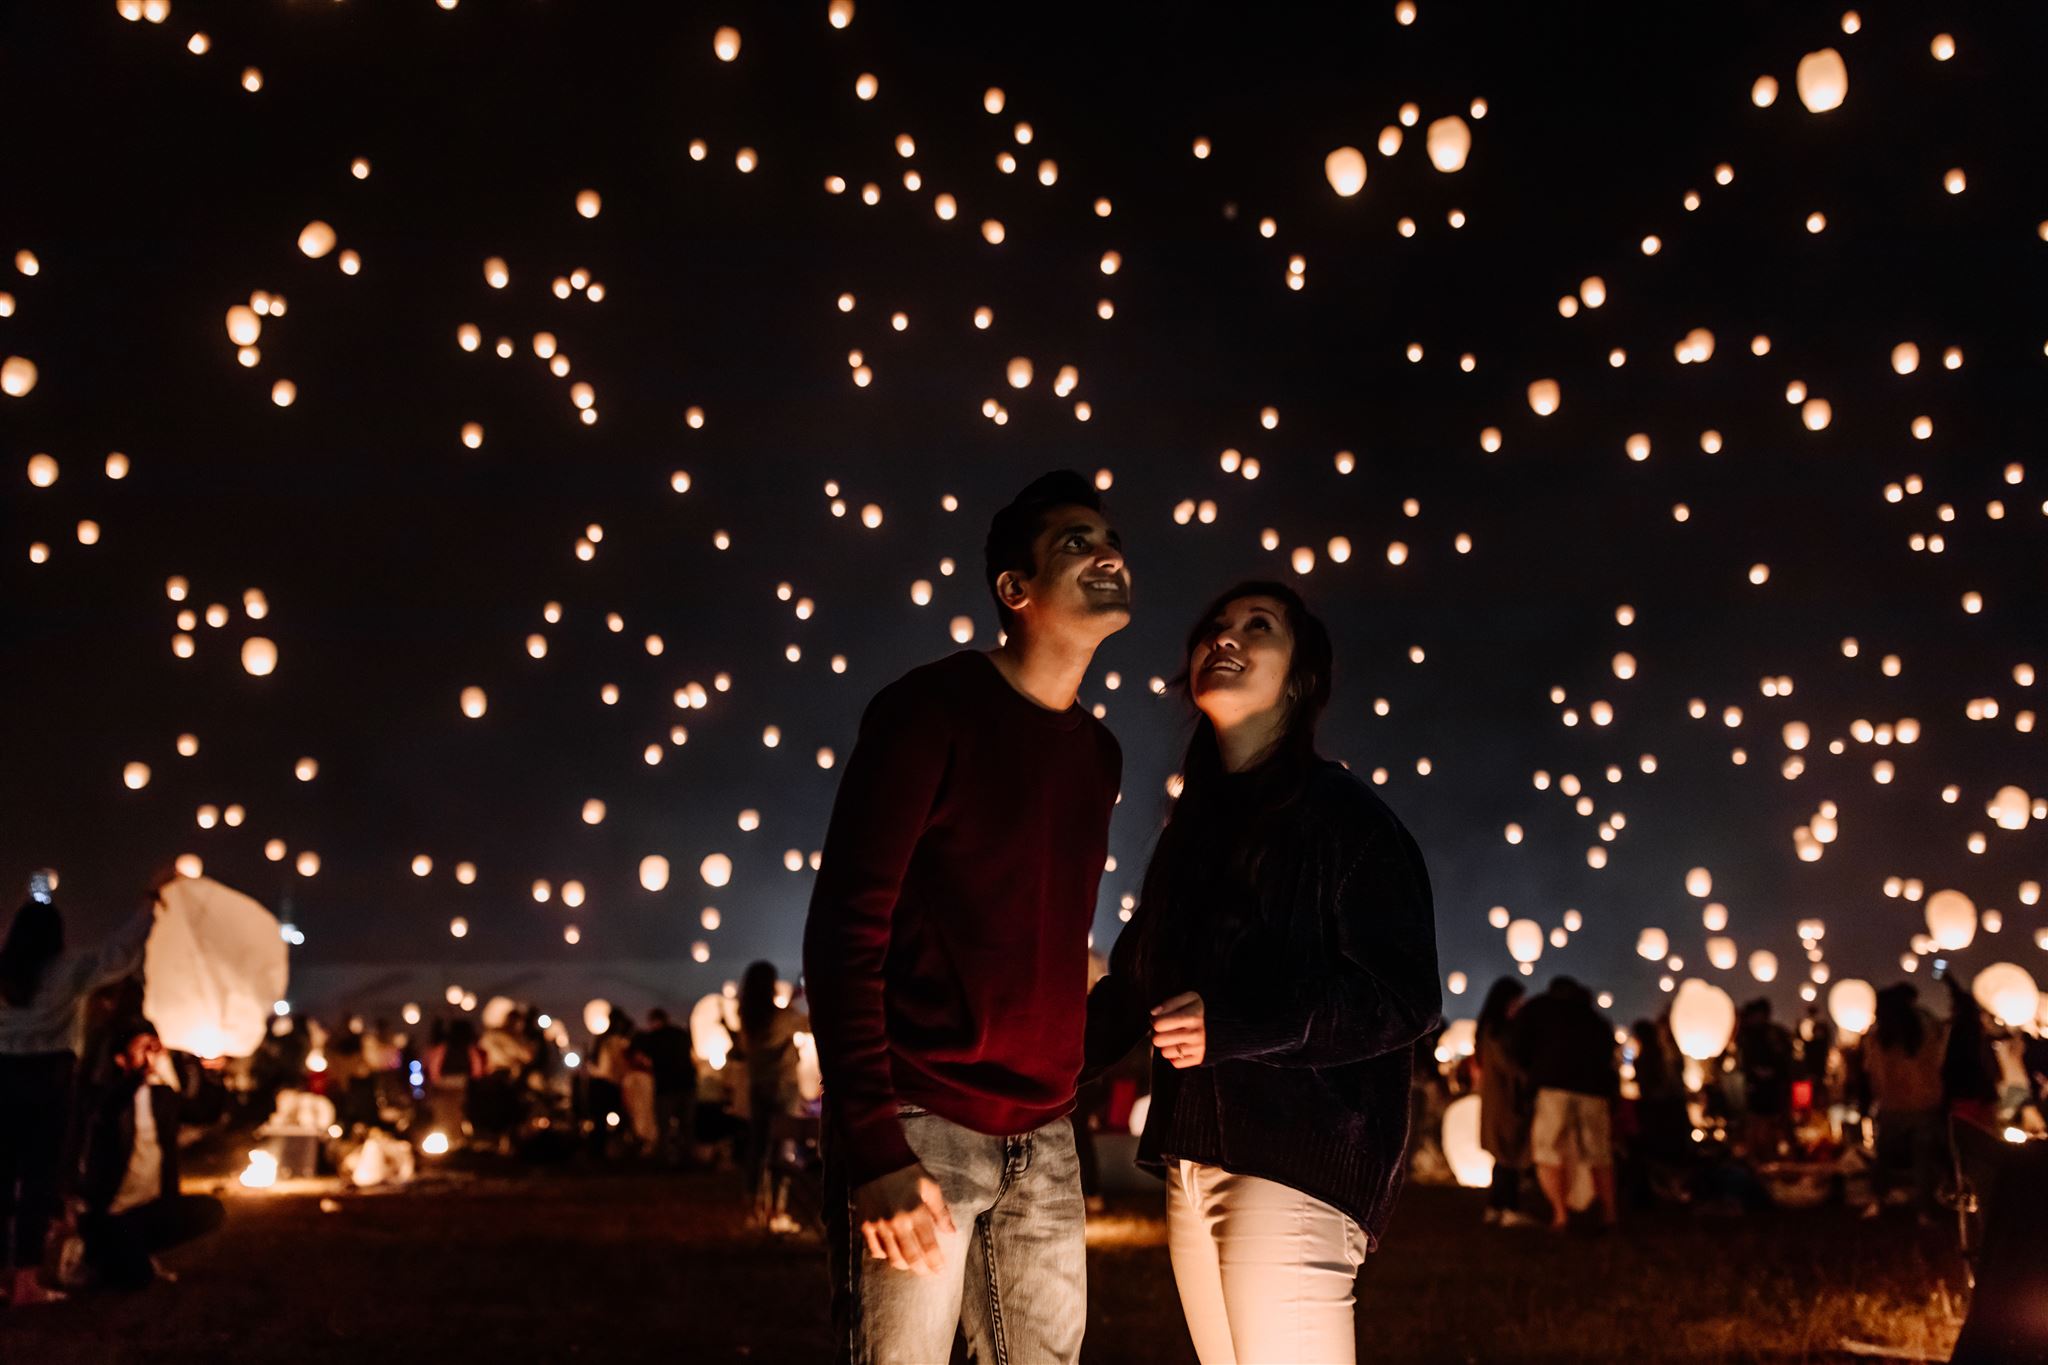
- Artistic, complex, and experimental
My approach to portrait photography is designed around providing a full online gallery of images to my clients vs. just picking one staple photo. Because of this approach, I am able to split my images into both categories.
There is absolutely a place for super simple portraits. Sometimes, it’s all a person needs. For sure, some uses like a person just wanting a simple image to put on LinkedIn while they search for a job just need to be simplistic.
But, other types of photos can pull more heavily on a wide range of photography tips and tutorials to produce more interesting images. In the post linked to above, I cover quite extensively some of the core composition tips you need to be thinking about when taking any photos – so I highly recommend reading that when you’re done with this post!
[amazon_link asins=’1781450854,0988263408,0321951611′ template=’ProductCarousel’ store=’ffl0d-20′ marketplace=’US’ link_id=’1cb200f7-fc67-4954-8877-6b68d7c146ab’]
4). Add some style
 “Style” applies to everything in photography. In the context of portraits, let’s start from the ground and work our way up.
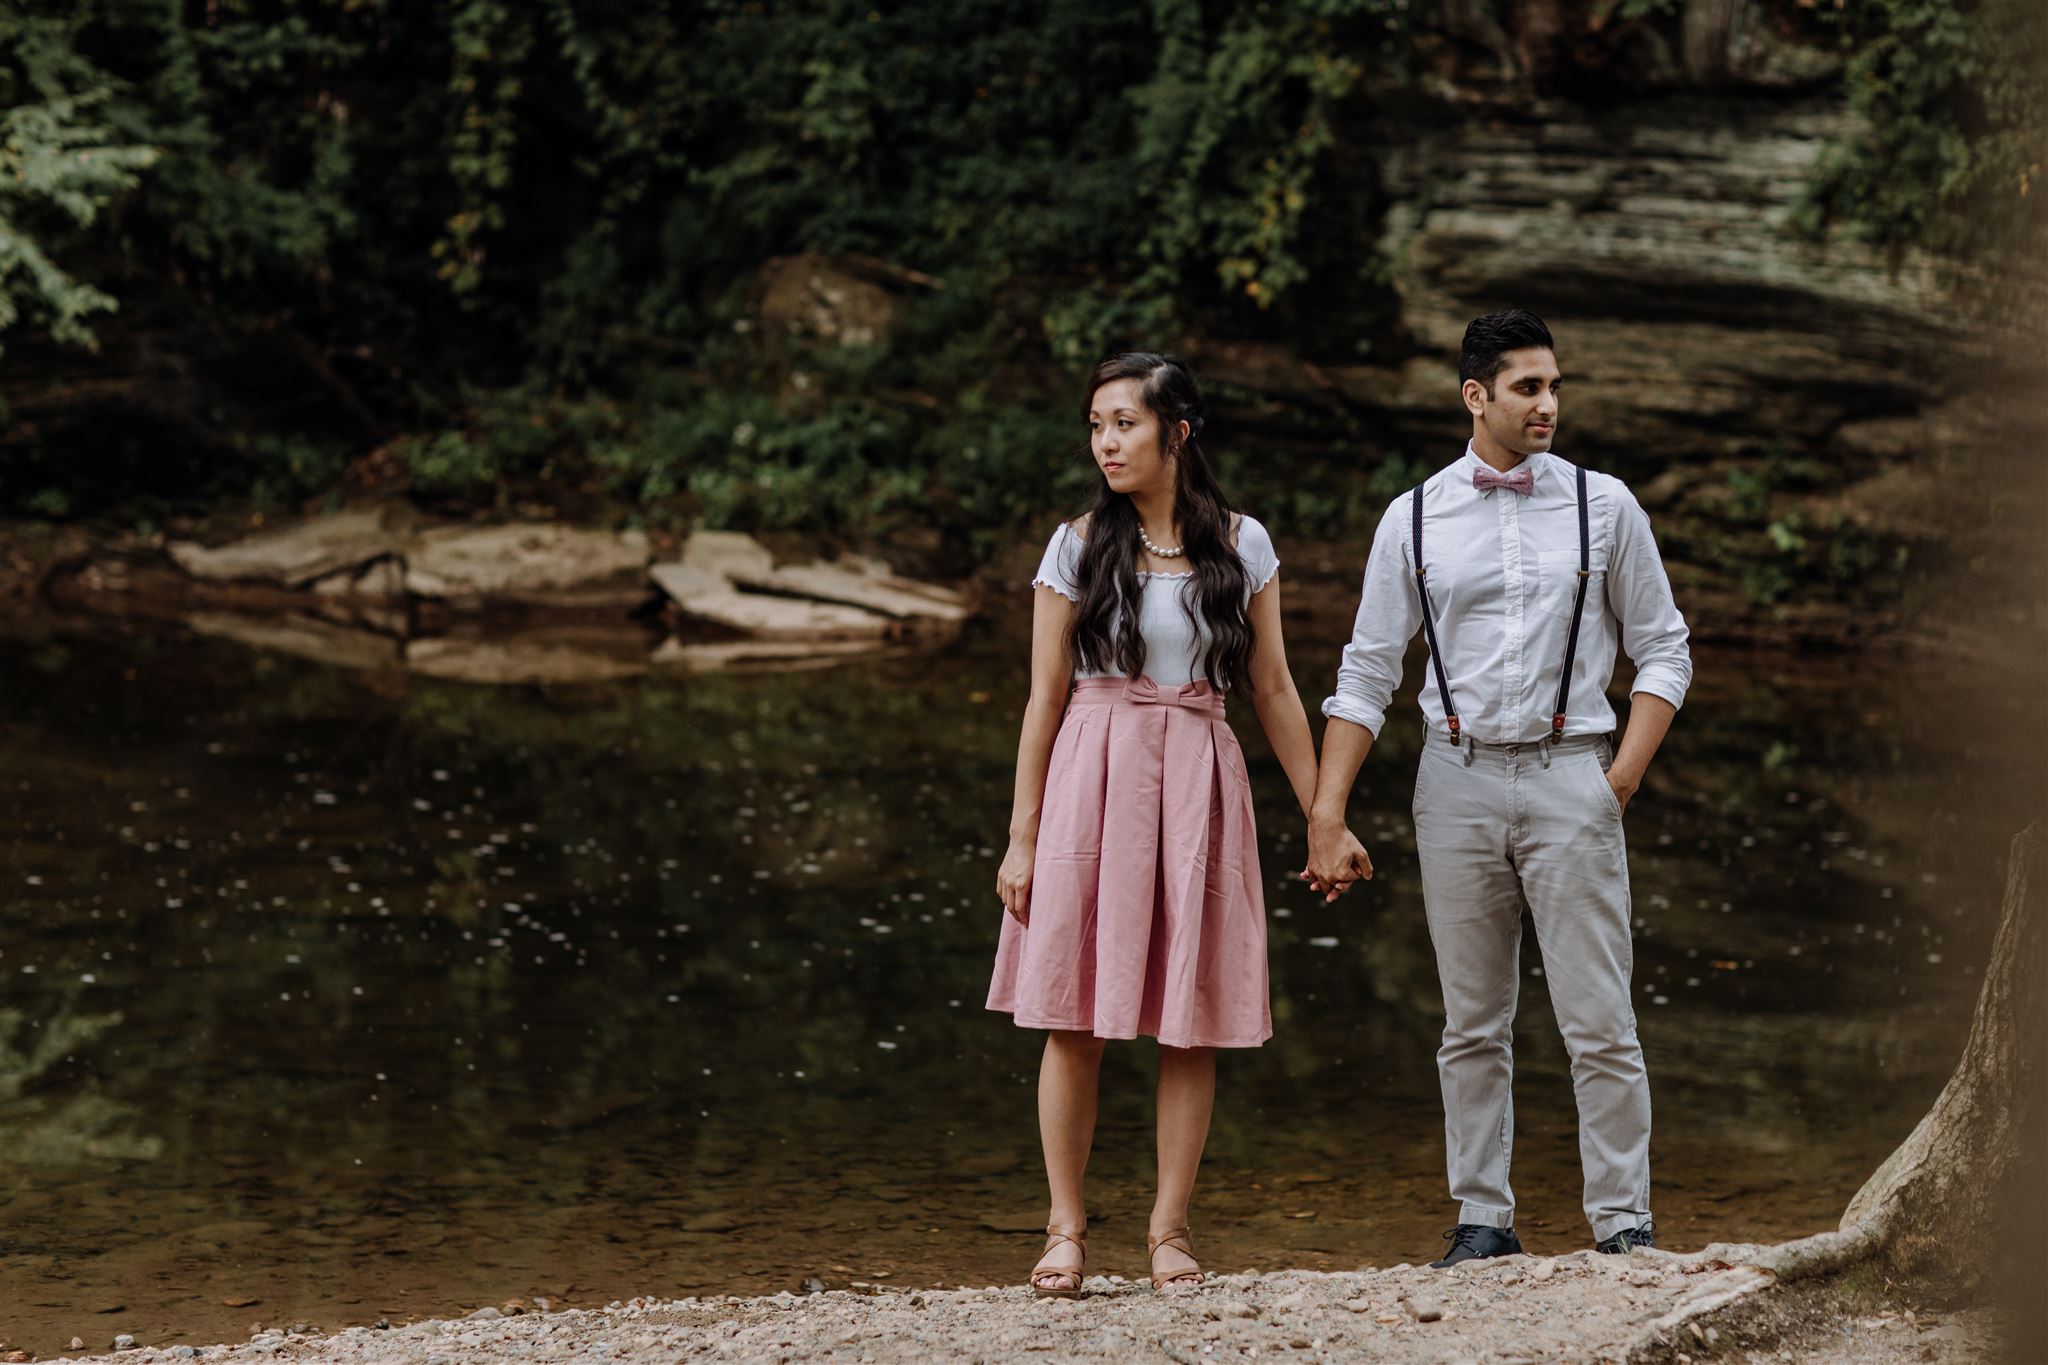
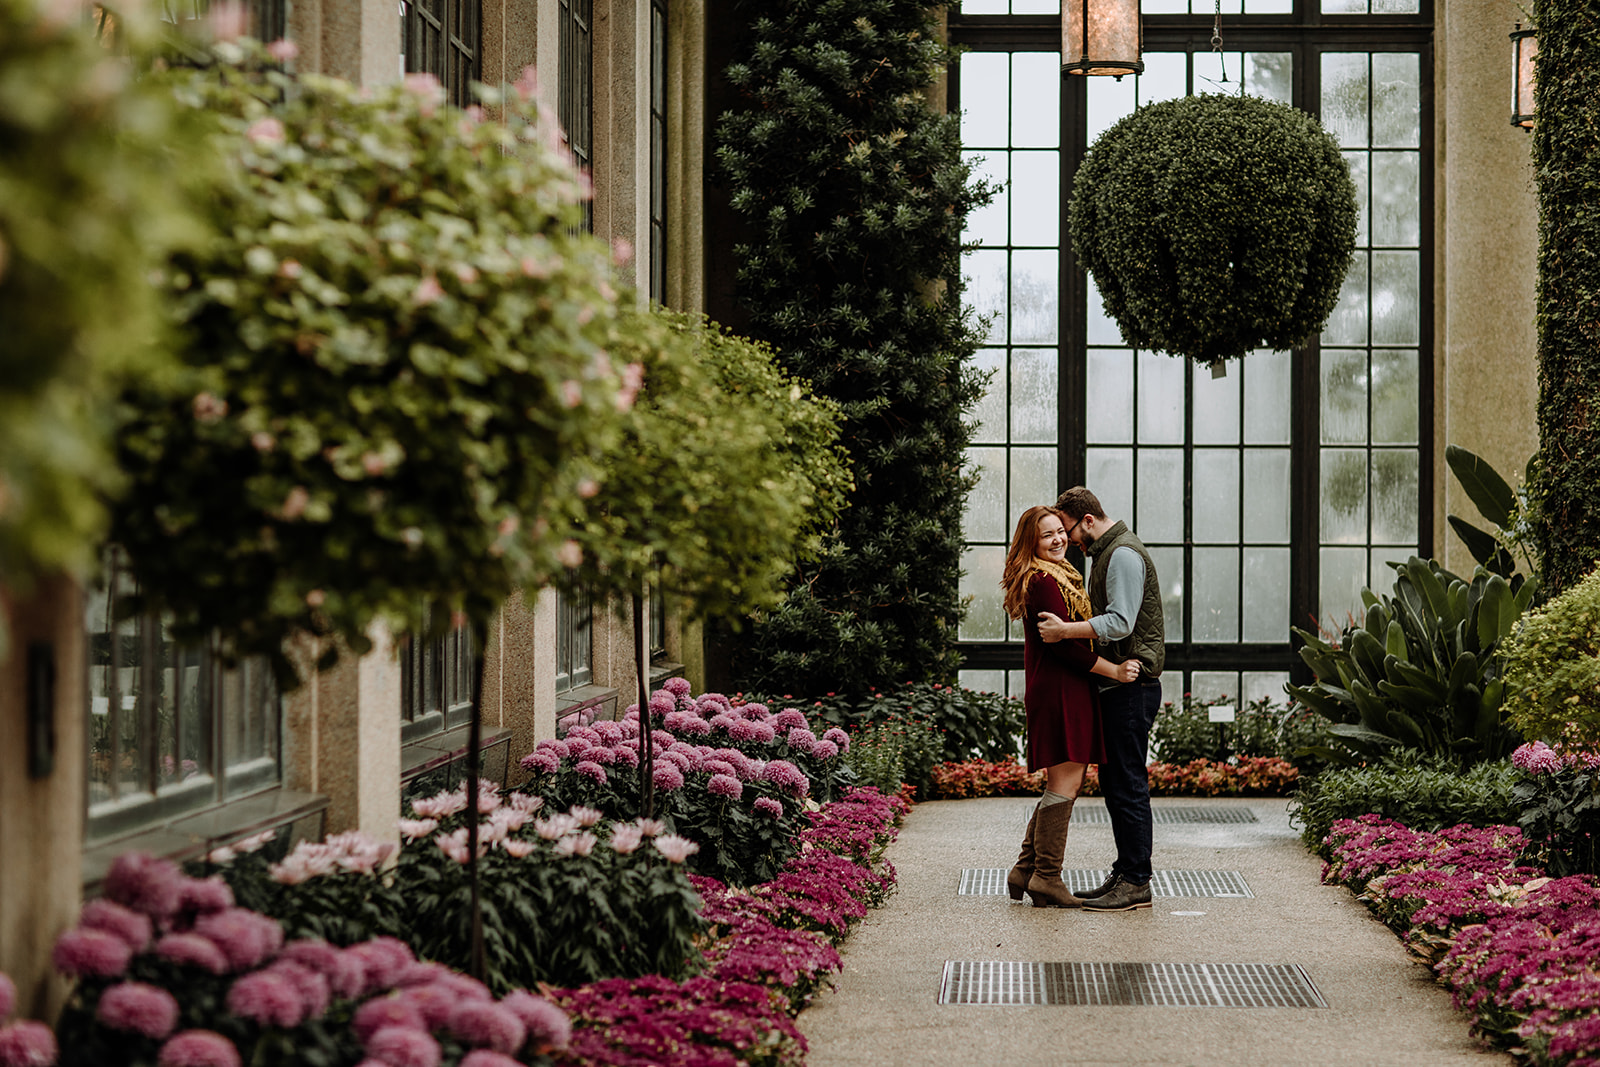
One of the greatest ways to add some style and produce memorable portraits is by working with your subject(s) to make sure they select clothing that will photograph well. This doesn’t mean getting expensive and high end clothes, but rather picking outfits that work with the environment you’ll be shooting in, work with the light you’ll be working with, and compliment the person’s figure. My personal favorite “look” involves neutral and Earth tones with pops of color since this works in just about any setting!
Of course, as a photographer, finding your own style comes in how you approach taking your images, your post processing efforts, and so on. Carving your own style in portrait photography will work to help people see your work as unique and beautiful.
5). Use camera settings to your advantage
Remember how I mentioned photographers are illusionists?
A good part of the illusion of photography is learning how to use basic camera tricks like a wide aperture to isolate your subject from the background. Most of my portrait images are taken at f/2.8 and wider – as wide as f/1.0 on my best prime lenses. This is hands down my favorite “trick” in photography that anyone can take advantage of with even a budget DSLR camera.
Wrapping It All Up
With the right light and photography techniques, you can create beautiful portraits again and again.
You can make literally anyone look and feel beautiful – a wonderful effect good portrait photography can have on the world where many of us have become increasingly self-conscious and hard on ourselves because of our physical appearances. It’s this essence of portrait photography that keeps me coming back for more – the ability to spread something positive by showcasing people in their best form by using light and a bit of camera skill.
I hope you are able to find this post to be useful as you aim to learn more and more about taking great portraits. There will always be new technical challenges to face and overcome (and you can do it!), but really grasping why you are taking photographs and how it’s impacting the people you take them for is the most crucial thing.
Want more awesome posts like this? Subscribe to our mailing list for blog posts right to your email!!