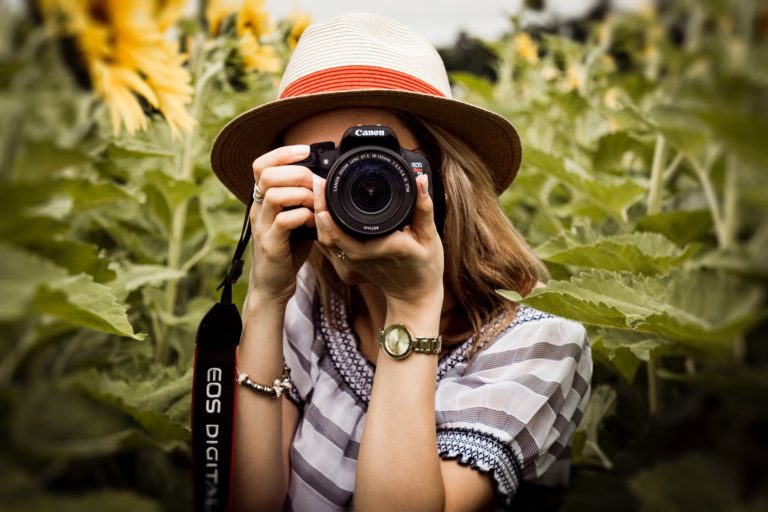
7 Tips for Taking Pictures to Turn into Wall Art for Your Home
In celebration of some recent home renovations we have been doing, we wanted to talk about one of our favorite parts of home design: wall art. We not only love photography, but we enjoy being able to display our photos in our home. It’s pretty much our favorite memento that comes from our travels around the world.
Having images made into small prints that go on tables and shelves, or really notable shots turned into bigger displays like a canvas print wall art, allows us to remember these cool things we’ve done and seen on a daily basis.
Not to mention, a lot of people already go out and spend a lot of money on wall art. Just dropping by this part of the home décor sections at Wal-Mart, Ikea, or any other large store like this and you can find yourself staring at some cool shots selling for hundreds of dollars. The biggest struggle for us with this is just knowing we can do better, save money, and have something entirely unique hanging in our place.
1). Any picture will do (but some are better than others)
 As you go through a folder full of pictures, any of them could be suitable for wall art. While this is subjective, the main two things we look for in photos we want printed to display in our home include:
- Beauty
- Sentimental value
These are categories that are both broad and subject to personal interpretation. But! They do get to the core of what we want to hang in our home. Pictures of things that don’t mean a whole lot to us personally, or that don’t have that “wow” factor like we have in some landscape photos – just don’t need to be put up.
2). Know the impact image quality will make to your wall art
While any image can be printed, not every image will look good after this happens. If you are just wanting small prints, your images quality won’t be impacted as much, but for larger prints – you definitely need to have a higher quality image.
Now, quality will be the result of a couple factors:
- How you save your image
- What camera you are using
The way your images are saved will depend on a few things, too.
First – some photographers shoot straight to JPEG files in camera. These are suitable for sending to print labs (or printing yourself at home). The downside is, these files aren’t that great if you are looking to edit your pictures. This is totally a personal preference thing. If you have no interest in editing images, these JPEG files will work just fine, and likely be the highest quality available.
The alternative situation that is found in photographers who like to edit their work looks like this: the photographer shoots to RAW file format, then edits the images in Lightroom (or another editing software), then compresses the image to JPEG (or another file type). This is a normal workflow, and the resulting image can still be great if you select that in the settings.
Sometimes, images are saved for viewing online. This is a standard practice that impacts a website’s SEO ratings and speed. Websites don’t normally need the highest quality photos, and so they are compressed to make them much smaller than the original. While this is good for website viewing, it wouldn’t be good for printing a picture – as it would have a lot of unwanted grain and artifacts from the compression process.
3). Get new photo equipment (if necessary)
 It’s no question that the quality of your photography gear will impact the image quality. Generally, more expensive cameras will provide higher resolution images. With more data available in a shot, this translates well to quality printing for wall art.
Don’t get us wrong – you can absolutely take great shots on even a beginner’s camera. But, if you are looking for even better quality in your picture taking and print making, an upgrade will be valuable.
A few recommended camera’s we can suggest (for all price ranges) include:
- Canon EOS T6 Rebel – good for beginner photographers wanting to learn about photography and take reasonable quality photos. These cameras begin at around $450.
- Sony A7 Full Frame Mirrorless Camera – One of the most affordable full frame camera’s is this one. It is very lightweight and takes some great quality photos. It comes in at just under $1,000.
- Canon 5D Mark III – Our first professional camera body, the Mark III is an excellent choice if you want really high quality pictures. We originally bought one when they just were coming out, but they have since seen a pretty dramatic price drop to around the $2,000 range.
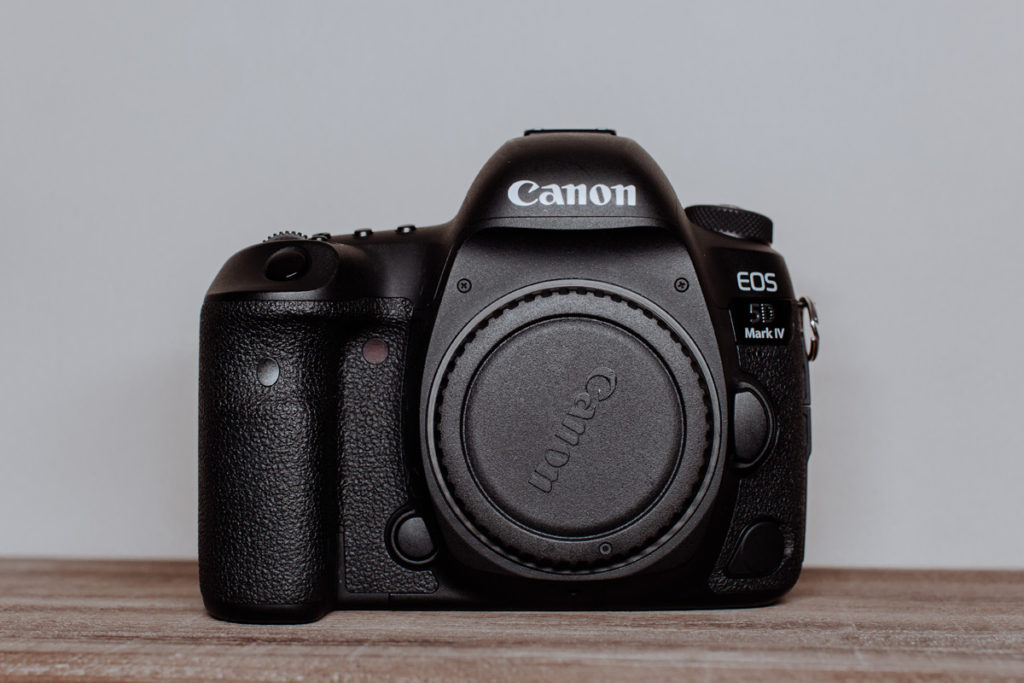
- Canon 5D Mark IV – Our current camera, the Mark IV creates some stunning images. When paired with a quality lens, the images are just beautiful. We had originally bought a few of these when they were priced at $4,000 – but over time the cost has come down dramatically, now just under $3k.
4). Think about the aesthetics of the space
Your wall art choice will only truly look good if it is decided with your home aesthetics in mind.
Think about the surrounding environment.
What colors are dominant in your home?
What is the look you are trying to achieve?
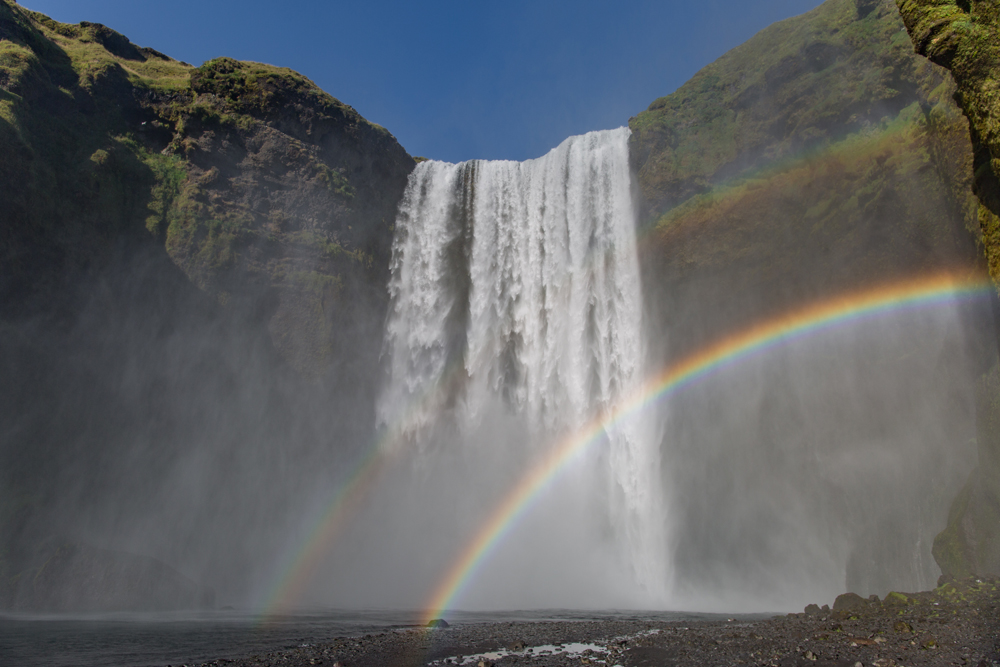
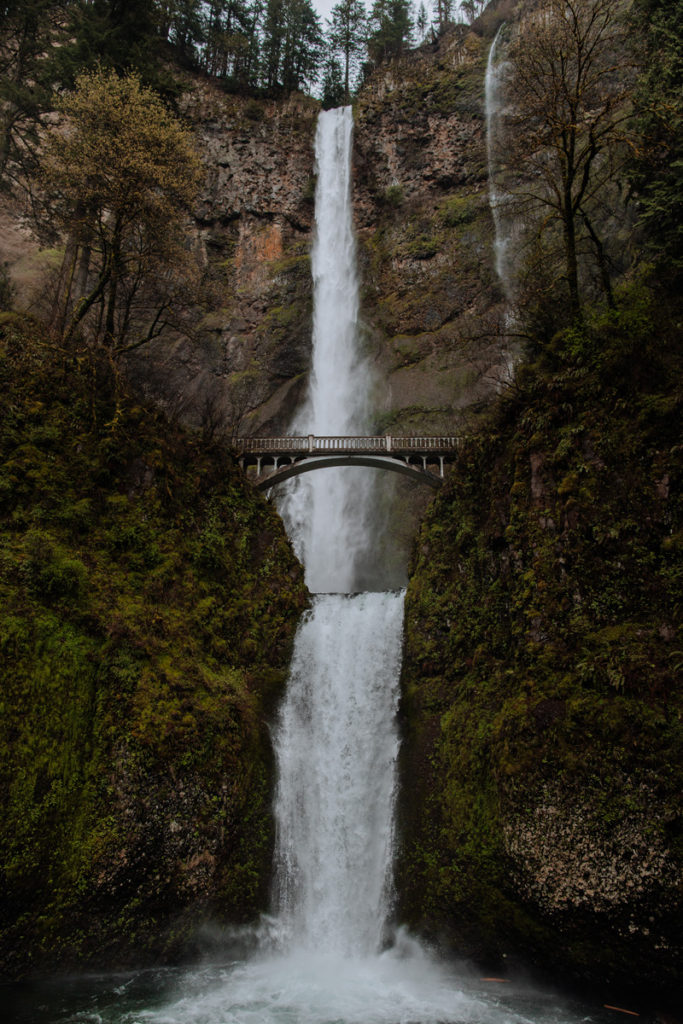
These are some of the questions we asked ourselves before printing a large canvas of a recent landscape we shot while visiting Oregon. Actually, the image we took and turned into wall art is the one seen above. It’s a beautiful waterfall with a lot of lush greenery and a cool bridge. It’s probably one of the most photogenic places in the USA (Multnomah Falls for the curious).
In our home renovations, we have been aiming to make things a little more modern. Replacing our floors (from carpet to nice grey wood flooring), painting the walls (white everywhere plus a teal accent wall), and so on. In a sense, we want most of the environment to contain pretty muted colors (white, grey, black) – so our wall art is being selected to give a pop of color. The greenery of the landscape shot is great against this because it adds a bit of nature to an otherwise pretty modern looking space.
5). Go and take some photos
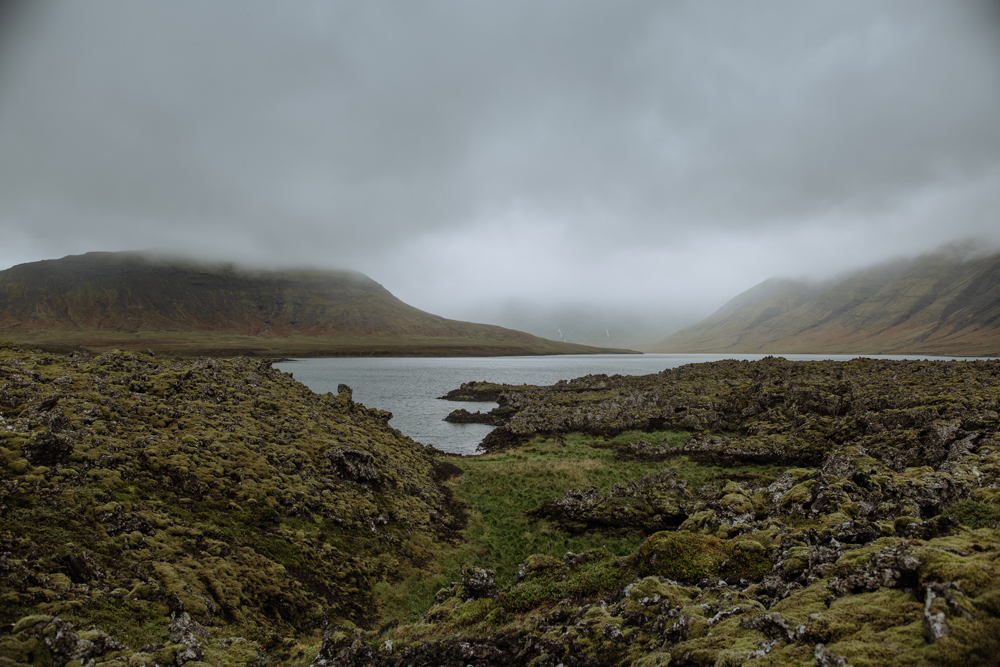
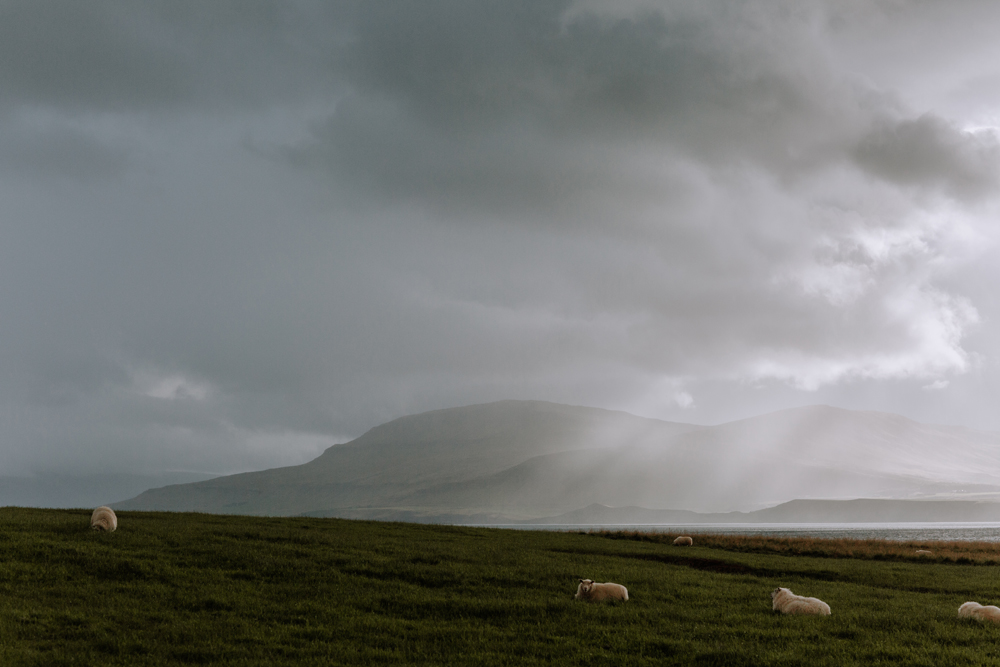
The only way you can make your custom wall art happen is by actually going out and taking the photos you want to see. For us, our wall art choices really come heavily from our travels to spectacular locations. Our trip to Iceland, for example, has become a centerpiece of our printed pictures.
Unsure of where to start? We have some great articles to help you get more acquainted with your camera, and capture some beautiful images.
- 101 Digital Photography Tips – A Guide to Taking Great Photos
- How to Take Good Landscape Photos
- Sometimes, Landscape Photography is Scary!
- The Ultimate Guide to Couple’s Portrait Photography
- Photography 102: How to Get the Right White Balance
- When is the Best Time to Shoot Photos Outside?
6). Measure out the space for the print type you want
This is a simple but important tip for creating great wall art. Be sure you measure you space, then measure it again. Know the exact dimensions of the print you are looking to order, and make sure it will fit the space you want it in. As cool as having a giant print canvas may be, it might not suit your specific space.
7). Use a reputable printer
Last, but not least, the highest quality wall art will come from a great printer. Even the best images can be made to look pretty bad if the printer being used is not great (we’re looking at you Wal-Mart print labs).
While you can buy a printer to make your own photography prints at home, such as the Epson PictureMate PM-400 Wireless Compact Color Photo Printer, you will most likely still want to use a print service because they use much more expensive and professional grade equipment.
In this area, we highly recommend CanvasPop for your printing needs. We wrote a review of CanvasPop after they made a big impression on us when we relied on them to print some massive canvases to hang at The Movie Tavern.
CanvasPop makes truly great quality prints!!