Strobe Flash vs Continuous Lighting: Which One is Best for Me?
For many photographers, when faced with a dark or otherwise less-than-ideal shooting environment, they will want to bring along their own light source. A lot like how a flashlight can be used to light up a dark walking path, photographers have many options when it comes to the lighting gear they can choose to work with.
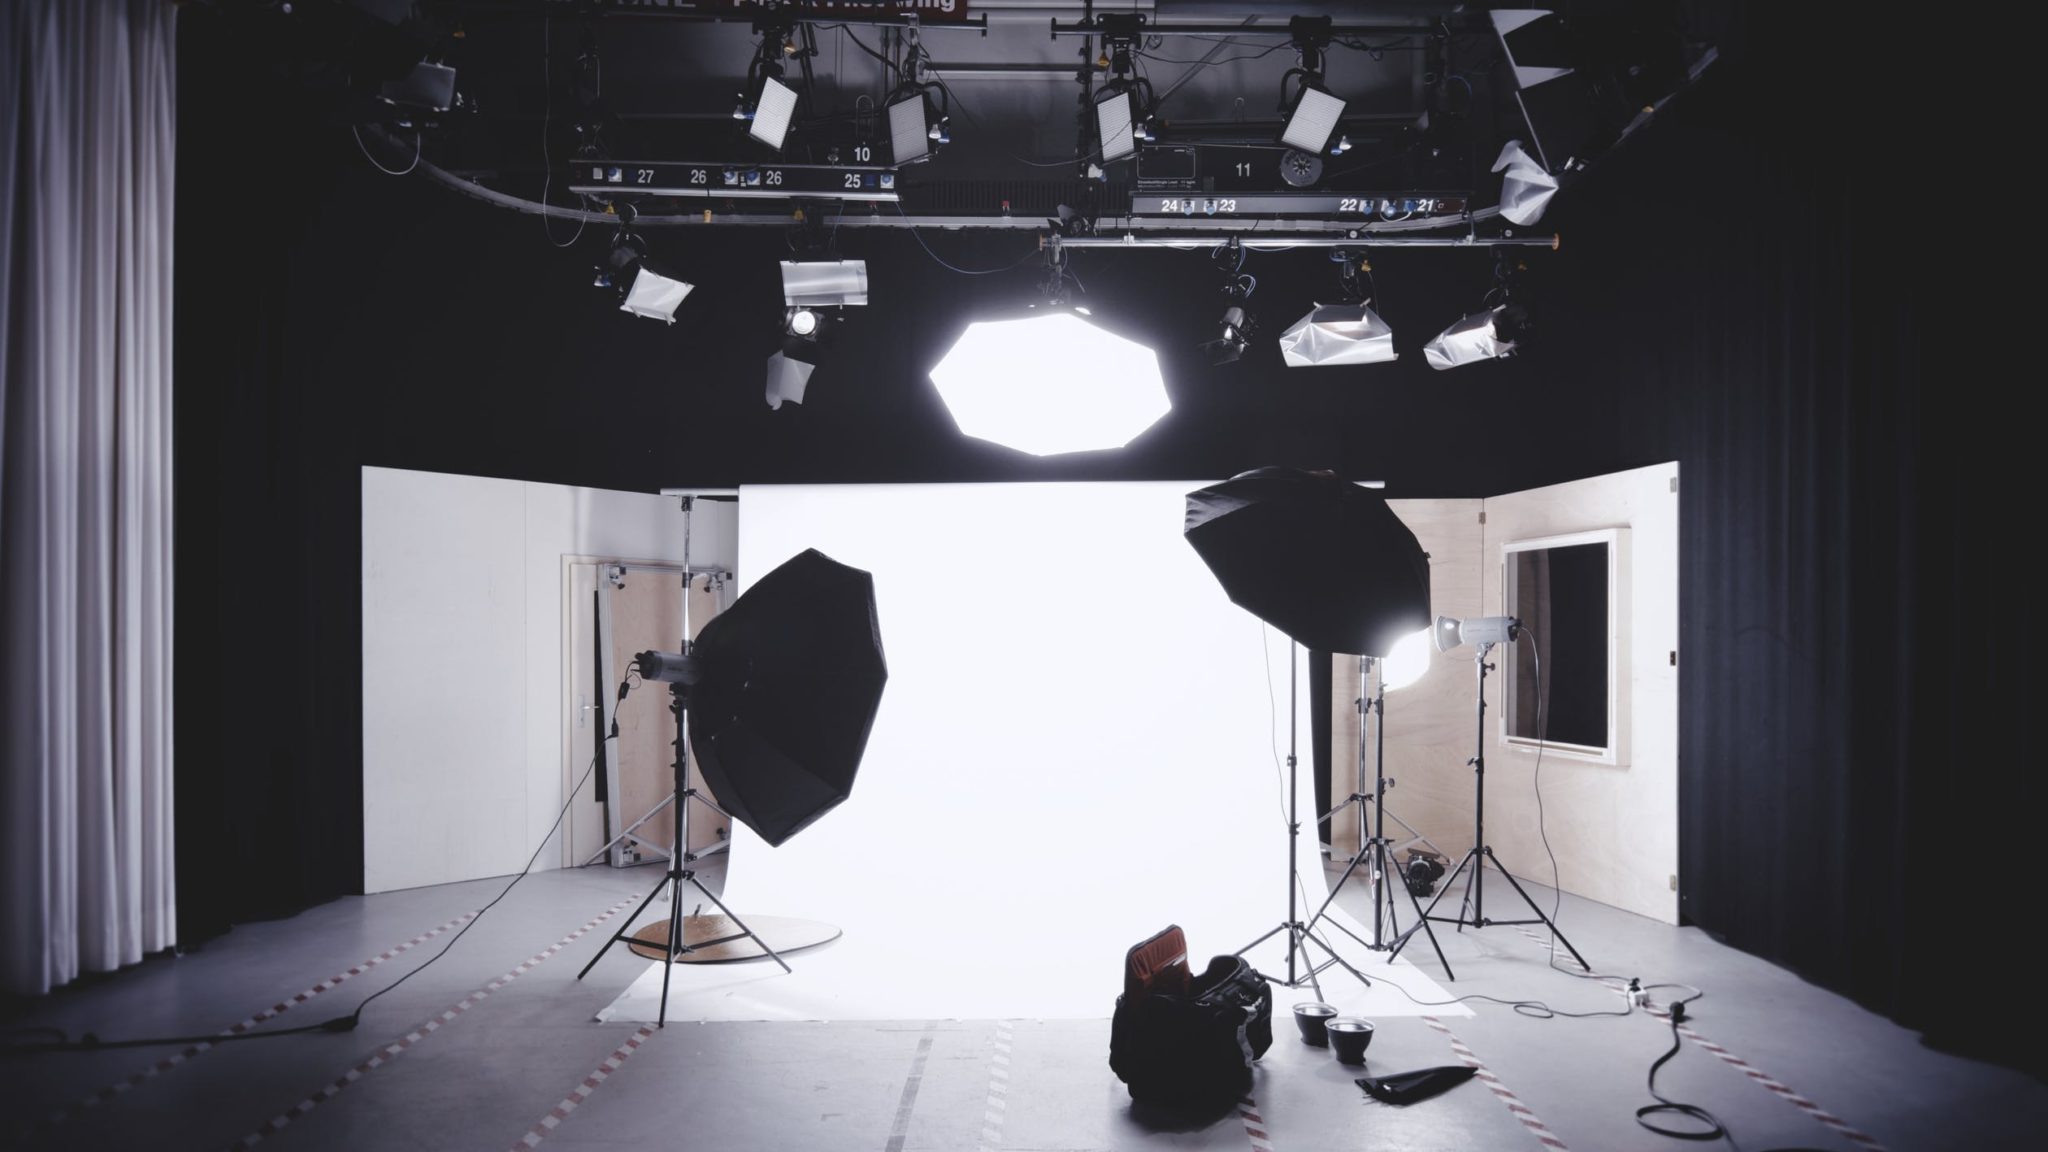
While there are many varieties such as studio strobes, speedlights, monolights, video lights, ICE lights (and more) – they all can be categorized as either strobe (flash) lights or continuous (constant) lights.
In this post, we will be providing an in depth photography tutorial where we will talk about strobe lighting and continuous lighting, give you a good idea of what each is (and isn’t), talk about some pros and cons of each, and cap things off by helping you to identify which one is right for your photography.
What is Strobe Lighting?
Strobe lighting is produced from flash devices that generate a rapid burst of light. This light is generally very powerful, and can be adjusted and modified for an extensive range of creative control.
For flash photography to work, the photographer needs to trigger the strobe to be produced by pressing the shutter button on their camera. This means that the light is only visible when the photographer wants it to be.
The most important thing to remember about strobe lighting is that it is just a quick burst of light, not a constantly on light.
Outside of photography, you may already be familiar with strobe lighting as it’s used regularly by DJ’s at night clubs, weddings, and other events. The specific use case is very different, but the strobe effect still remains the same.
What is Continuous Lighting?
Continuous lighting is created by equipment with the intention of outputting a constant beam of light. Like strobes, this lighting can also (normally) be adjusted and modified, though in our experience there is less flexibility in this area when compared with a flash.
Photography with continuous lights is actually extremely simple, and easier than using traditional flash. The reason for this is because you can see the light with your naked eyes!
While the application in photography is pretty simple to understand, it can be said that continuous lighting exists heavily in all areas of our lives. In the world of film, video lights serve as a continuous light source (and can be used by photographers, too!). Of course, more than just the world of the visual arts, the lights in your kitchen, living room, office, etc. all are continuous light sources. What you see is what you get!
With this in mind, when we talk about continuous lighting as photographers, we are specifically talking about the continuous lighting equipment designed for use in photography. This is because how we use a constant light in a photography studio is going to be very different than how we approach taking a portrait with a dining room lightbulb.
Most artificial lights that exist in our day-to-day lives are not suitable to use for illuminating a photography subject because they were not designed for this purpose. Reasons for this include the amount of light that is outputted and the color of the light not being suitable for photography. There are some items that serve as an exception to this such as an LED light ring like this that might be used by a makeup artist.
Pros of Strobe/Flash Photography
 More power
Most flash units provide a higher level of power than most continuous light options currently available. In practice, having more power isn’t necessarily a useful thing, and there are plenty of shooting situations where the amount of power provided by a continuous light will be more than sufficient.
The one area where a high powered flash really is beneficial vs. a continuous light is the ability for it to be used to overpower the sun. This is seen very commonly in outdoor portraits taking in harsh sun light (not the most ideal of conditions for many photographers). With a powerful off camera flash unit like the Profoto B1X (which we use), you can aim the flash at a person, take a picture, and get a result that is well exposed with the sky retained and subject well illuminated. That is amazing!
Freeze movement
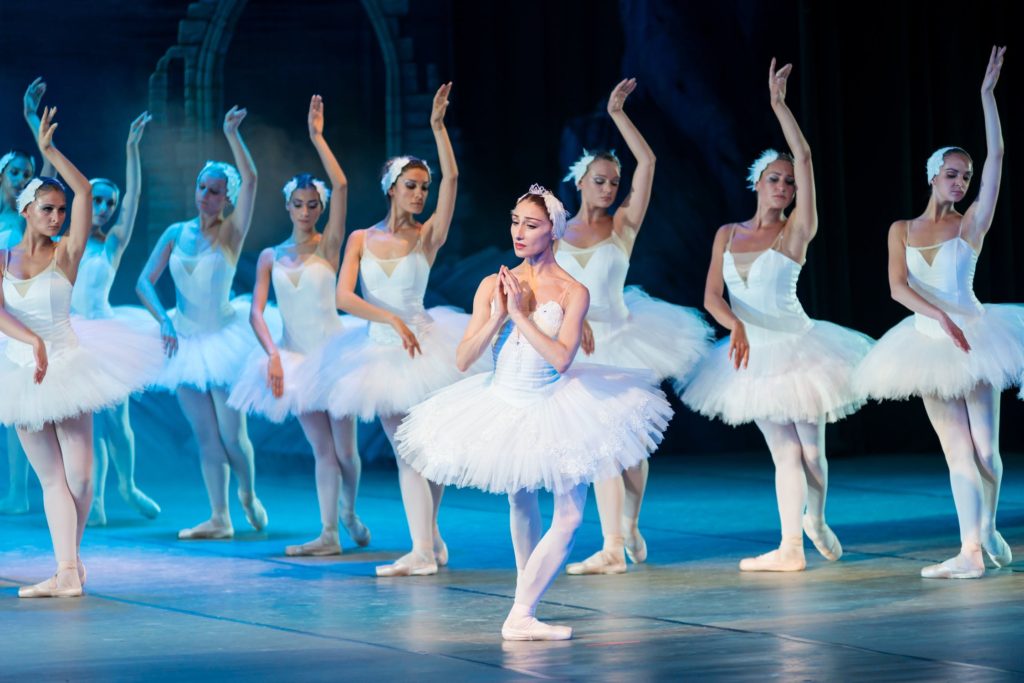 Strobes have the incredible ability to freeze movement.
When using a flash (either on camera or off camera), the flash essentially replaces the functionality of the shutter speed in this regards – as most cameras have a flash sync speed limit of around 1/200 shutter speed. This means you can reduce your shutter speed (which can actually lead to blurring in your image depending on the surrounding light as described in detail here) – and this reduction will lead to more light being produced by the strobe, killing surrounding ambient light in the environment.
Why would you want to freeze movement with a flash? The use of flash photography in this way is very common in live entertainment such as ballet and sporting events. A well placed off camera flash can also interject a good amount of drama into a scene!
Kill ambient light
One of the most amazing features of flash photography is the ability to crush ambient light.
To understand how this works, let’s look at this quote from the Strobist:
Every time you take a flash photo, you are making two exposures simultaneously. You are making an exposure of the ambient light, and an exposure of the flash’s light. Whether you take this into account or not, it is happening every time.
If you are shooting in a location with unflattering ambient light, you can use flash to your advantage to remove this environmental light in exchange for clean light that is in your control. Depending on the specific environment, you may need to use a flash with High Speed Sync (HSS) mode in order to increase the shutter speed on your camera above the regular flash sync speed (again: ~200 shutter speed on most cameras).
The 3 main functions of your camera equipment you will make adjustments to in order to kill ambient lighting include:
- Reducing shutter speed
- Increasing flash power
- Increase f-stop
Note: the specific function(s) you adjust will depend on the specifics of your environment and the shot you are looking to produce. For example, while raising the f-stop from f/2.8 to f/11 is doable, it is not always preferred if you want to keep the background blurred out. As a result, adjusting one of the other functions provides a better solution.
Lower ISOs = crisper images
Keeping your ISO around 100 will make for the most ideal images.
When shooting without any additional light sources, increasing the ISO is one way to artificially increase the exposure – making the picture brighter.
By using a powerful flash, you are able to keep the ISO low by letting the flash illuminate the subject instead of the camera. This is contrasted with a continuous light because a strobe tends to output a larger volume of targeted light. This means that an image taken with a flash will most likely not require as high an ISO as an image taken (in the same situation) with a continuous light.
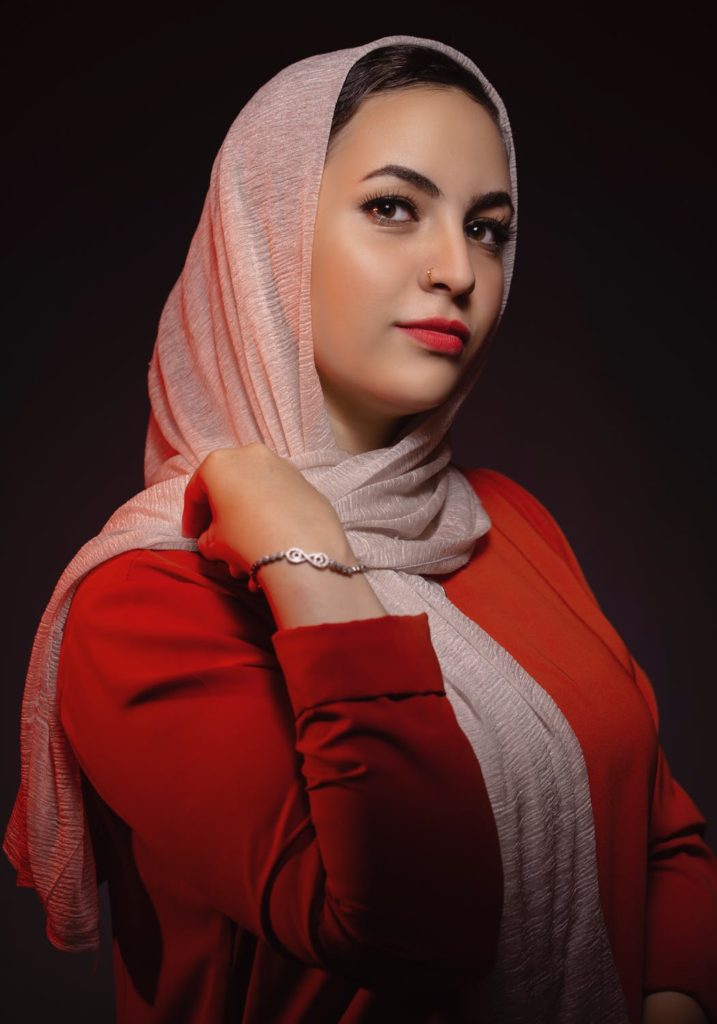
Easy to modify
Unlocking the real power of flash photography tends to come through the use of modifications to tweak the outputted light for your photography style. The most common flash modifier you will hear about is a diffuser. Put simply – a diffuser is used to soften and more evenly distribute light. Many speedlights, out of the box, can lead to harsh and jarring lines on a subject – but a diffuser helps eliminate this harshness and forms a smoother roll off of light.
A few other flash modifiers you will commonly see:
- Flash gels to modify flash color and match ambient lighting for better white balance
- Studio accessories like a barndoor, snoot, etc.
- Diffusers from on-flash options like the Gary Fong Lightsphere to off camera umbrellas and softboxes
Built in modeling lights
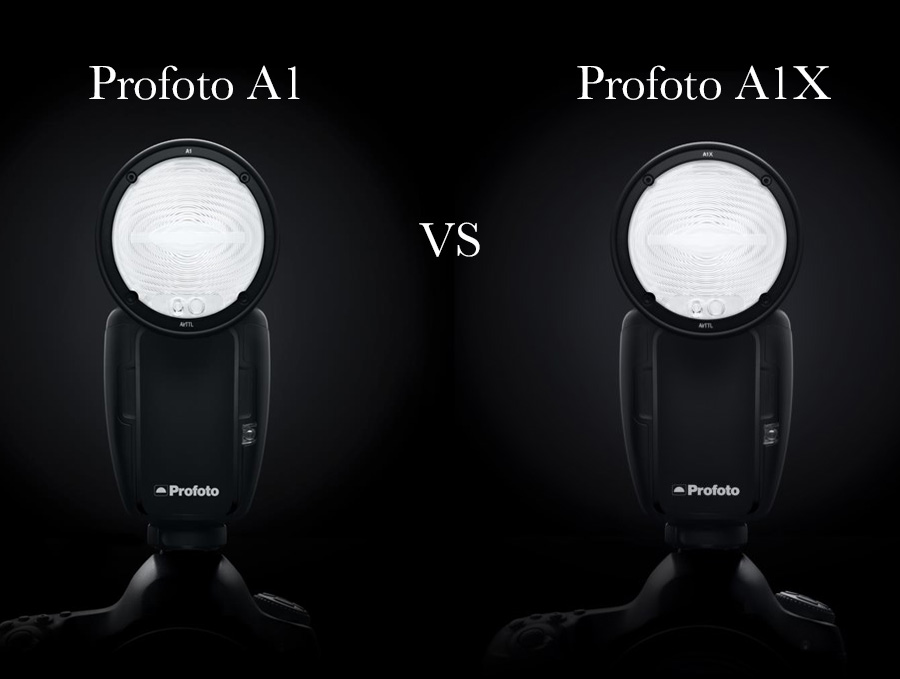
 Some flash units include modeling lights – a form of continuous light designed for flash users to use in order to visualize where the light will end up falling in their shots. The Profoto A1 flash that we use regularly includes this, and it is a really handy feature for sure.
While “true” continuous lights in photography begin around 300 watts of power, modeling lights tend to be lower powered. This means they should not be relied on for the purpose of taking pictures with the light, but instead as a point of reference for where the actual strobe lighting will fall.
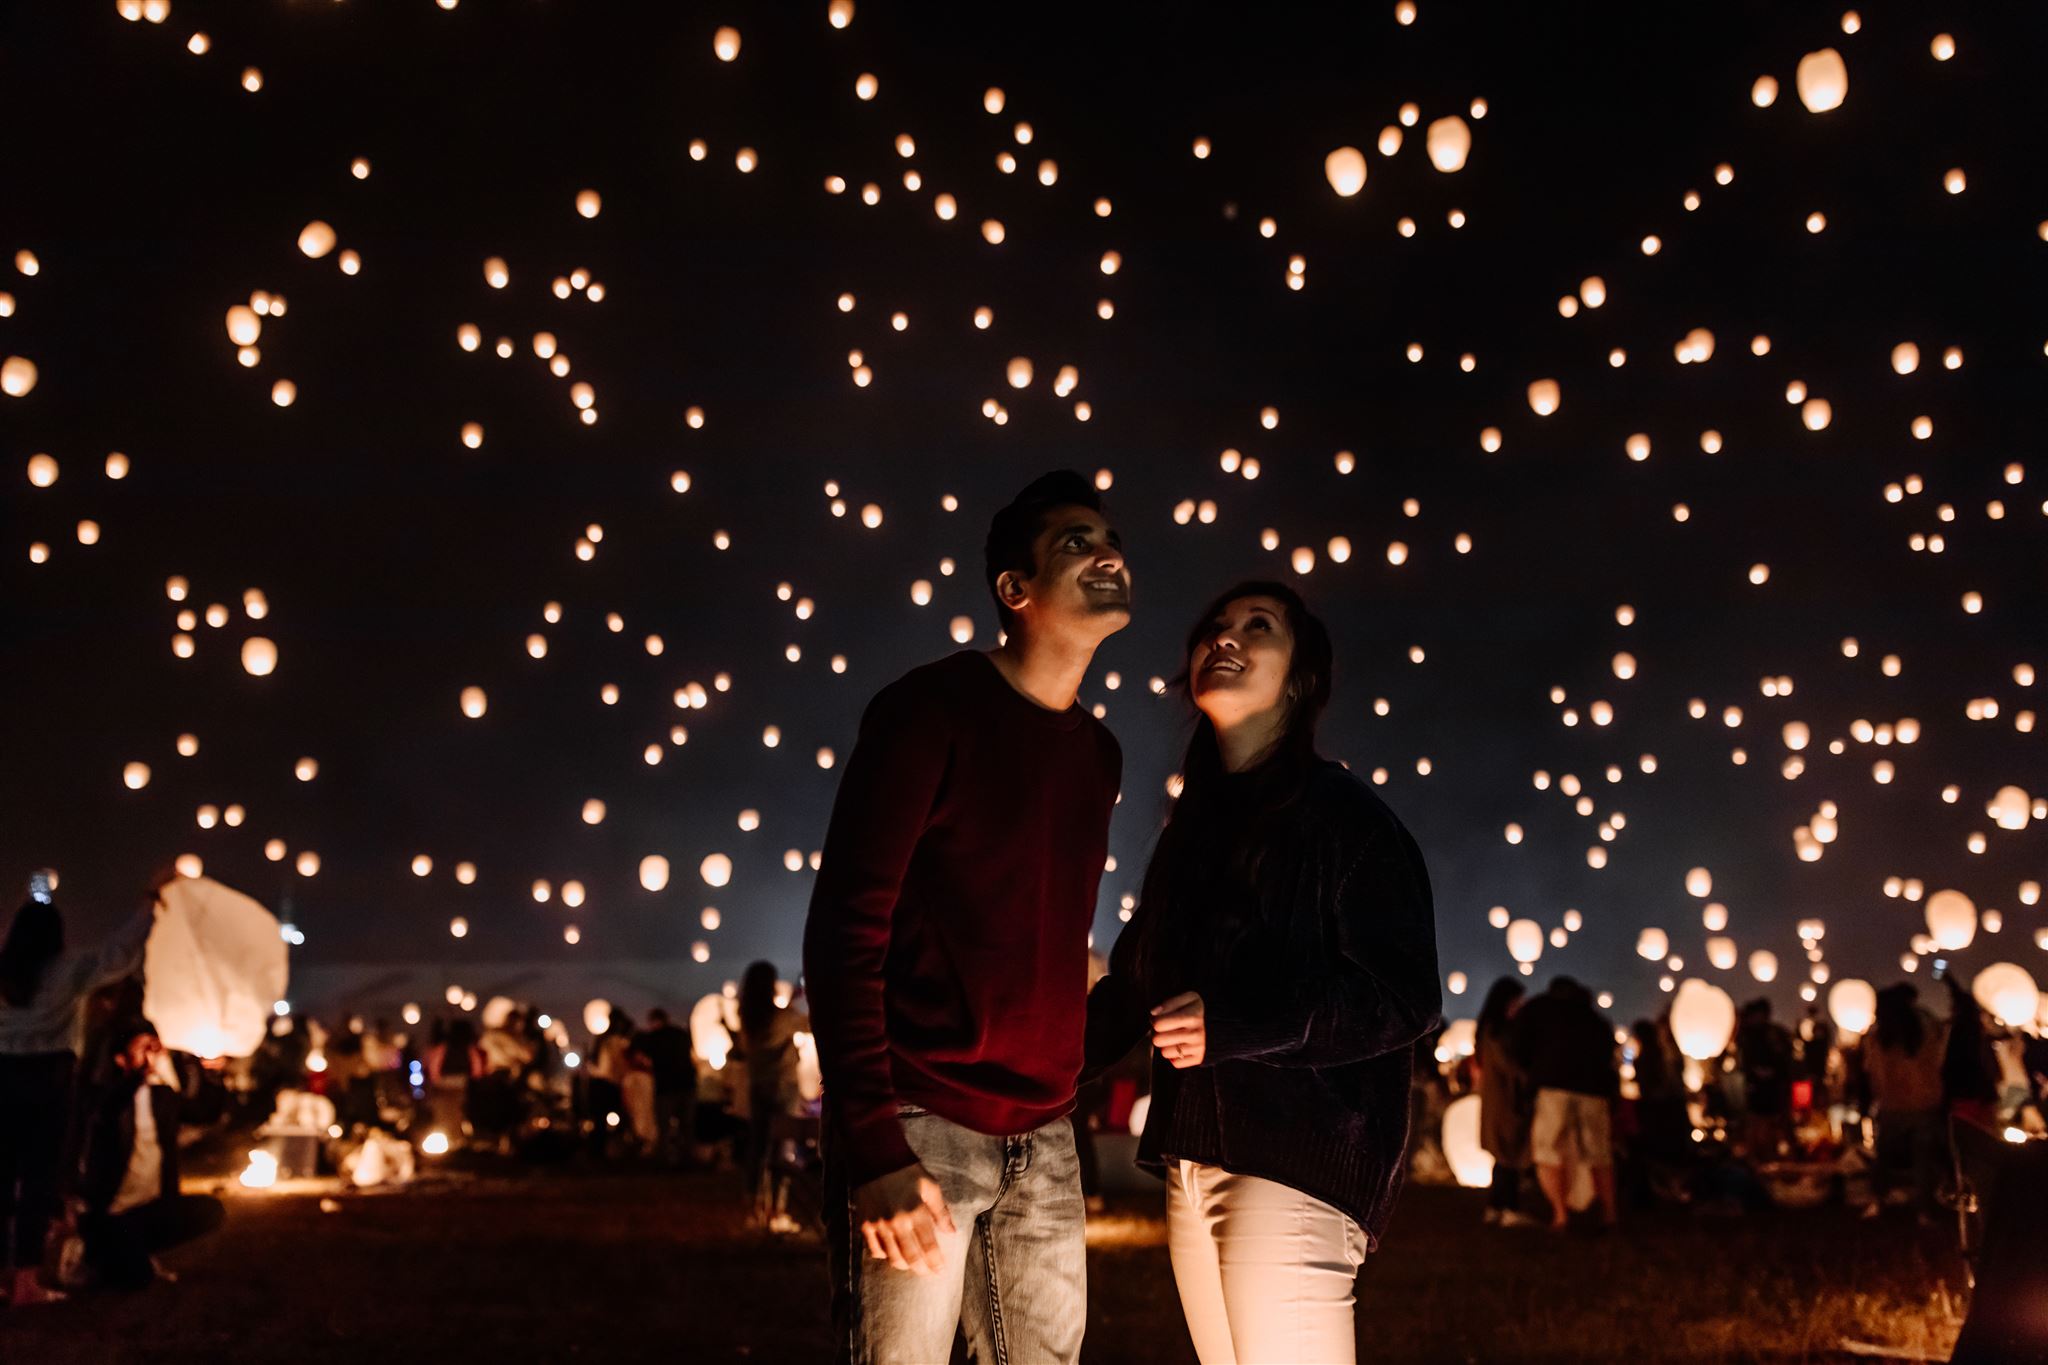
With that said, we have used our flash modeling lights to gently illuminate portrait subjects as we’ve shown off in our post on taking portraits during a Chinese lantern festival to great success. As such, modeling lights serve as a “bonus” of sorts for flash photographers wanting to experiment with some continuous light, too!
Cons of Strobe/Flash Photography
Harder for beginner photographers
Using flash requires some technical skill and even then still has a little bit of guesswork involved. When we were just getting started with photography, flash photography in particular was quite challenging!
The thing is – “basic” flash photography is easy. Mount an on camera flash on your camera and shoot away. You will get some decent images. For simply documenting events, this approach works.
The larger world of flash photography, though, can be daunting. When you want to really have control over the light and bring to life images in the way you picture them in your mind, being able to adjust the flash settings to get the perfect image takes a lot practice.
You can’t see the light until you press the shutter
While some flash units may include a modeling light as we covered above, even these lights do not really replicate the look of a strobe after you’ve pressed the shutter button. By and large, the trickiest part about flash photography is that you can’t see what your image will look like until you’ve actually taken the photo.
You need a transmitter for off camera shooting
With the exception of a few higher end flashes like the Profoto A1X that includes a transmission mechanism built in, most flashes will require an additional device in order to fire off camera. Before upgrading, we used the Pocketwizard Transceiver. It worked well enough, but it is an extra device that needs to be lugged around and consistently updated with batteries for longer shoots.
Pros of Continuous Lighting in Photography

You can see the light at all times
The most obvious benefit of constant lighting is that you can see it with your own eyes!
This quality of continuous lighting makes it very accessible even to a beginner.
If taking a portrait, the “always-on” nature of these lights also make it much easier on the eyes for the subject, too!
Easy to Modify
Like strobes, continuous lights are also easy to modify. In fact, they feature many of the same types of modifiers such as diffusers and gels. The only difference is that there tends to be less modifier options for continuous lighting.
Cinema Quality
The reason why continuous lighting gives a cinematic quality is because these are the lights used by film makers.
Video lighting kits can be arranged and augmented with modifiers to create very specific moods. Being able to go anywhere with video lights, set them up, and shoot away will allow you to get a theatrical and intentional look to your own images.
In addition, it is easier to produce a blurring motion on your subject by using constant lighting (simply reduce your shutter speed). This can give you the best of both worlds by mixing a constant light source with a long exposure technique. This also adds a very distinct cinematic quality because it interjects movement (something we associate with video) to a still image.
Keep in mind: lighting is just one element that contributes to that “cinematic feel.” There are so many other things as well that contribute including choice of preset, color grading, introduction of film grain (even in digital photography), contrast, black and white photography, choice of camera + lens, and more.
Better Price-to-Quality Ratio
While there are some good and inexpensive speedlights that you can get for your first foray into flash photography, continuous lights by comparison are cheap for even high quality options out there.
Check out this comparison…
You can get the Godox SL-60W video light for about $134 on Amazon (as of the time of this writing) or the Godox Ving V850II GN60 speedlight for $139. That $5 dollar difference isn’t all that much until you factor in performance. The video light is very much “set it and forget it”, whereas this particular speedlight will see you struggling to get it to work exactly as you want out of box without modifiers.
https://www.youtube.com/watch?v=813RLEZ8TYc
Cons of Continuous Lighting in Photography
Lower Power
The first downside of constant lighting is that these lights, even professional grade ones, are not as powerful as a high quality strobe light.
The one way to identify what is most powerful is to look at whether or not it is capable of overpowering the sun such as when shooting outdoor portraits in the middle of the day. With a powerful monolight such as the Profoto B1X (which we use), this off camera flash can be set up so the flash fills in a subject and still exposes for bright blue skies. Shooting without a flash or with a continuous light would never result in the same effect.
It is worth mentioning: unless you have the need for really high levels of power (such as overpowering the sun), the power on many mid-range continuous light products will be more than suitable for most photography needs. For example, if you are a wedding photographer and need some extra light to illuminate a portrait or want to fill up a reception hall with light, video lights like these will work absolutely fine.
Will require higher ISOs (or Slow Shutter speeds)
Since continuous light sources are less powerful than strobes, you will most likely need to increase your ISO much more to create a well exposed image. Alternatively, you will need to bring down your shutter speed or aperture – but both of these have consequences to the look of your images by potentially introducing motion blur and a narrow depth of field respectively.
To some extent, a higher ISO doesn’t necessarily mean a bad looking image if it’s within reason (what that is will be defined by your camera’s limits). Using a higher ISO can also contribute to the cinematic look of your photos due to the addition of some extra grain.
Can I use flash & continuous lighting together?
Yes!
While the choice can often feel like an either-or decision, there are many instances where using both a continuous light and a flash together can combine to create something really stunning.
In the below images, we paired an on camera flash (again the Profoto A1) with an off camera video light. Our flash was only modified with a diffuser, while the video light included a gel to warm the light. The result is a really warm-but-natural looking shot that also produces some excellent skin tones.
Which do we use?
We use both continuous lights and flashes in our own photography.
Our choice ultimately depends on the particular situation and what kind of lighting is being called for. As we just showed off, we sometimes blend constant lights with strobes for really great effects, too.
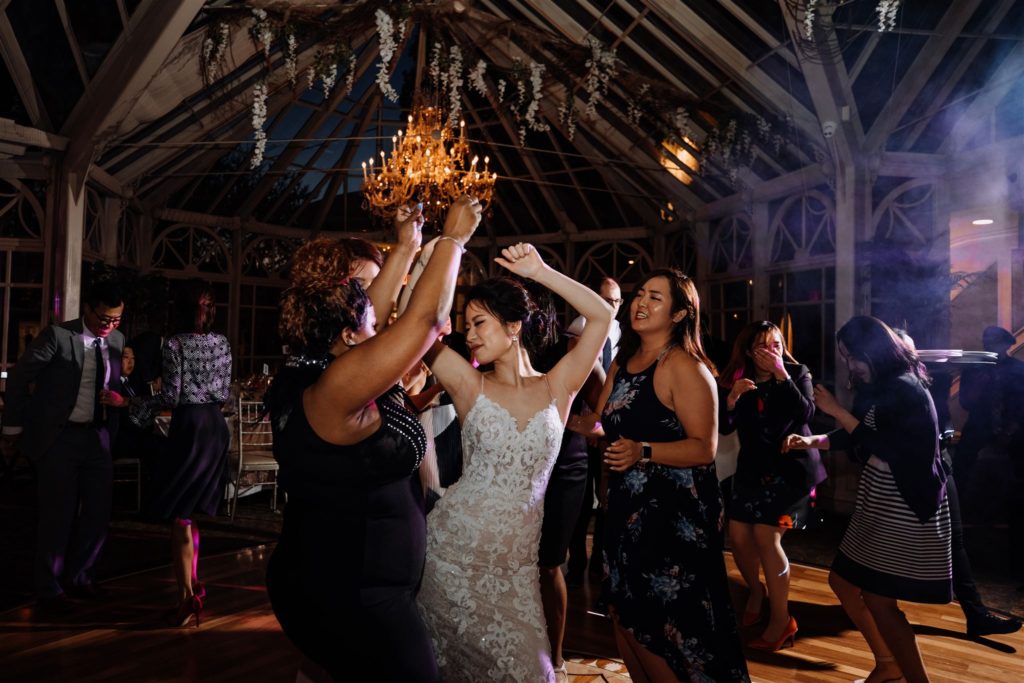
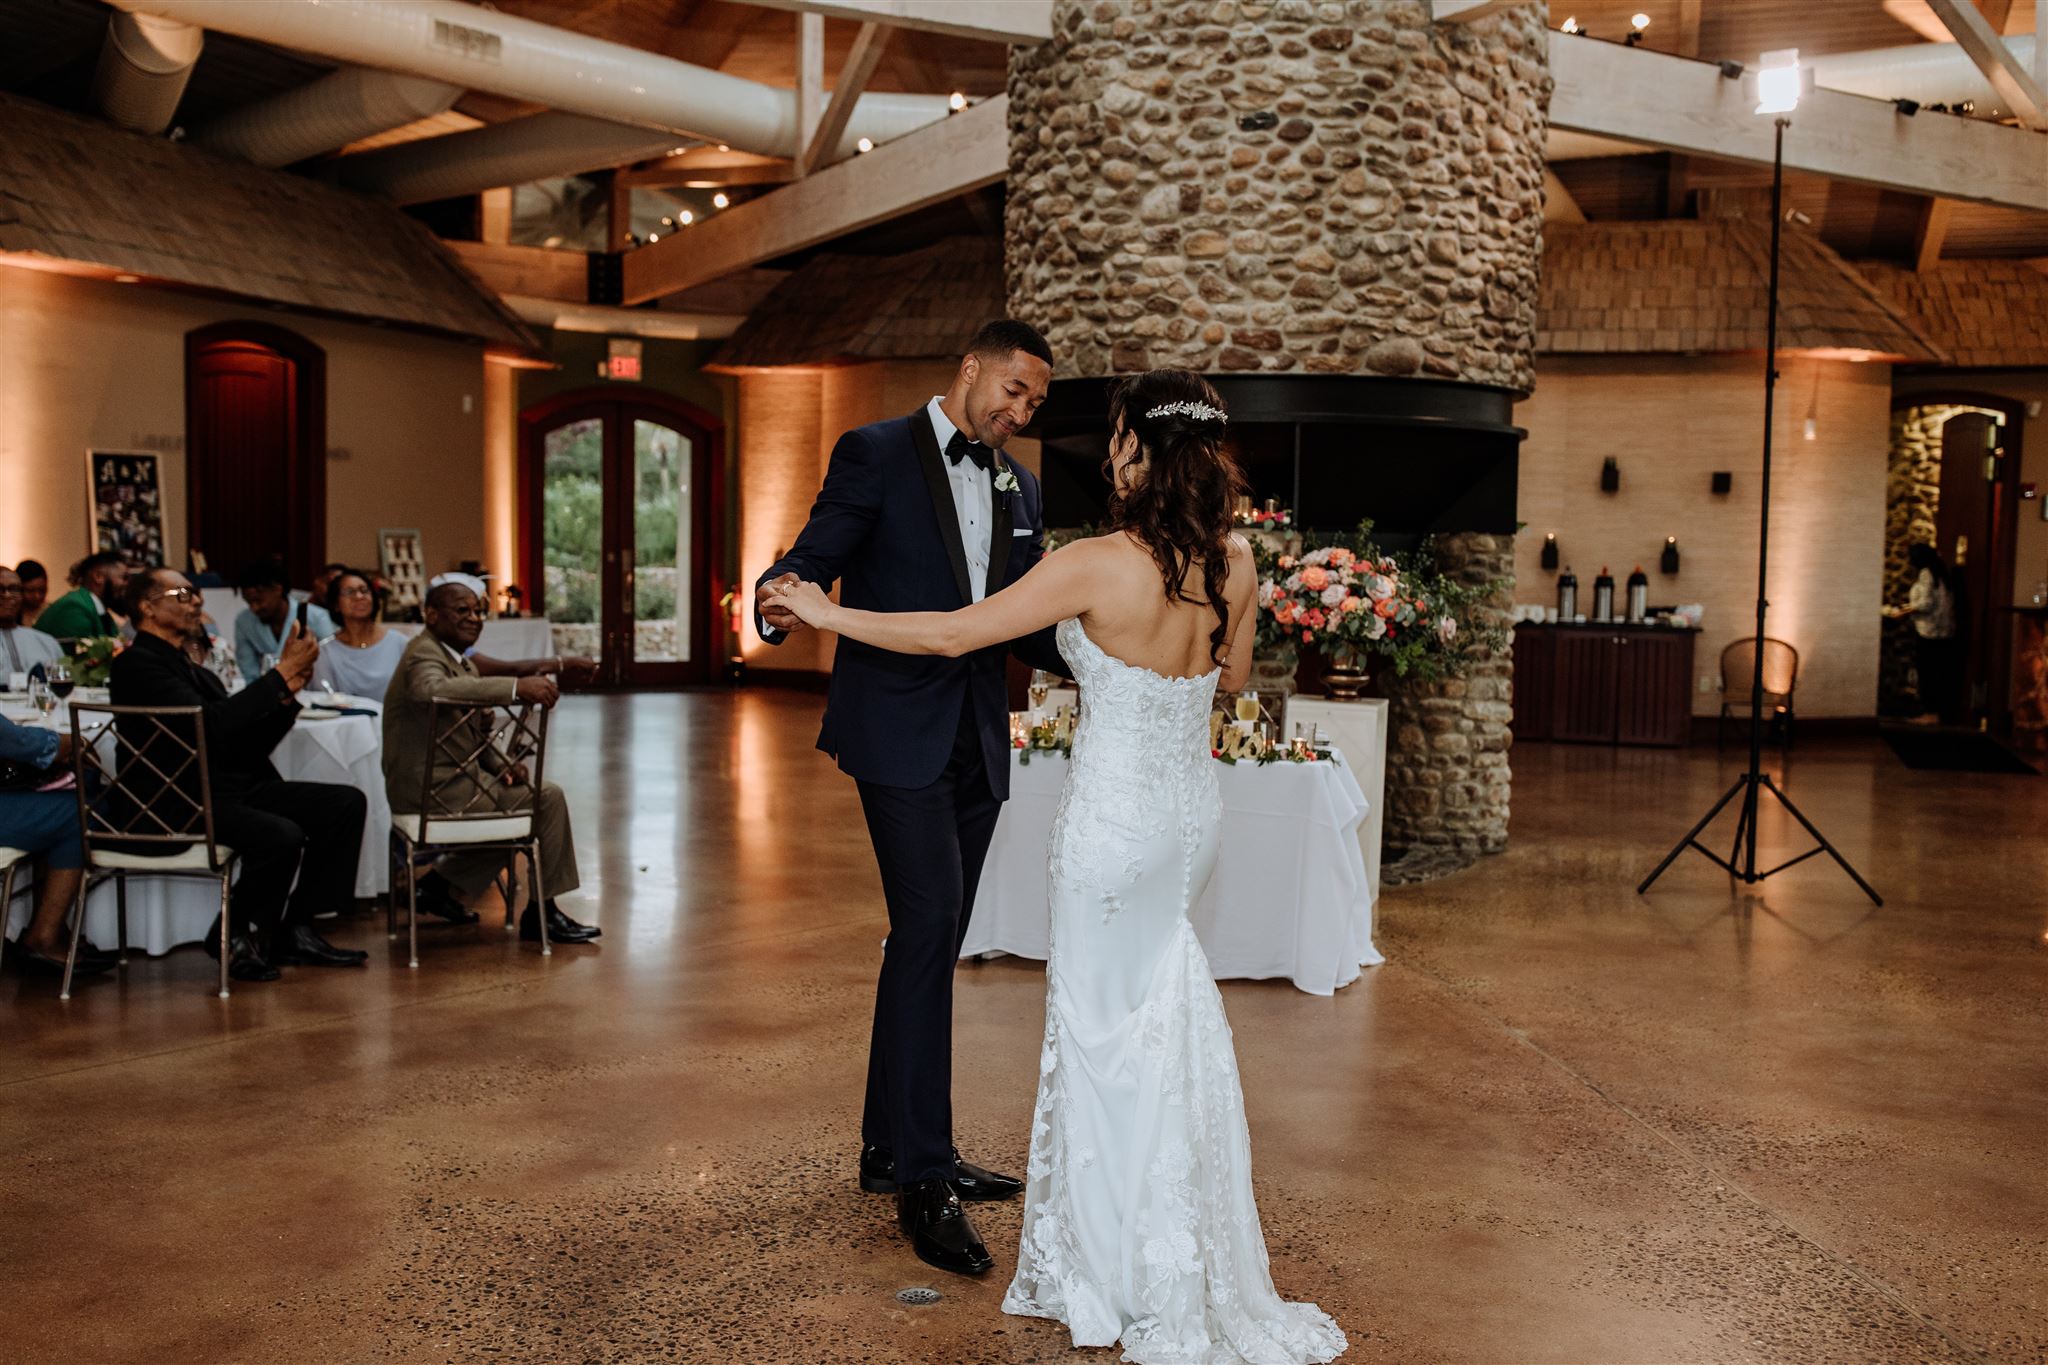
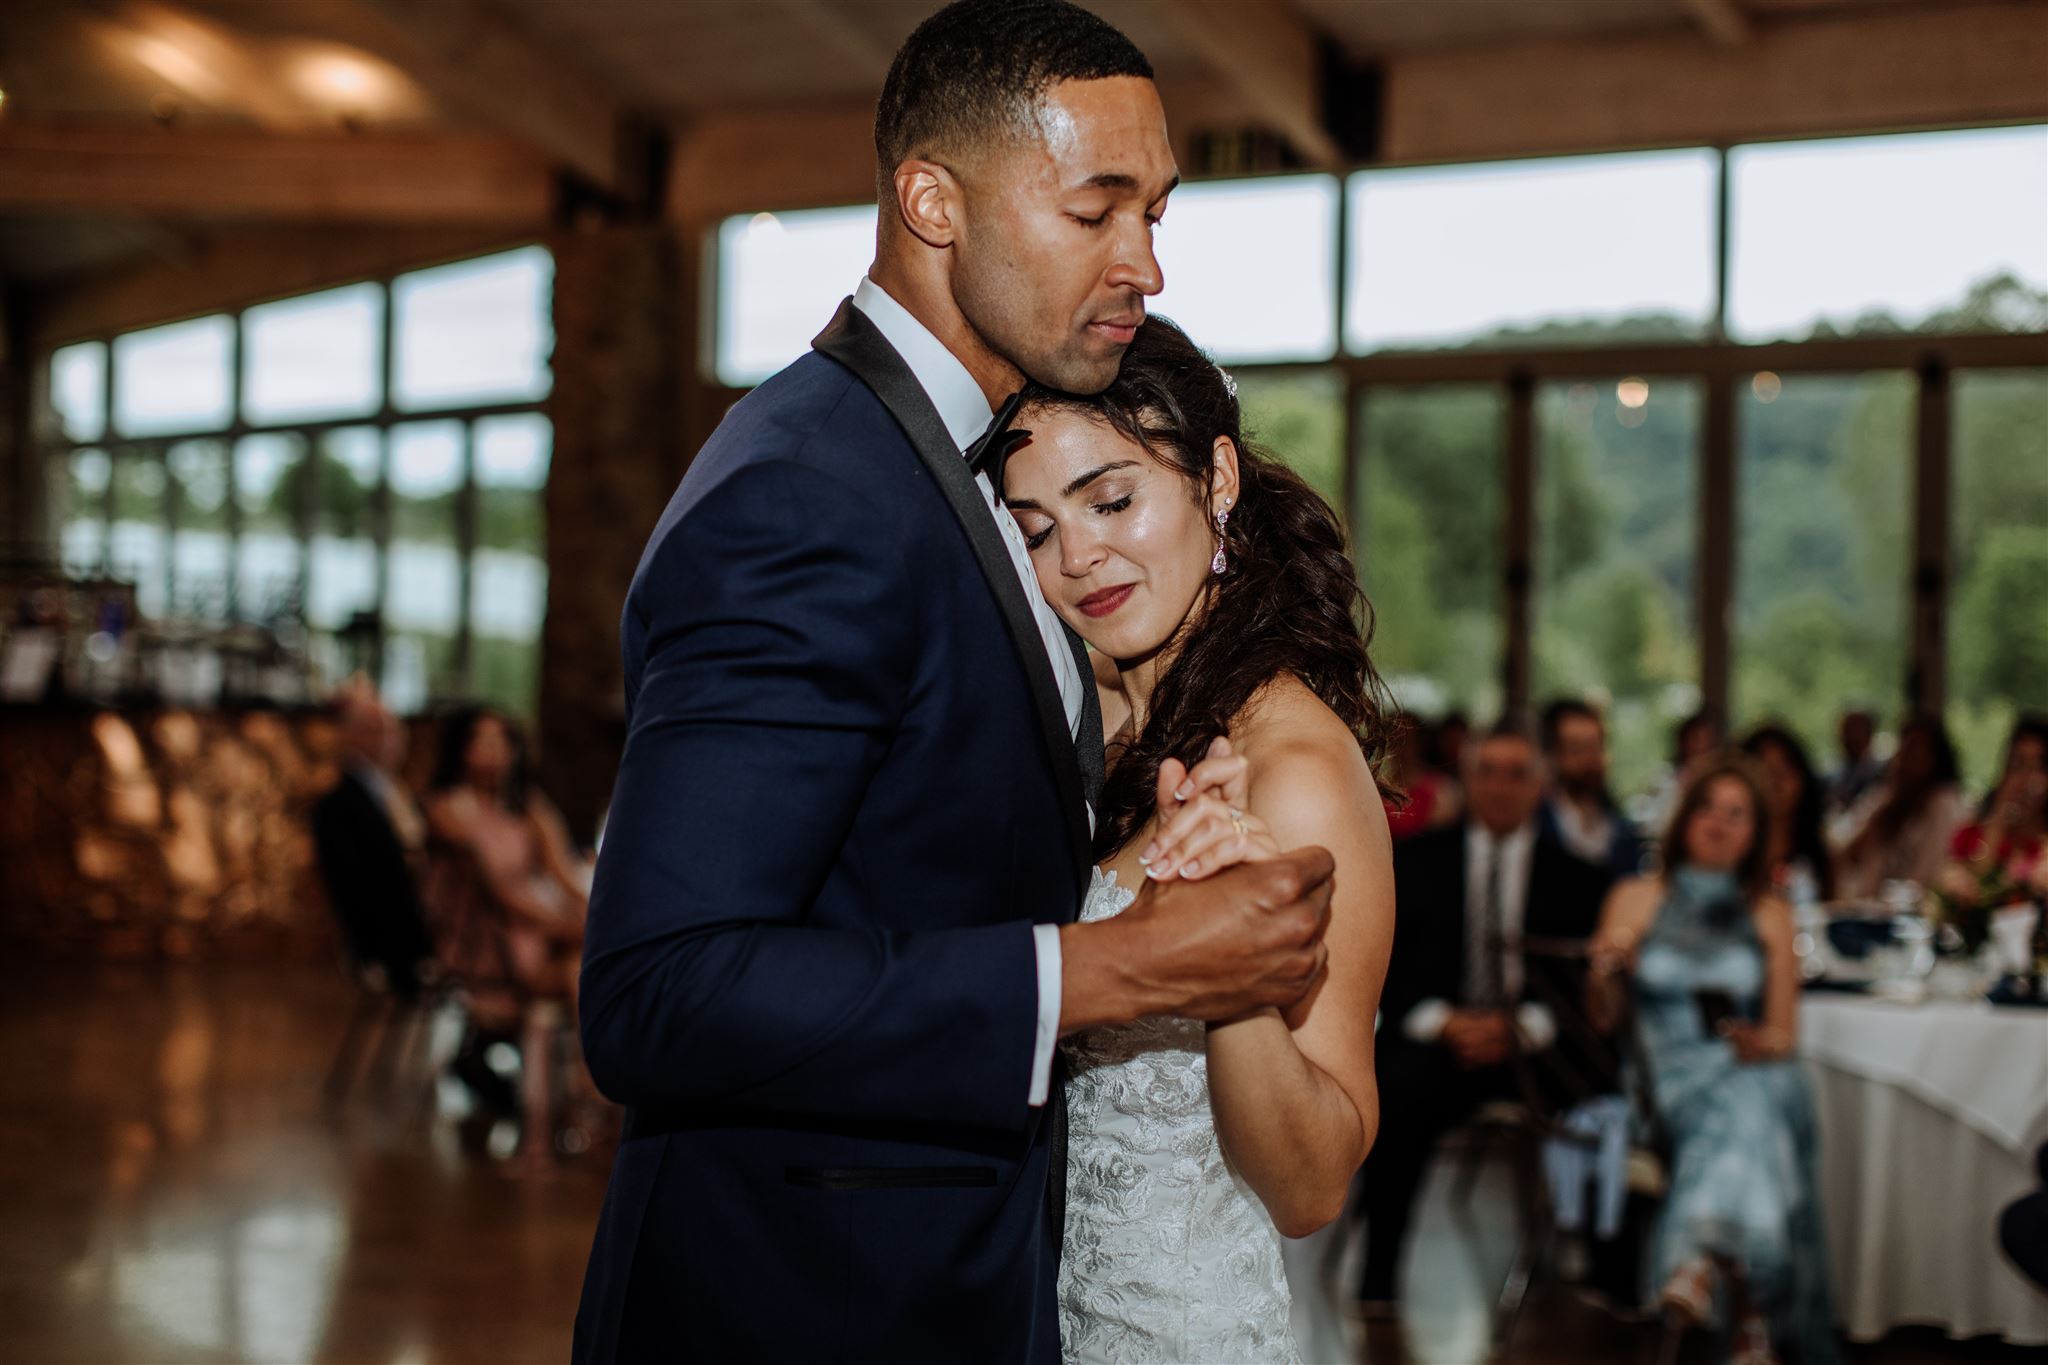
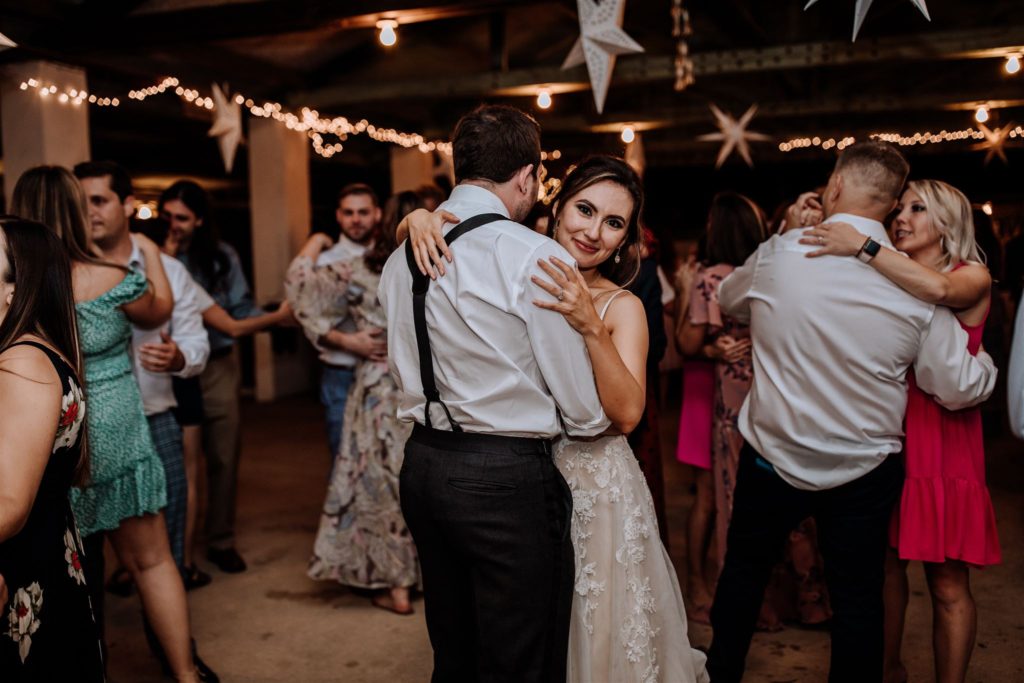
As wedding and portrait photographers working in constantly evolving environments, our choice tends to be an on camera flash much of the time. When working within time constraints (as we often do thanks to tight wedding timelines), being able to have a light that is easy to adjust and consistently mounted to the camera is an ideal solution. In most indoor locations, we are able to simply redirect the light from our on camera setup by bouncing it off a ceiling or wall and adding a diffuser into the mix as well.
We love off camera flashes when we are able to stay relatively confined to a smaller area (such as a reception dance floor). They are also preferred when taking dramatic portraits (such as for a fashion editorial).
In the same way, video lights are also great for more specific shots where we don’t want to do battle with our camera settings to get the right light for the job. We find it easiest to use a continuous light to replicate the look of natural window light – one of our favorite lighting types.
Which is Best for Me?
 So – is continuous lighting or strobe lighting right for you?
While there is a time-and-place for each, we would break things down like this if you are struggling to identify which would work best for you.
Use continuous lighting if you…
- Need a simple and easy to use lighting setup
- Want to explore adding light into your photos but are scared of flash
- Prefer a cheaper lighting option
- Like the idea of an “always on” light source that can be used on your camera (in the hotshoe) or off camera
Use strobe lighting if you…
- Are willing to learn the ropes of flash photography
- Want to have more control over the look of your images
- Need the extra lighting power to do things like overpower the sun
- Want more consistently lit images when working in changing environments
With all of this broken down – which do you think will work best for your photography? Let us know in the comments below!