Photography Basics – The Exposure Triangle
One of the most fundamental things to understand about taking good photographs is what aperture, shutter speed, and ISO are…and how to use all these things relative to each other.
While this knowledge may not be needed if you are just shooting on a fully automatic camera mode, if you want to get more into photography and learning how to control the look of your images, you will need to master The Exposure Triangle and shooting in manual exposure mode.
Before we talk about the triangle itself, let’s chat a little bit about the 3 components that make it up:
ISO
One of the more interesting, and maybe even more difficult to understand, aspects of the Exposure Triangle is ISO. ISO is a measure of your camera’s sensors sensitivity to light. As a result, lower ISO numbers correlate with lower sensitivity of the sensor, which translates into less graininess in the image. On the opposite end of the spectrum, a high ISO number results in more grain in the picture.
As you might be thinking, what would be the point of using a higher ISO? Isn’t the ideal a lower number so as to reduce the amount of grain you might see?
The simple answer is that, yes, lower ISO’s are preferable. However, not all situations you find yourself photographing will cater to using a low ISO. Depending on your shutter speed and aperture settings, you may be forced to increase your ISO to introduce artificial light into your image as a means of getting a better exposure.
While we always want to shoot around ISO 100, we commonly shoot around ISO 400 – 600 even on nice days when in shaded areas outdoors. Indoor photography can become an entirely different ballgame, with even higher ISO’s needing to be used when we’re not close to a nice light source such as a window.
How high you can put your ISO before it really begins to negatively impact your images will depend on the camera you are using. On entry level cameras, for example, they are simply not designed in a way that can handle increasing the ISO significantly. With a pro level camera, such as the Canon 5D Mark IV camera body, it can actually tolerate much higher ISO settings (upwards of 1600+ based on our observations with it). This is one area where you get what you pay for.
Aperture
If we’re being real photography nerds, we’d have to say aperture is our favorite of the settings you can control to influence your images. While ISO and shutter speed both are necessary, aperture actually substantially allows you to shape how your image will look.
Shooting with a wide aperture (a low f-stop like f/1.2 or f/2.8) allows you to separate your subject from the background. This normally results in a blurred effect of things in the background, and in the right lighting conditions can cause really dramatic blurred fractals referred to as bokeh. Bokeh is something us portrait photographers particularly love seeing – maybe because it is one of the defining things that help separate a good camera from an iPhone.
On the other end, shooting with a narrow aperture (like f/16) will keep more of the scene in focus. Really high f-numbers are often used for landscape photography. If shooting group portraits, having a number more in the middle between wide and narrow apertures like f/4 – f/6 are generally suitable to retain some background separation but allow you to make sure everyone that needs to be in focus is in focus.
In addition to the general effect your aperture setting results in, it’s worth noting as well that a wide aperture results in more light reaching the sensor. This will brighten up your exposure as a result. Alternatively, a narrow aperture setting will result in less light reaching the sensor, so darkens the image.
Shutter Speed
While your aperture controls the depth of field, and ISO influences the effect of grain and can be used to artificially add light into the image, shutter speed is the setting that has the ability to allow you to effectively capture movement.
For most photography of a moving subject, you will want to use a higher shutter speed. The specific shutter speed figure you should go with will depend on your subject, and the rate of speed. With portrait engagement and wedding photography, we frequently interject movement into our photos by asking our couples to walk towards us or dance with one another. Generally speaking, we will bump our shutter speeds to a range of 400-800 because these movements tend to be pretty slow.
If you are attempting to photograph a speeding car or motorcyclist, as you might find with a racing sports event, much higher shutter speeds will need to be leveraged in order to freeze the action and get a crisp image. Think 1000+.
Much like the aperture, when you raise the shutter speed it causes the exposure to dark, and vice versa – lower shutter speeds leads to lightening the image.
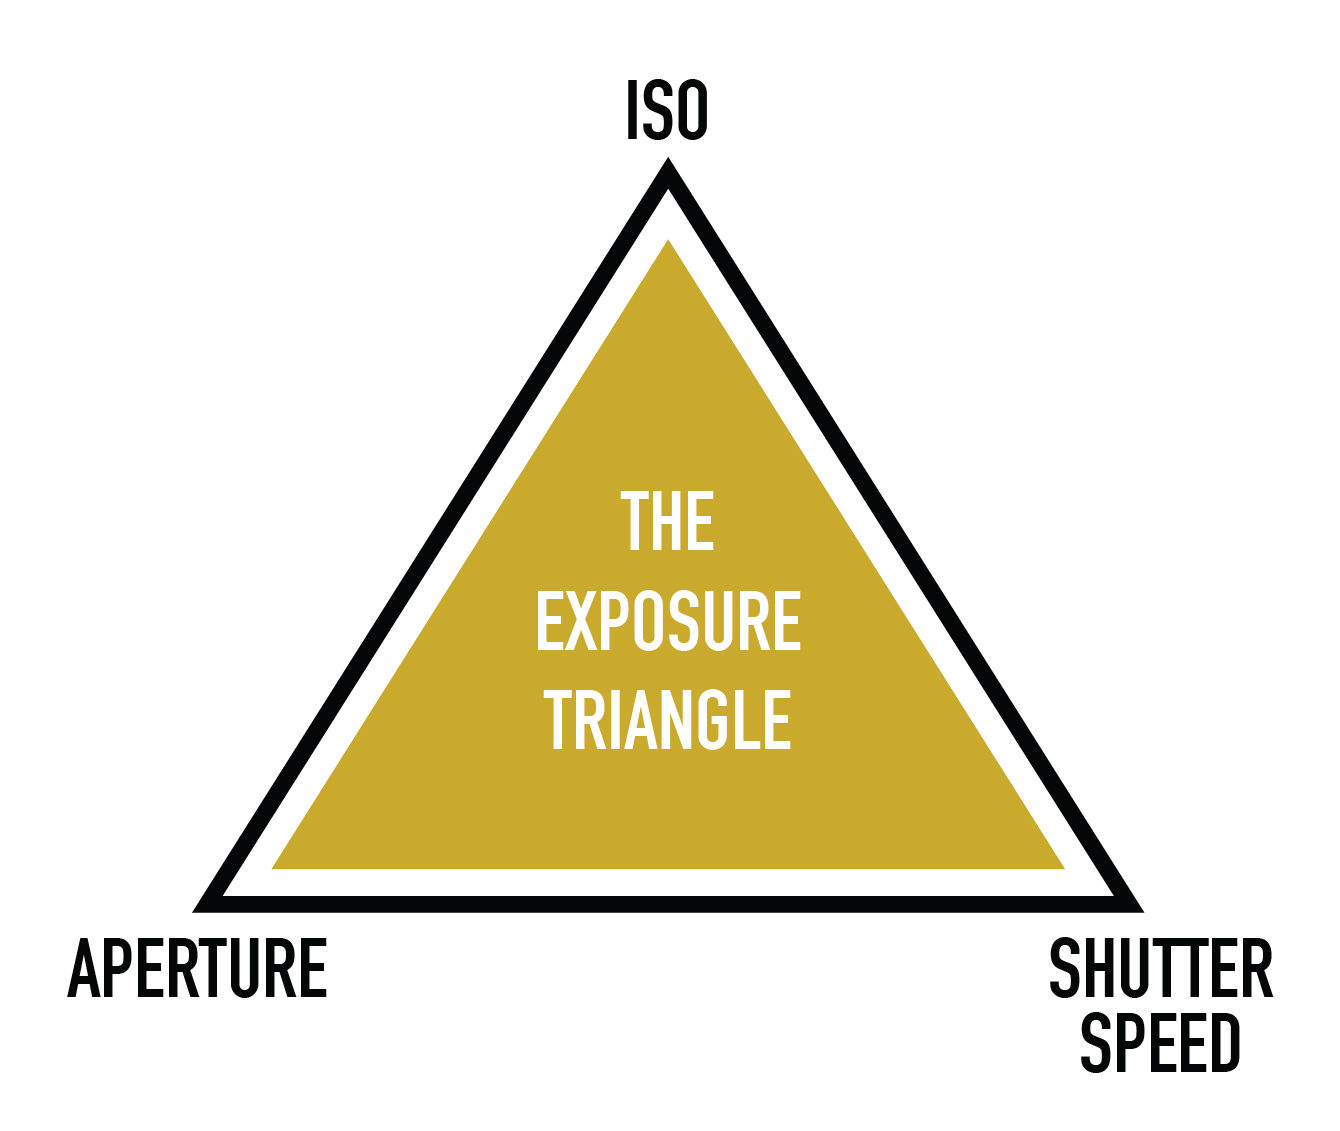
The Exposure Triangle Explained
Now that we have covered some of the basic elements that make up the exposure in your camera, we can start to look at them in the context of each other.
The Exposure Triangle is an illustration of how you need to adjust your settings in order to get an ideal exposure. Because the three main variables – ISO, aperture, and shutter speed – all effect the exposure, this effect is felt in different ways relative to each other.
While you may be able to grasp what each component does on its own as we’ve discussed already in this article, such as high shutter speeds freezing motion and lower f-stops creating more separation of the subject from the background, understanding how to get the right exposure while also getting the look you want is a bit more challenging.
The Exposure Triangle is designed in a way to showcase that changes in one setting will cause you to need to make changes to another. Once you fully understand the effect each settings can have on your resulting image, the easiest way to start understanding how to get the right settings yourself is to look at how those settings influence the overall light/darkness of the exposure.
ISO – a baseline ISO of 100 will not impact the images light/darkness, as you raise your ISO, you introduce more light into the picture.
Aperture – lower f-stops result in more light in the image, while higher f-stops result in a darker image.
Shutter Speed – lower shutter speeds introduce more light in the image, higher shutter speeds result in a darker picture.
With this in mind – start by dialing in your camera settings based on what you’d like to see in the resulting image.
Examples of the Exposure Triangle
Now, let’s apply what we have learned up to this point…
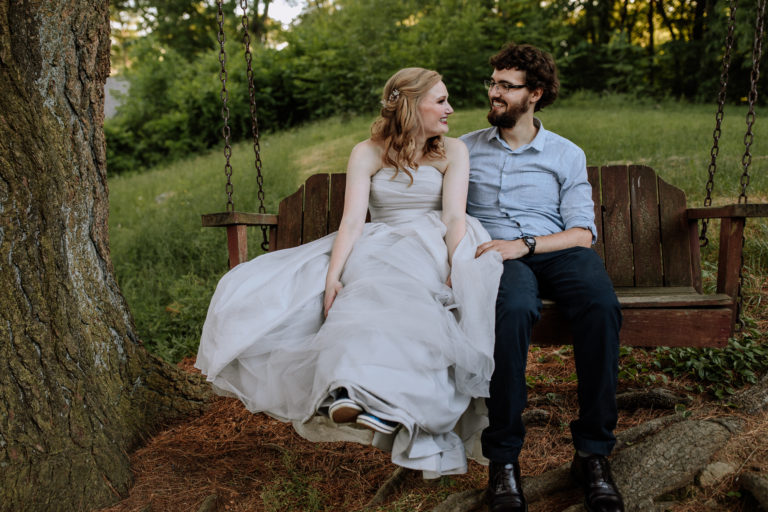
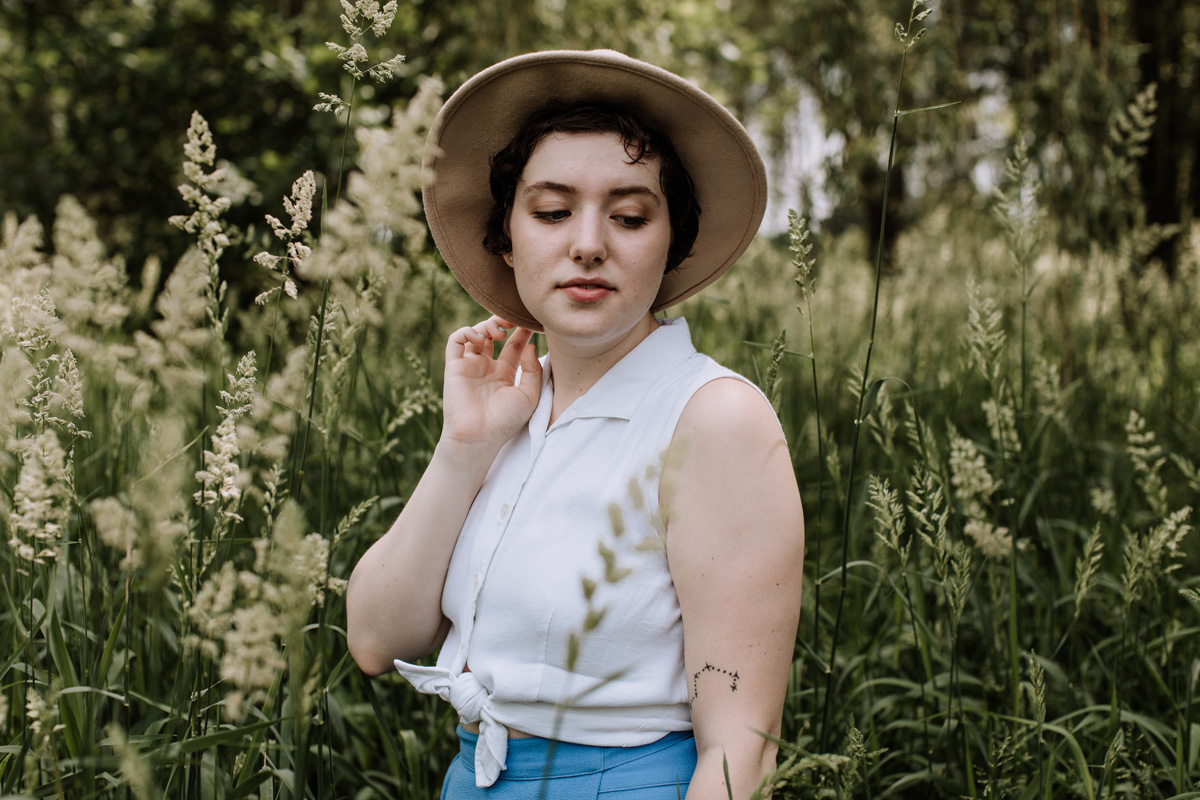
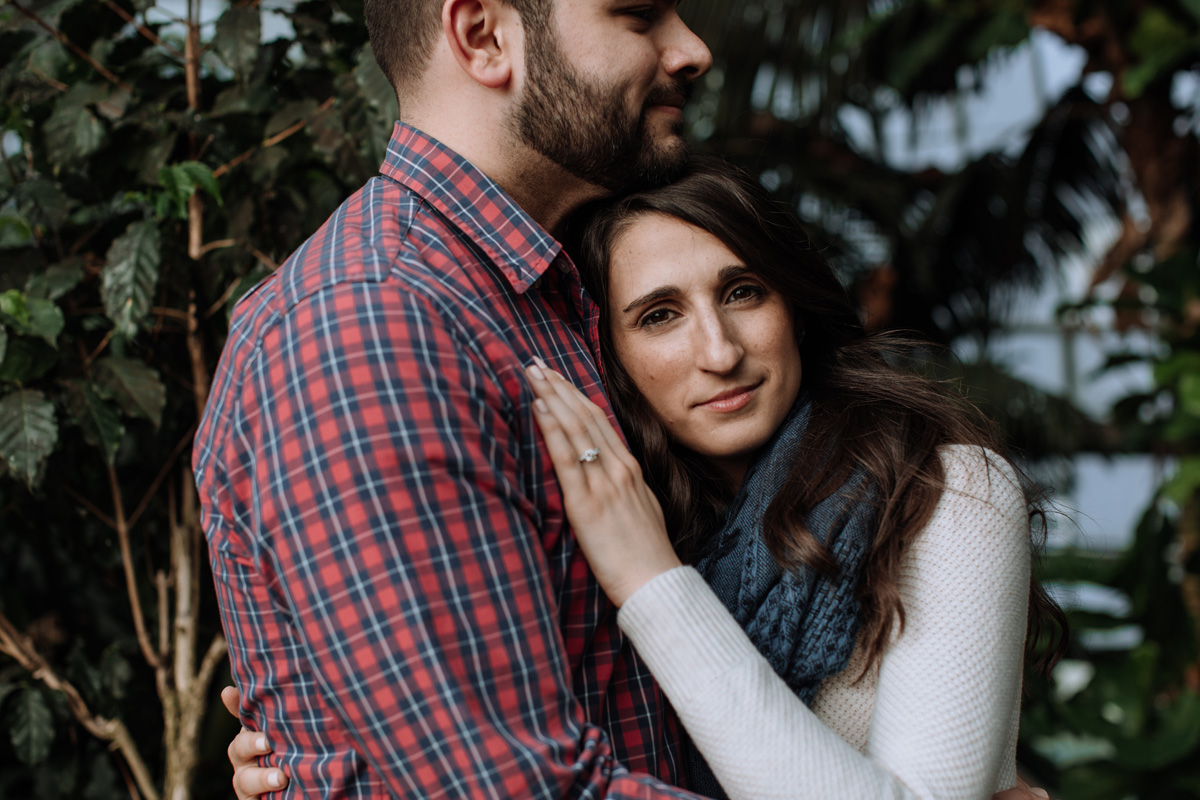
Scenario #1: Portrait photography
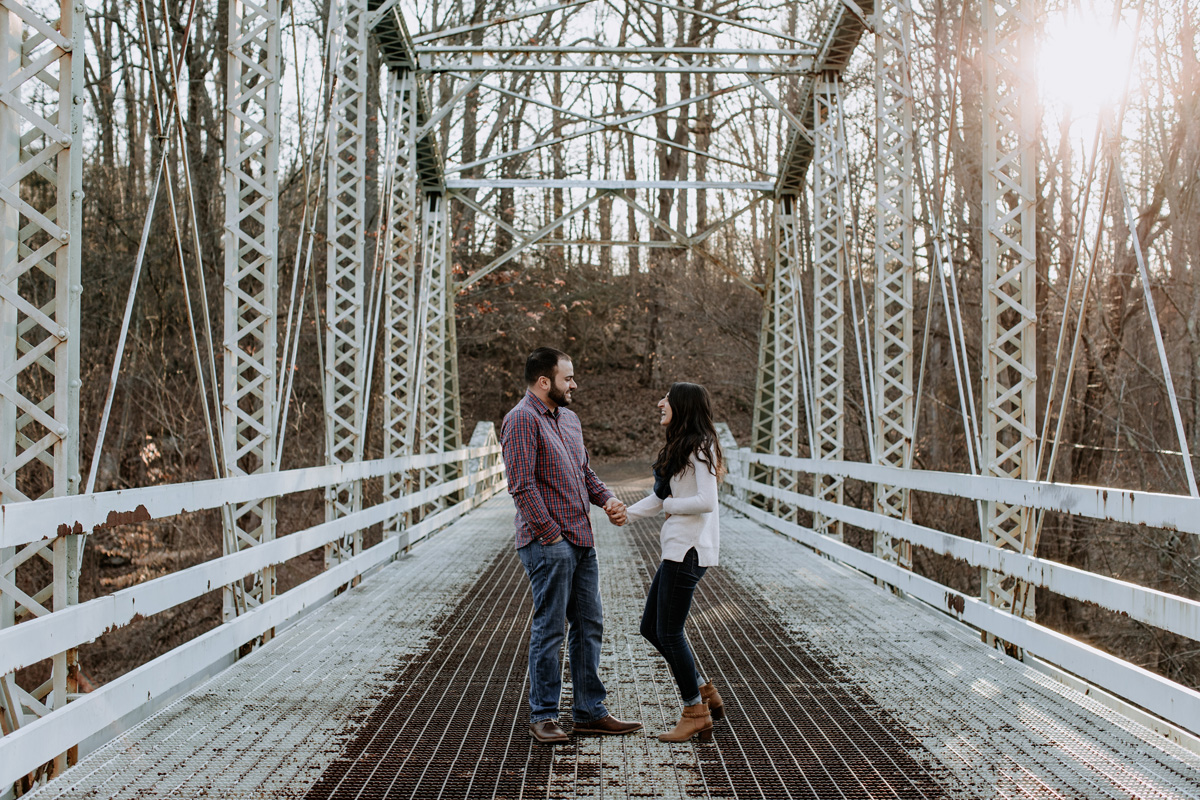
Say you are shooting a portrait and want a nice blurred out background, but the person you are shooting is walking towards you. You are outside but in a lightly shaded area and shooting with a Canon 5D Mark IV and Canon 85mm f/1.2 lens.
At first glance, and because we know the equipment we are working with (and their abilities to use higher ISO’s and wide open apertures), we can more easily adapt our settings to what we picture should be needed for this image.
In order to get the blurred out background, we need to use a low f-stop. Let’s say f/2.5. Because there is some movement of the subject towards us, we will need to increase the shutter speed (let’s say to 600). Based on these two settings, we are adding light to the image by keeping the aperture open, and reducing the amount of light reaching the sensor by increasing the shutter speed.
If you are happy with the outputted image, but find it is a little too dark, gently increase the ISO until you get an ideal exposure. Given that we are working in some light shade, it’s easy to imagine needing to put the ISO up to around 400.
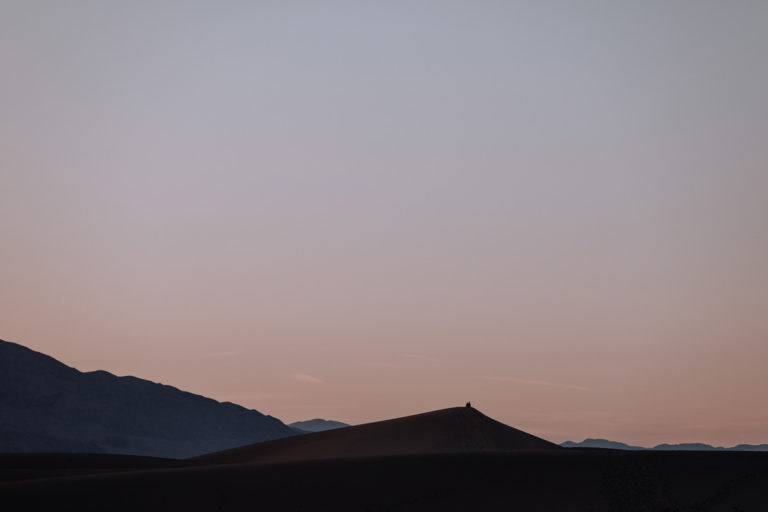
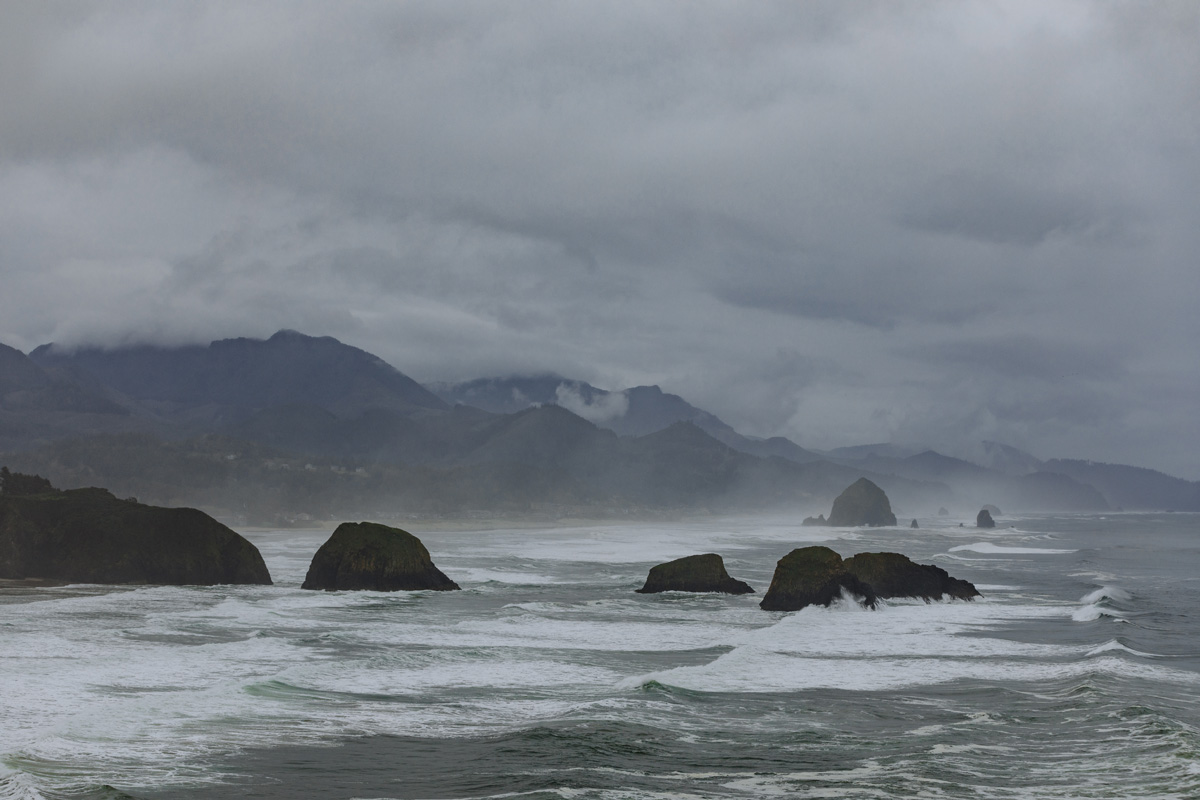
Scenario #2: Landscape photography
We think an argument can be made that, generally speaking, portrait photography tends to be more difficult as there are more factors you need to consider when looking for the right exposure – and not forgetting the person your photographing will have an opinion on your image. A lot of this comes down to your choice of the location as this can directly impact the amount of shadows or strips of sunlight cast on your subjects face.
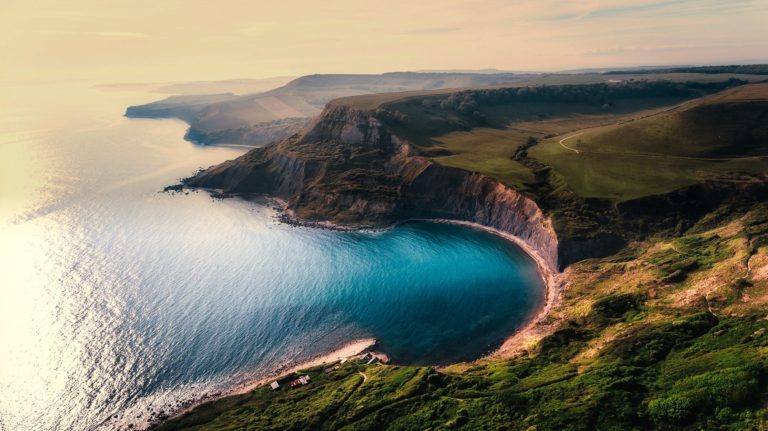
Landscape photography comes with some common “standard settings”, and we can use the Exposure Triangle to help us dial in the exacts based on the scene we are trying to capture.
The first thing you must do is analyze the location you are photographing. Look specifically for light details such as highlights being cast on the side of a mountain, or resulting shadows from showing up to your spot during mid-day. It’s possible that your selected location may have both of these things occurring as well, which is common during partly cloudy days. How you expose will be somewhat dependent on what you are wanting to expose for – our recommendation being to underexpose so as to be able to retain more information from the really bright highlighted areas.
In general, with landscape photography your optimal settings will be to keep your ISO low. If you are using a tripod, keeping it at ISO 100 is entirely possible, as if your scene is too dark you can actually use a longer shutter speed to pull extra light into your image. Regardless, for your aperture setting you will want to use something more narrow, such as f/16. Generally this is quite easy to do in mid-day sun as you will want to darken your image in this way, but when shooting a sunset, you may need to either use the longer shutter speed trick or bump your ISO to get an effective exposure.
We hope this article is able to help you better understand The Exposure Triangle and how you can apply it to getting the right settings dialed in so you can get a good exposure in your images with the look you are going for as well.
Of course, if you have any questions about this, feel free to leave us a comment below to let us know!!