Wedding Photography Tutorial: Full Day Walkthrough (with Hand & Arrow Photography)
Last Updated: August 29th, 2025
Today’s wedding photography tutorial is going to give you a full rundown of what you would expect during the average wedding shoot.
Hand & Arrow Photography is a husband and wife photo team that has been photographing weddings for 3+ years now. In this time, we have captured so many of these events and it has given us a really great understanding of how to effectively capture every detail and memory that is important to our couples.
In this post, you can expect a comprehensive walkthrough of how to photograph a wedding. We will touch on all of the key parts of the day from getting ready to the grand exit celebration. Our discussions on each of these things comes directly from our first hand experiences – so you can trust you are receiving the best advice in the business.
Preparing for the Wedding
The most valuable thing you can do to prepare yourself for photographing a wedding is putting together a wedding day photography timeline with the help of your client(s).
The timeline serves as a blueprint of what you can expect from the wedding from a timing and flow perspective.
This is hugely valuable to us because some wedding days have a lot of spare time – so it makes naturally filling in with portraits, detail shots, etc. super easy. But – other wedding days can be really tight. Last year, we shot a wedding where we only had 15 minutes to do bride & groom portraits just because of how things were laid out.
While some wedding photographers will take the risk of just letting things fall into place on the big day, we consider a wedding day to be way too important for this lax approach.
To put together a solid timeline, we normally send out a wedding questionnaire to our clients about a month in advance. This gives them a standardized way to relay all the important information we need to know in order to put together a timeline that will work. We do this around this timeframe because it still gives enough time to iron out some of the kinks without being hugely stressful for anyone.
One of the best things about having a completed timeline is it will help your clients to see their big day laid out – immediately reducing stress and anxiety they may be having about the flow of their day.
For other resources on wedding prep for photographers, check out these posts of ours:
Wedding Photography Tutorial: A Sample Timeline
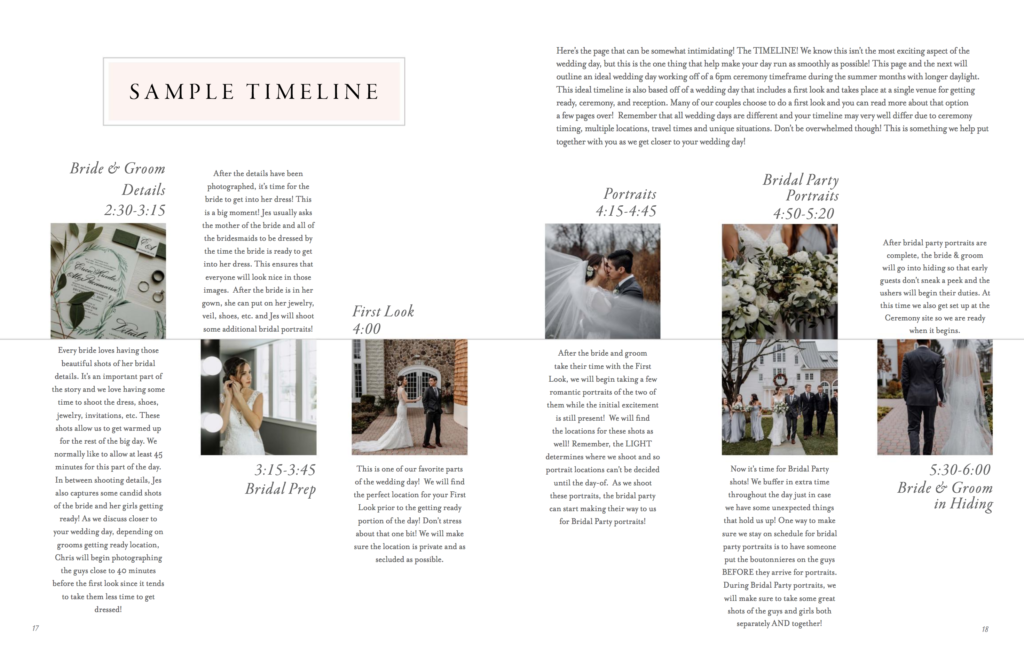
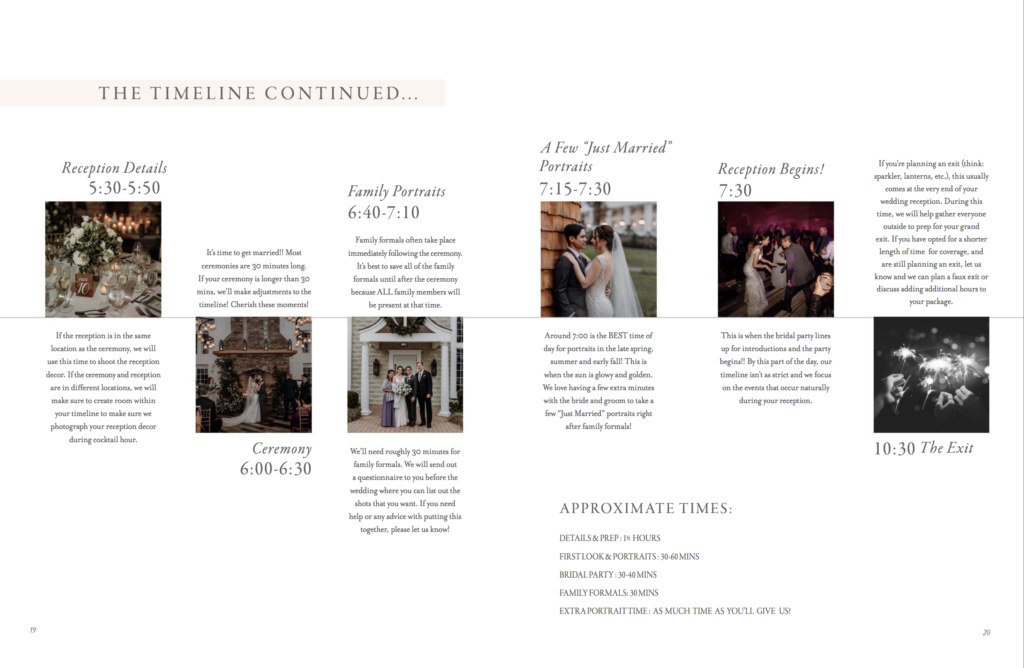
For your quick reference, we put together a sample timeline (above) to give you a sense of how a wedding day is structured. This is actually pulled from the Wedding Guide we give to our clients!!
Remember: Every wedding day is a little different, so it’s important to make sure you customize the timing of different events around the specifics of the day you are photographing.
Wedding Photography Tutorial: Arrival
We always make an effort to be a little early for a wedding.
Often, we have to travel for weddings, so giving some spare time to make it in case you get stuck in traffic is definitely a good idea.
More importantly, there are a few things you can do with just a little extra time before you really dig into shooting:
- Greet your clients – Checking in with them before you have a camera in their face is a nice way to start the day. Say “hello” and make sure they are good to go.
- Scout out the venue – As we can’t visit every wedding venue in advanced, getting there 15-30 minutes early lets us get a lay of the land. We can start to identify good spots around that would suit a first look, portraits, etc.
Pro tip: One extra thing to keep in mind about your arrival time is to make sure you set the expectation of when you will be showing up. Going back to timelines, this is another reason why we like them – because we can say “we will be here at THIS time” instead of leaving our clients to wonder. This also helps set further expectations if you are shooting a limited number of hours – so your clients know when you will be there, and when you won’t.
Wedding Photography Tutorial: Getting Ready
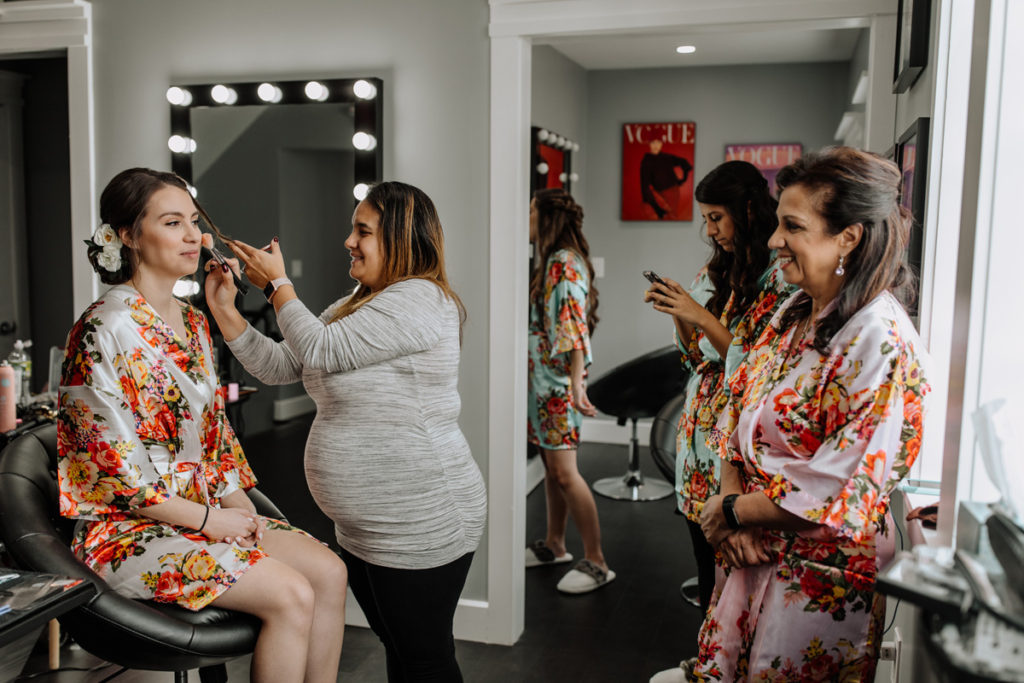
Getting ready photos are mostly candid shots taken by the wedding photographer. As the bride, groom, and their selected circle of peeps prepare for the wedding – it’s a great opportunity for photography to tell the “before” part of the story.
In our time photographing weddings, we’ve experienced a lot of different things during this part of the day.
The biggest challenges often boil down to: the lighting & size/aesthetic of the environment, and the many personalities on display.
A few wedding photography tips we can offer to handle these challenges:
- Come prepared with the appropriate gear for the space. Because we are often in tight and cramped spaces (we’re looking at you Best Western hotels), having a wide angle lens is a great solution. We regularly use a 16mm lens to effectively capture people getting ready in these environments.
- Learn how to optimize the lighting. Sometimes you’ll get lucky and shoot in a well lit space, but most of the time it’s going to be…not that great. Having a good camera flash is a great start to fill in shadows and add light where needed. You can also take advantage of natural light spilling in from a window.
- Stage some shots when needed. As photographers who aim to capture moments candidly, it used to feel wrong for us to move people around to get the best shot. It turns out – this is hugely important to nailing good looking and consistent pictures. We’ve come to learn that staging people in a particular space doesn’t remove the candid nature of what they are doing. For example, putting guys by a window for natural light while they pin boutonnieres on each other just allows things to look better – but the guys going through the motions of pinning and struggling to pin (more than likely) still remains authentic.
- Understand the stressors at this time of day. Less a photography tip, and more an interpersonal one – it’s important to remain empathetic for your couple, their friends & family during this part of the day. It can often be stressful as you will not be aware of all the family dynamics or other issues going on. The best way to overcome this, even with challenging people at times, is to remain calm and “kill with kindness.” Taking 5 seconds to lend an extra hand with some simple task sometimes makes all the difference.
- Get experience doing things no one ever knows how to do. One of the best ways to help the preparations go more smoothly is to bring some experience to the table pinning boutonnieres, folding pocket squares, etc. 9 times out of 10 we find everyone struggles with these things – so being able to jump in and help out reflects super well on you.
All in all – getting ready photos are very easy to take.
The hardest part, especially if you are a total beginner wedding photographer, is getting used to meeting people in this sort of environment. We have literally met famous people that we photographed in a hotel room while they are half-dressed…it’s something we’re used to now, but it’s still a little weird 😊
Related Posts:
- Wedding Photography 101: How Do You Shoot Getting Ready Photos at a Hotel?
- Why Empathy is the Most Important Trait of a Wedding Photographer
Wedding Photography Tutorial: Details
We decided to clump all the details of the day into this one section because capturing all details, whether it’s of rings and jewelry or of the ceremony and reception spaces, are very similar.
Some common details you will want to capture again and again:
- Wedding rings (DO NOT FORGET UNDER ANY CIRCUMSTANCES!!)
- Special jewelry
- Wedding dress & shoes (for the bride), suite & shoes (for the groom)
- Floral arrangements
- Ceremony details
- Reception hall details
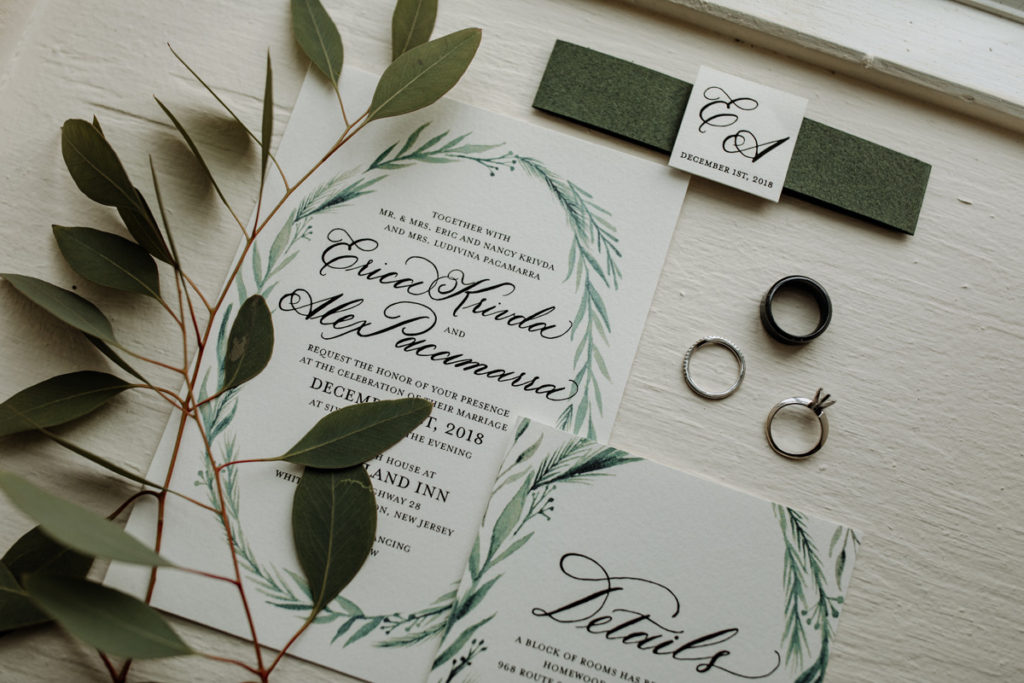
We normally have a 2-method approach for capturing these items:
- Each important item in isolation. You can capture close up shots with a macro lens of wedding rings, jewelry, etc. Treating these items as their own individual subjects is a great way to display them. We don’t do this for every piece – but do for the most important ones.
- Everything together. Grouping detail items together is a great way to capture them. For getting ready details, we often will organize the items together in a lay flat. This is a simple and artsy approach.
While you will want to block off some time on your schedule for these shots specifically, you can also be capturing them naturally as the day goes on. For example, while shooting portraits, we will take some photos capturing a close up on the wedding rings – now giving them some context by being on the bride & groom vs. just being isolated on their own.
Recommendation: Our go-to detail lens in the Canon 100mm f/2.8 macro lens (link goes to Amazon). It’s an affordable and beautiful lens that is really well regarded in the macro photography community. It was a game changer for us.
Wedding Photography Tutorial: First Look
The first real challenge of the wedding day is the First Look.
The actual art of photographing this shared moment between the bride & groom is pretty straightforward, but getting things set up and picking the perfect location is often the challenge.
Normally, we help this process out by scouting for a good spot in advance. Still, so many First Looks happen during the middle of the day – so harsh lighting is something we are always trying to avoid. If you happen to have overcast skies, you’re in luck!
Our approach will often be to find a location along the side of a building, or otherwise with a good deal of shade, so as to keep lighting consistent across both people. Of course, finding a spot that is secluded yet accessible (especially for the bride walking around in heels and a wedding dress) is important too. Finding the perfect balance is the name of the game here as a photographer.
If you are photographing a wedding alone, then we’d suggest using a zoom lens so you can get both wide shots of the B&G together and tighter shots focusing on the emotional responses.
For photographer teams, one person emphasizing the wider picture, and the other looking for the reactions of the bride & groom is hugely valuable.
3 First Look Approaches:
We can’t discuss photographing the First Look without showing you a few different ways this can go down.
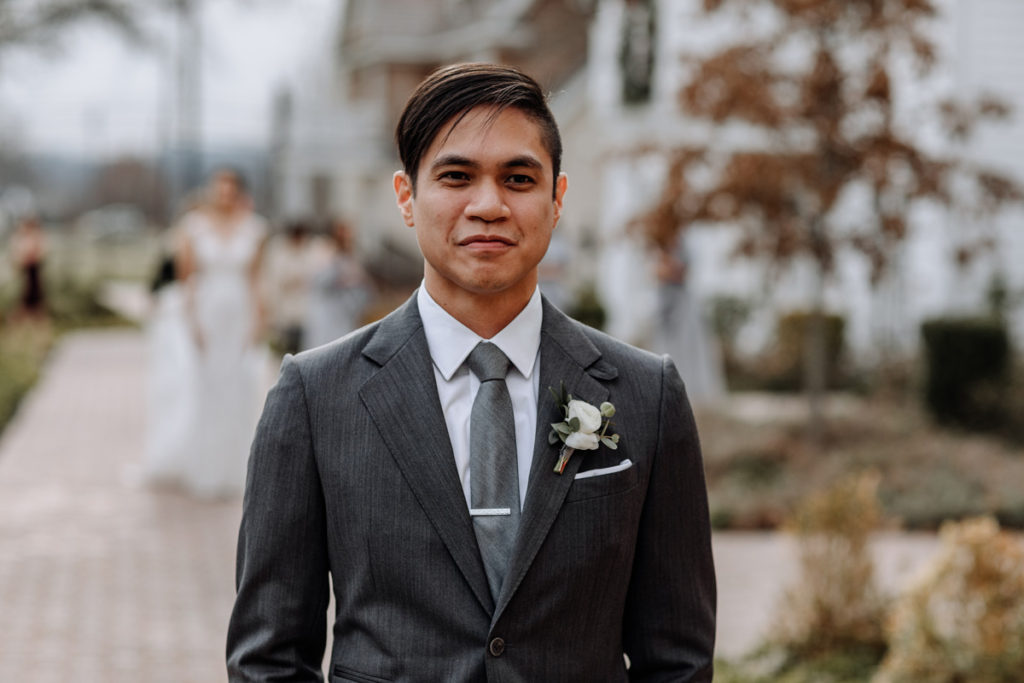
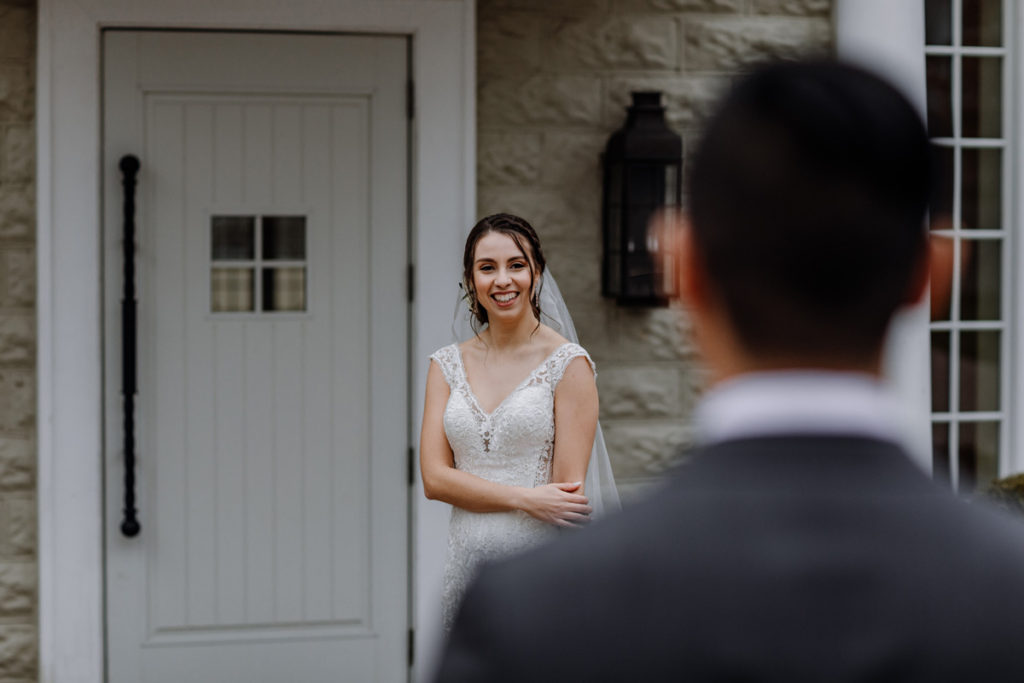
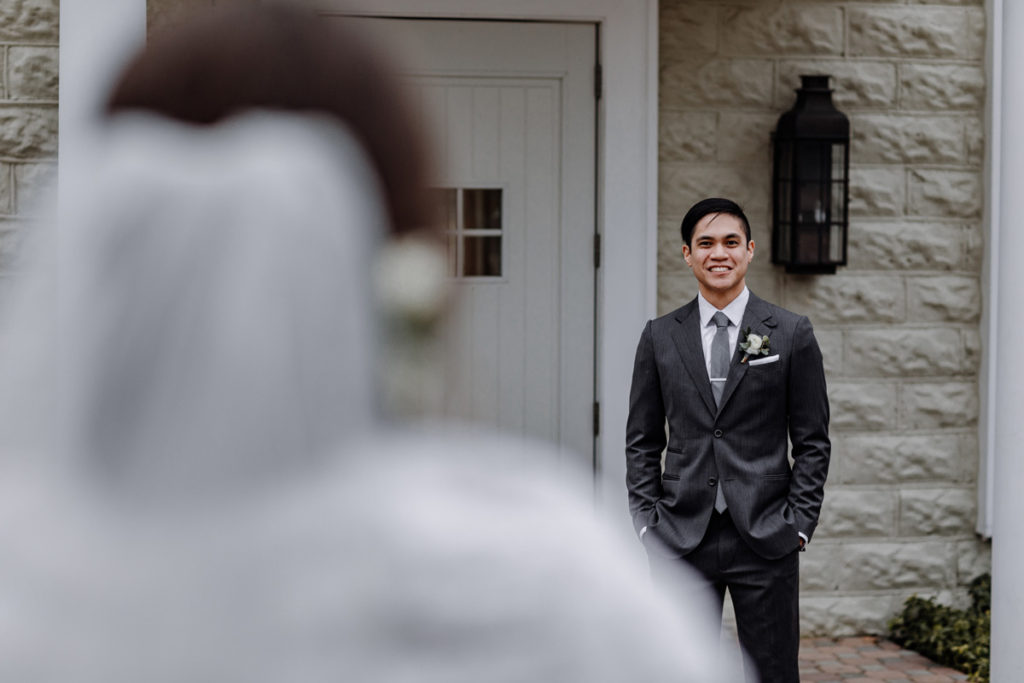
1). Bride Walks Up Behind Groom, He Turns Around
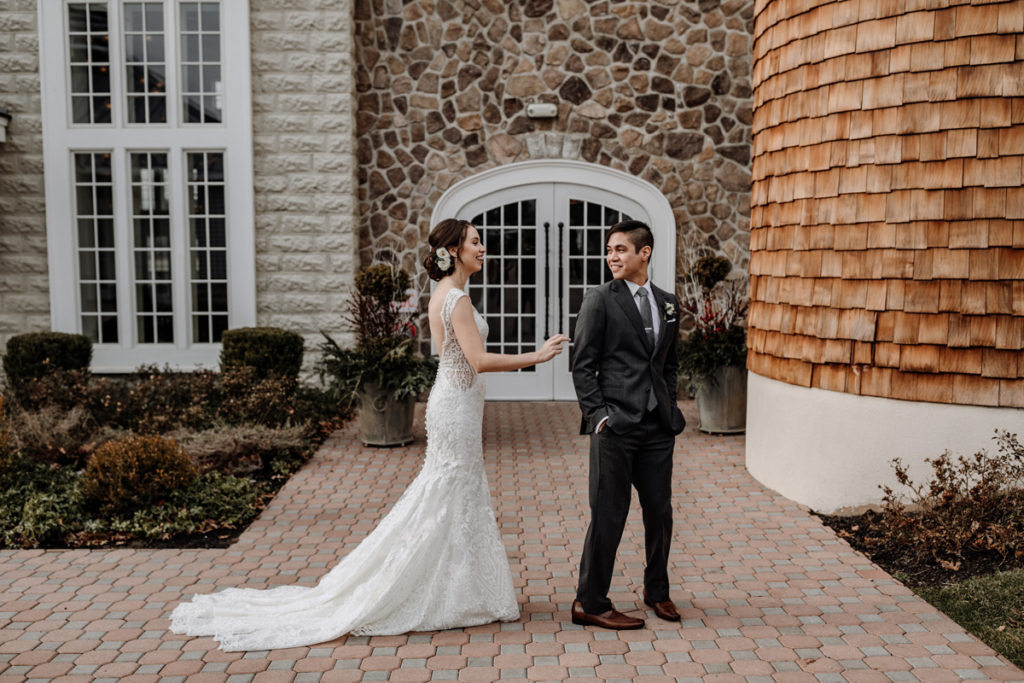
This is the most traditional approach to the First Look. For photographers, you can capture the emotions of the groom as he awaits his bride. You can also emphasize the bride as she approaches him.
2). Bride & Groom are Arranged Back to Back, Both Turn Around
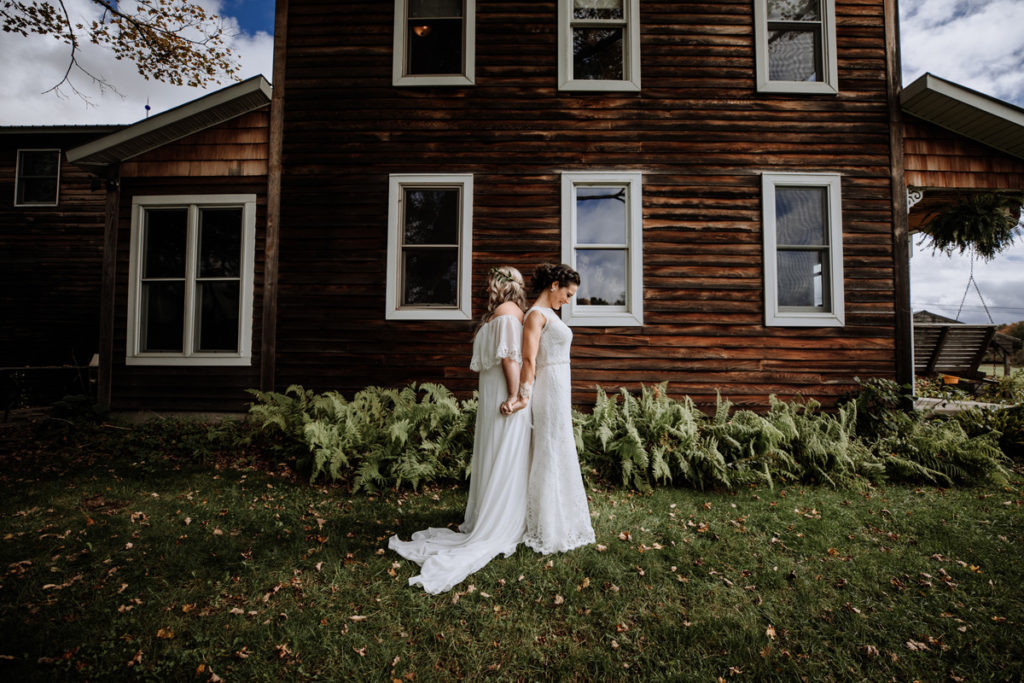
In this shot, there is a little more staging involved. But – it makes for some super cute images. At a recent LGBTQ wedding we photographed, it also allowed us to put our double brides on the same “level” (so to speak), so they both had the chance to hold each other and turn around together for the big reveal. Also…double wedding dresses for the win!!
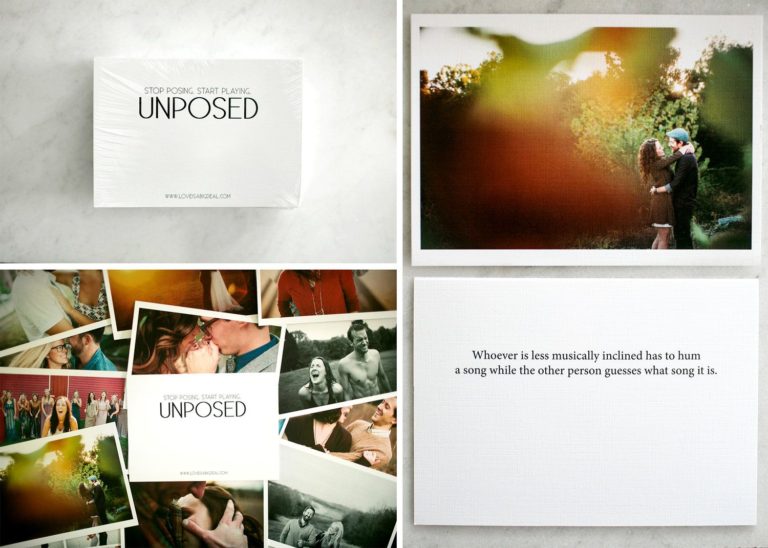
3). Bride & Groom Do Not See Each Other At All, Hold Hands/Read Notes
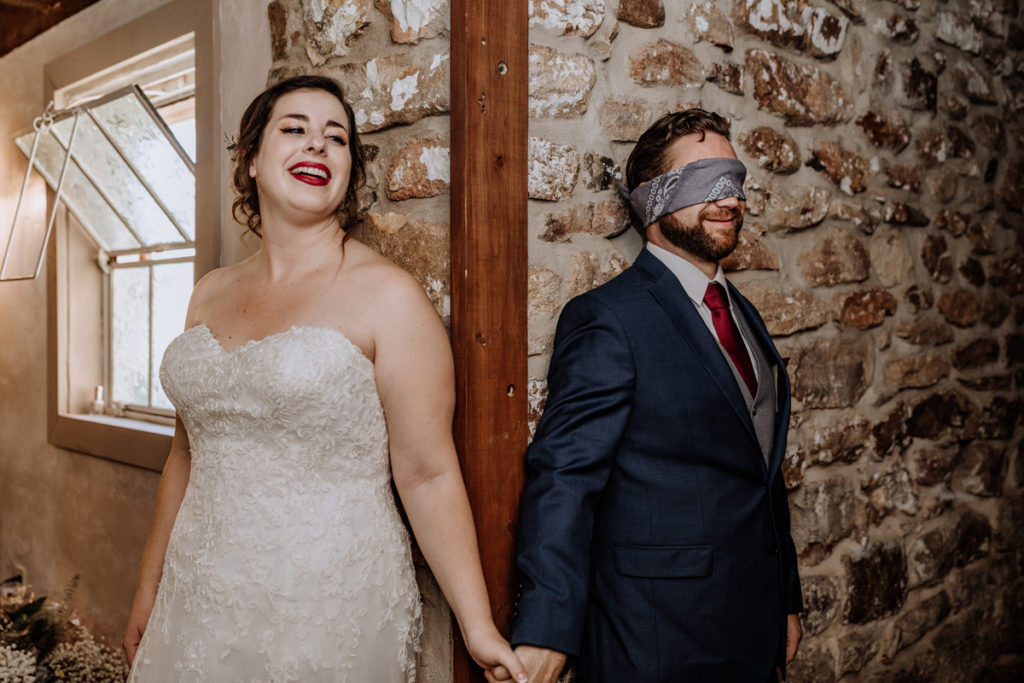
Finally, this is an approach to the First Look best suited for couples who want the traditional big reveal during the ceremony – but still want some interaction with each other beforehand. It’s actually really beautiful, and we’ve honestly seen some of the most emotional responses during this time. Often, couples will read notes and exchange little gifts with each other to sweeten the deal.
Wedding Photography Tutorial: Ceremony
In the time we’ve photographed upwards of 50+ weddings, we have started to really come to love photographing wedding ceremonies.
First – we have to take a step back and just acknowledge how interesting they are. So often we get caught up thinking about how ceremonies look so consistent in TV and on movies, but in real life: they unfold in many different ways.
Most of the time, they are hugely influenced by culture and religion. The events that go into a Jewish ceremony are vastly different than those in a Catholic one. At some extremes, couples will even make things up to help personalize them even more – one couple we had even walking down the aisle to the Parks and Recreation theme song (amazing!).
Since you will not have the ability to stage any of these photos, you need to work with what you are given.
A few things we do to make sure ceremony photos are interesting:
- Use a range of focal lengths. You will want a good mixture of wide shots (showing the environment, people in attendance, etc.) and tight shots (showing the emotion of the bride & groom).
- Get low in the aisle. Easily our favorite wedding photography technique is to crouch in the center aisle and frame the B&G in the center while showing rows of people watching them. This helps the viewer to feel like they are there.
- Look for shapes and leading lines. Most ceremony sites will have interesting features and lines that a photographer can use to add intrigue. These are simple framing and composition tools that can help your photos stand out from others in the crowd using a point-and-shoot.
- Get a copy of the ceremony schedule. Knowing the order of events can help you to predict where you need to be at all times. We do a good deal of walking around to get side and center angled shots, sometimes even going up on a balcony, so it’s valuable to know when the ring exchange, first kiss, etc. will be happening. You’d think these things would be consistent from wedding to wedding, but they almost never seem to be.
- Know the rules. Most wedding venues will not have restrictions on where or how you take pictures. The biggest exception we’ve run into is in Catholic churches – where normally the use of flash is not allowed, and there are limits on where you can stand (normally the altar area). It’s a good habit to touch base with the officiant to clarify in advance.
If you’re reviewing this article because you’re coming up on your first time photographing a wedding, we know the anxiety you are probably feeling! It’s totally normal – and is a good thing because it means you are serious about taking great shots. Ceremonies are not too difficult most of the time, but always keep your eyes peeled for the unexpected. Make sure you’re in position for the first kiss, too! 🙂
Wedding Photography Tutorial: Family Formals
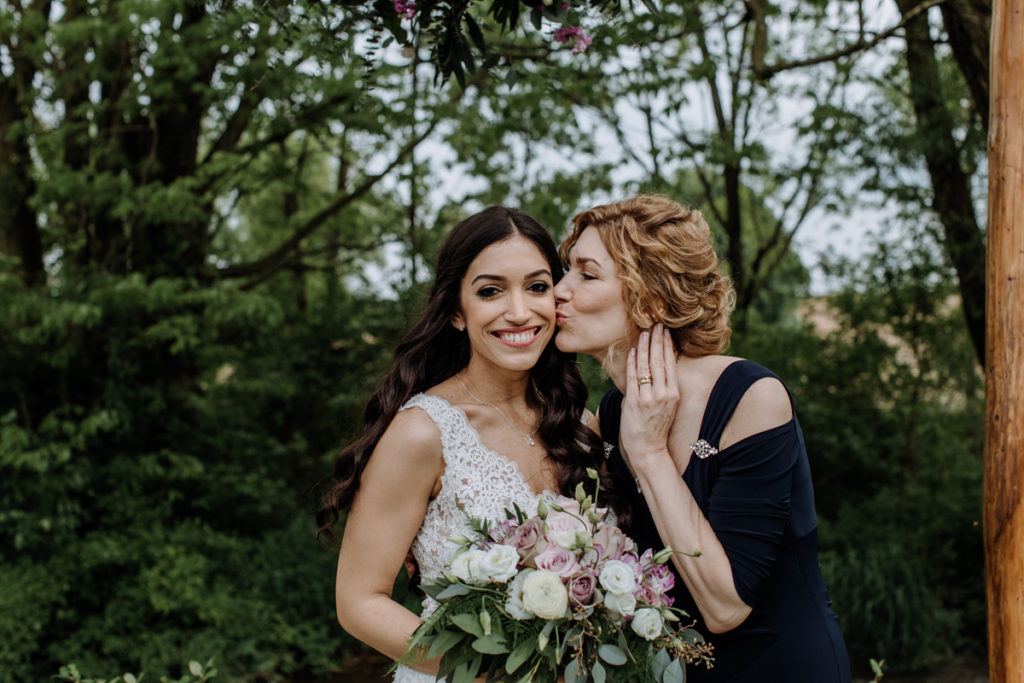
It’s at this stage that every wedding photographer around the world let’s out a sigh…family formals are generally the least enjoyable part of the day.
At the first couple of weddings we shot, we basically winged the family formals. Get everyone together and start setting them up with the bride & groom. This lack of structure definitely made things pretty stressful for everyone involved, and we learned from it.
Structuring Family Formals
These days – we’ve streamlined this process to make it much, much easier.
Included in our wedding day questionnaire, we ask our clients to fill out their family formal lists. We have them (in advance of the wedding) fill out their pairings.
We end up with a list that looks something like this sample family formal list:
- Bride, Groom, Bride’s Mom (Sandy), Bride’s Dad (Ralph)
- Bride, Groom, Bride’s Mom (Sandy)
- Bride, Groom, Bride’s Dad (Ralph)
- Bride, Bride’s Mom (Sandy)
- Bride, Bride’s Dad (Ralph)
We bring this family formals list to the wedding, and simply go down the list one-by-one. This allows us to make sure we get all the shots our clients want and allows us to also call out people by name and relationship. This is especially helpful when we have to do this without the help of a wedding coordinator.
Selecting a Location for Family Formals
If you are photographing family formals immediately following the ceremony, couples will normally want these to take place at the altar. Sometimes, you may want to move to an area nearby if you feel the lighting or backdrop is more suited.
The most important thing is to make sure the space has enough room for the largest family pairing. If you need to photograph a full family of 20 people – you need more space than taking really reserved family pairings that some couples want.
If possible, we like to do these outdoors in a shaded area. If this isn’t an option, photographing families with a good flash setup is hugely important. We especially find using an off camera flash to be valuable here to provide enough lighting for groups.
Wedding Photography Tutorial: Bridal Party Portraits
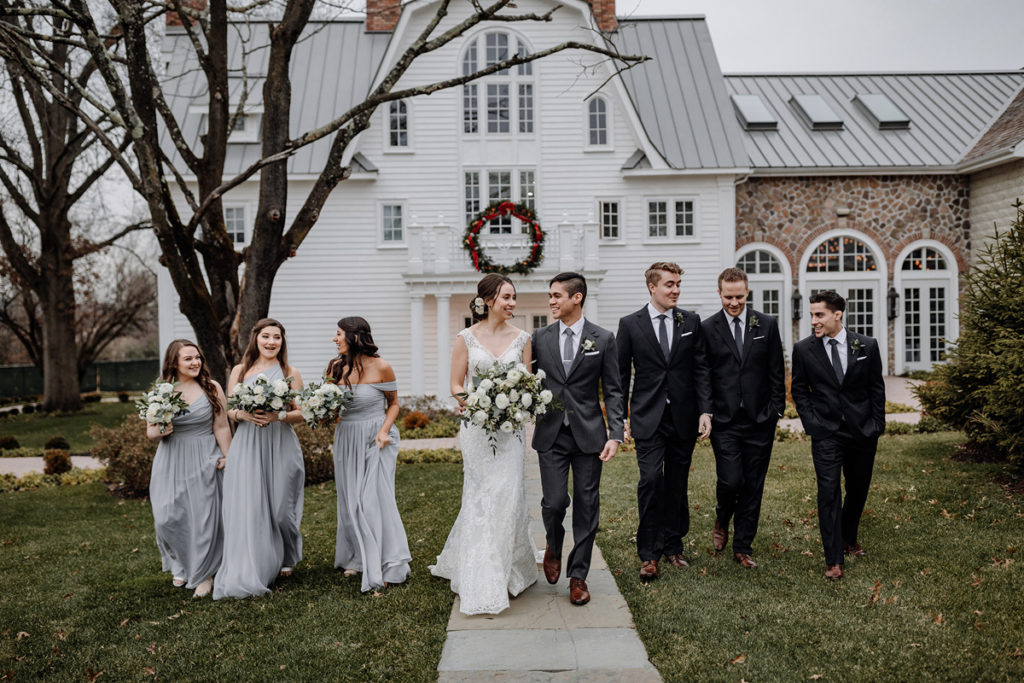
Bridal party portraits are a lot like family formals – but include some time for some fun shots, too!
The formal “look at the camera” shots will be much the same and can even be done at the same time as the family pictures if you want.
Where the differences come into play is when you want to showcase the bride, groom, and their bridal party in more interesting ways. The sky is really the limit here.
Some wedding photographers have a couple go to poses and setups. A few we like to use include:
- Flying V-formation
- Girls & Guys Pair Up
- Bride & Groom step ahead of Bridal Party
- Everyone cheer for the Bride & Groom
- Everyone walk towards the camera
In addition to these poses – we also like to do things to get people to interact with each other. A simple game of “whisper down the alley” is one way to do this – it elicits a lot of laughs and organic interactions between the people involved. It also gives everyone something to talk about later!
As with so many other things during the wedding day, the hardest part isn’t normally the actual photography, but getting everyone in the mood for having pictures taken. Bridal parties are most difficult when they are large – lately we’ve been doing a lot of weddings with 14+ people involved (it’s crazy we tell you!). The one surefire way to make things go smoothly is to just be easy going and have fun.
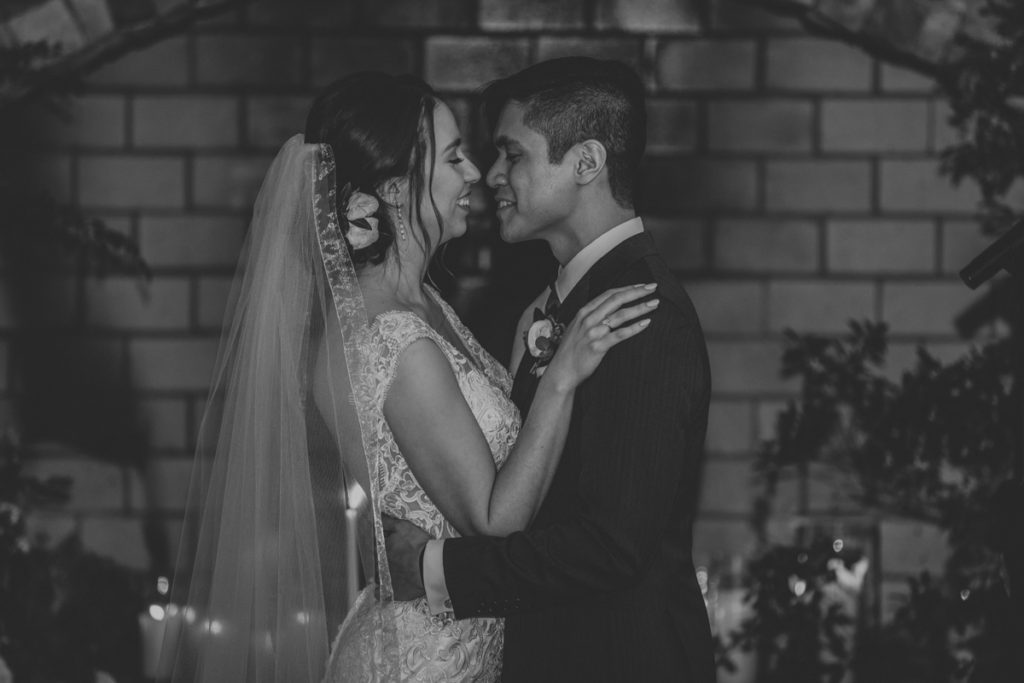
Wedding Photography Tutorial: Bride & Groom Portraits (Together)
Finally – the 30 minutes of the day you finally get to let loose and experiment. If we could just take couples portraits all the time and get paid the same, we would die happy.
Most wedding photographers are attracted to this subject matter because of the interactions between the bride & groom. Getting to capture their personalities with each other is something we really do LOVE.
We have couples that have been super romantic and serious in front of the camera. Our jaw drops.
We’ve had others that can’t take things seriously and are constantly cracking up and making jokes. Those shots are awesome too!
While you can read our couples portrait photography guide to get into the nitty gritty of actually taking couples photographs, the most important thing to make sure you are doing is allow the couple to be authentic with each other.
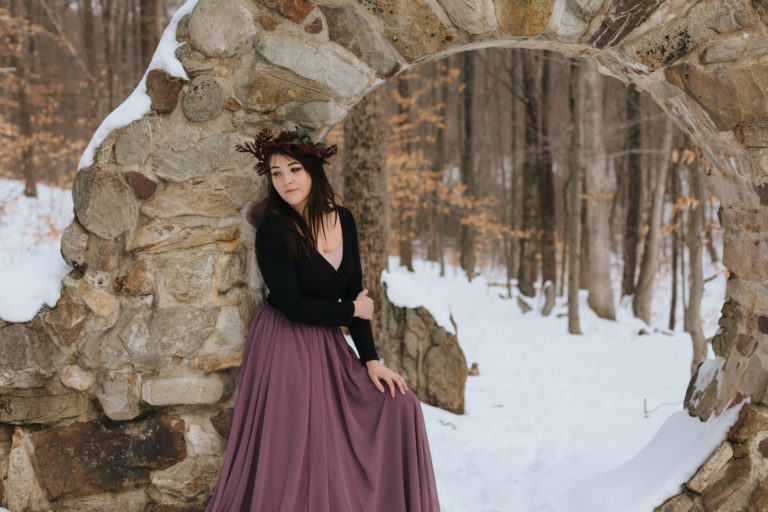
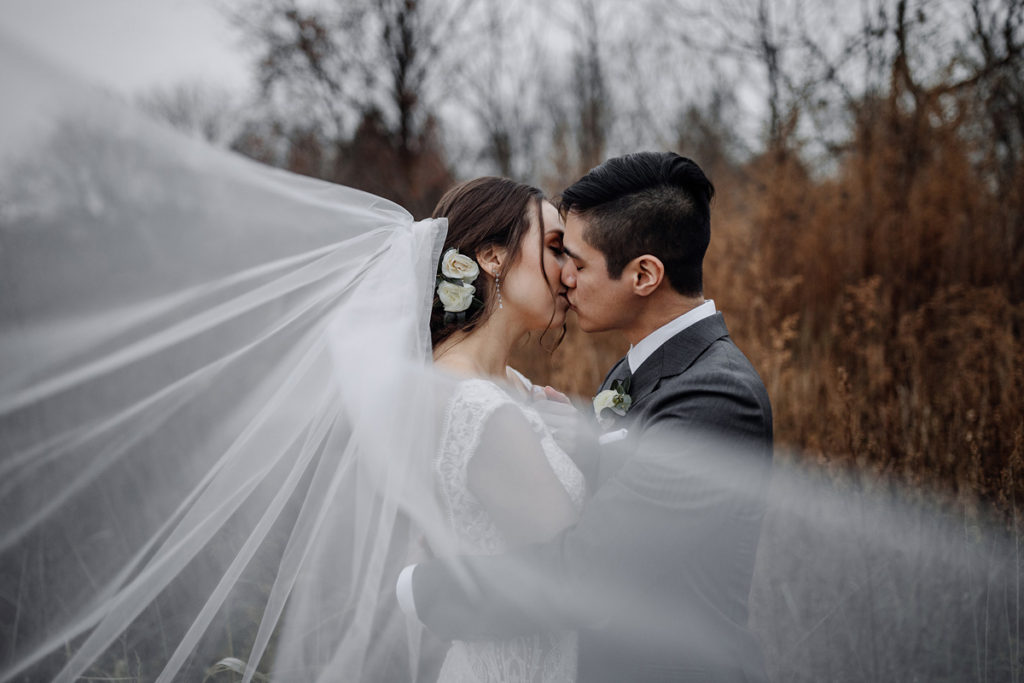
Wedding Photography Tutorial: Bride & Groom Portraits (Solo)
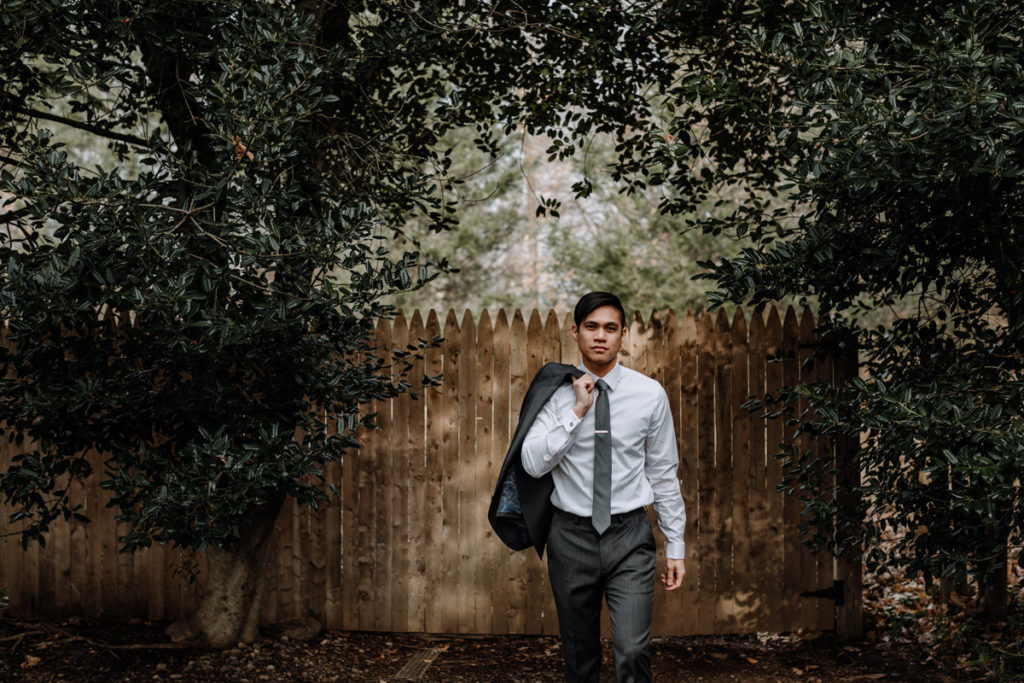
Individual portraits of the bride & groom are excellent mementos. We know many of our couples love seeing their significant other in a photo on their own – and sometimes these end up printed out and seated in a work cubicle (no lie!).
The actual camera techniques are going to be the same as you would find in our portrait photography guide. You’ll still want to consider lighting, your exposure settings, and so on.
The challenge of bride & groom portraits is finding effective poses that are flattering and compelling. Brides want to look eloquent and beautiful, while guys (who may not admit it…) want to look handsome and charming.
Photographing a couple together is often much easier because you can get them to interact together. It relieves some of the anxiety of being in front of the camera in much the same way going on a rollercoaster with a friend makes that experience a little easier (assuming you don’t like rollercoasters!).
So with this in mind – you should aim to be reassuring in everything you’re doing. Tell the bride she is looking beautiful. These little things go a long way.
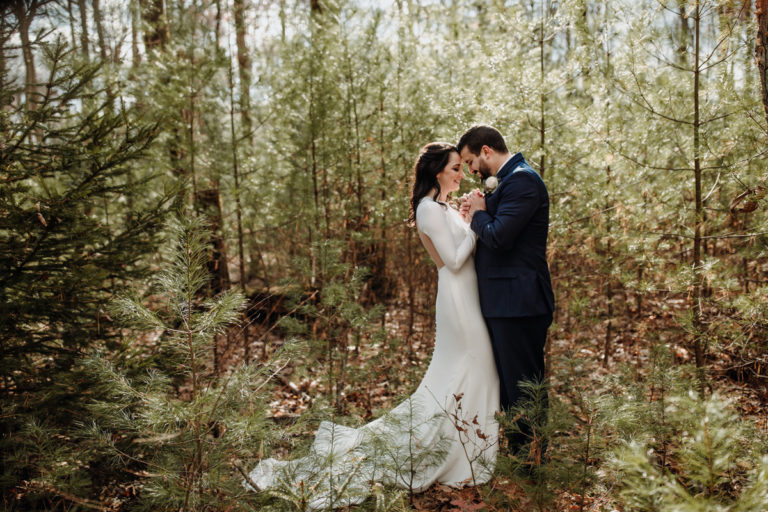
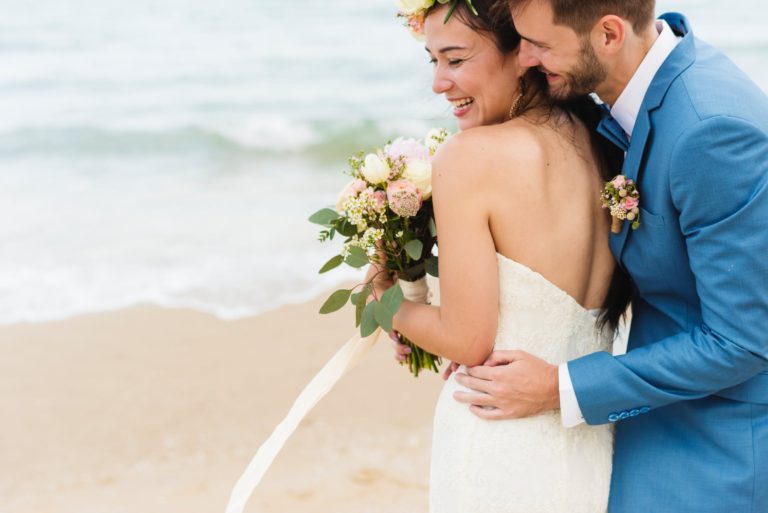
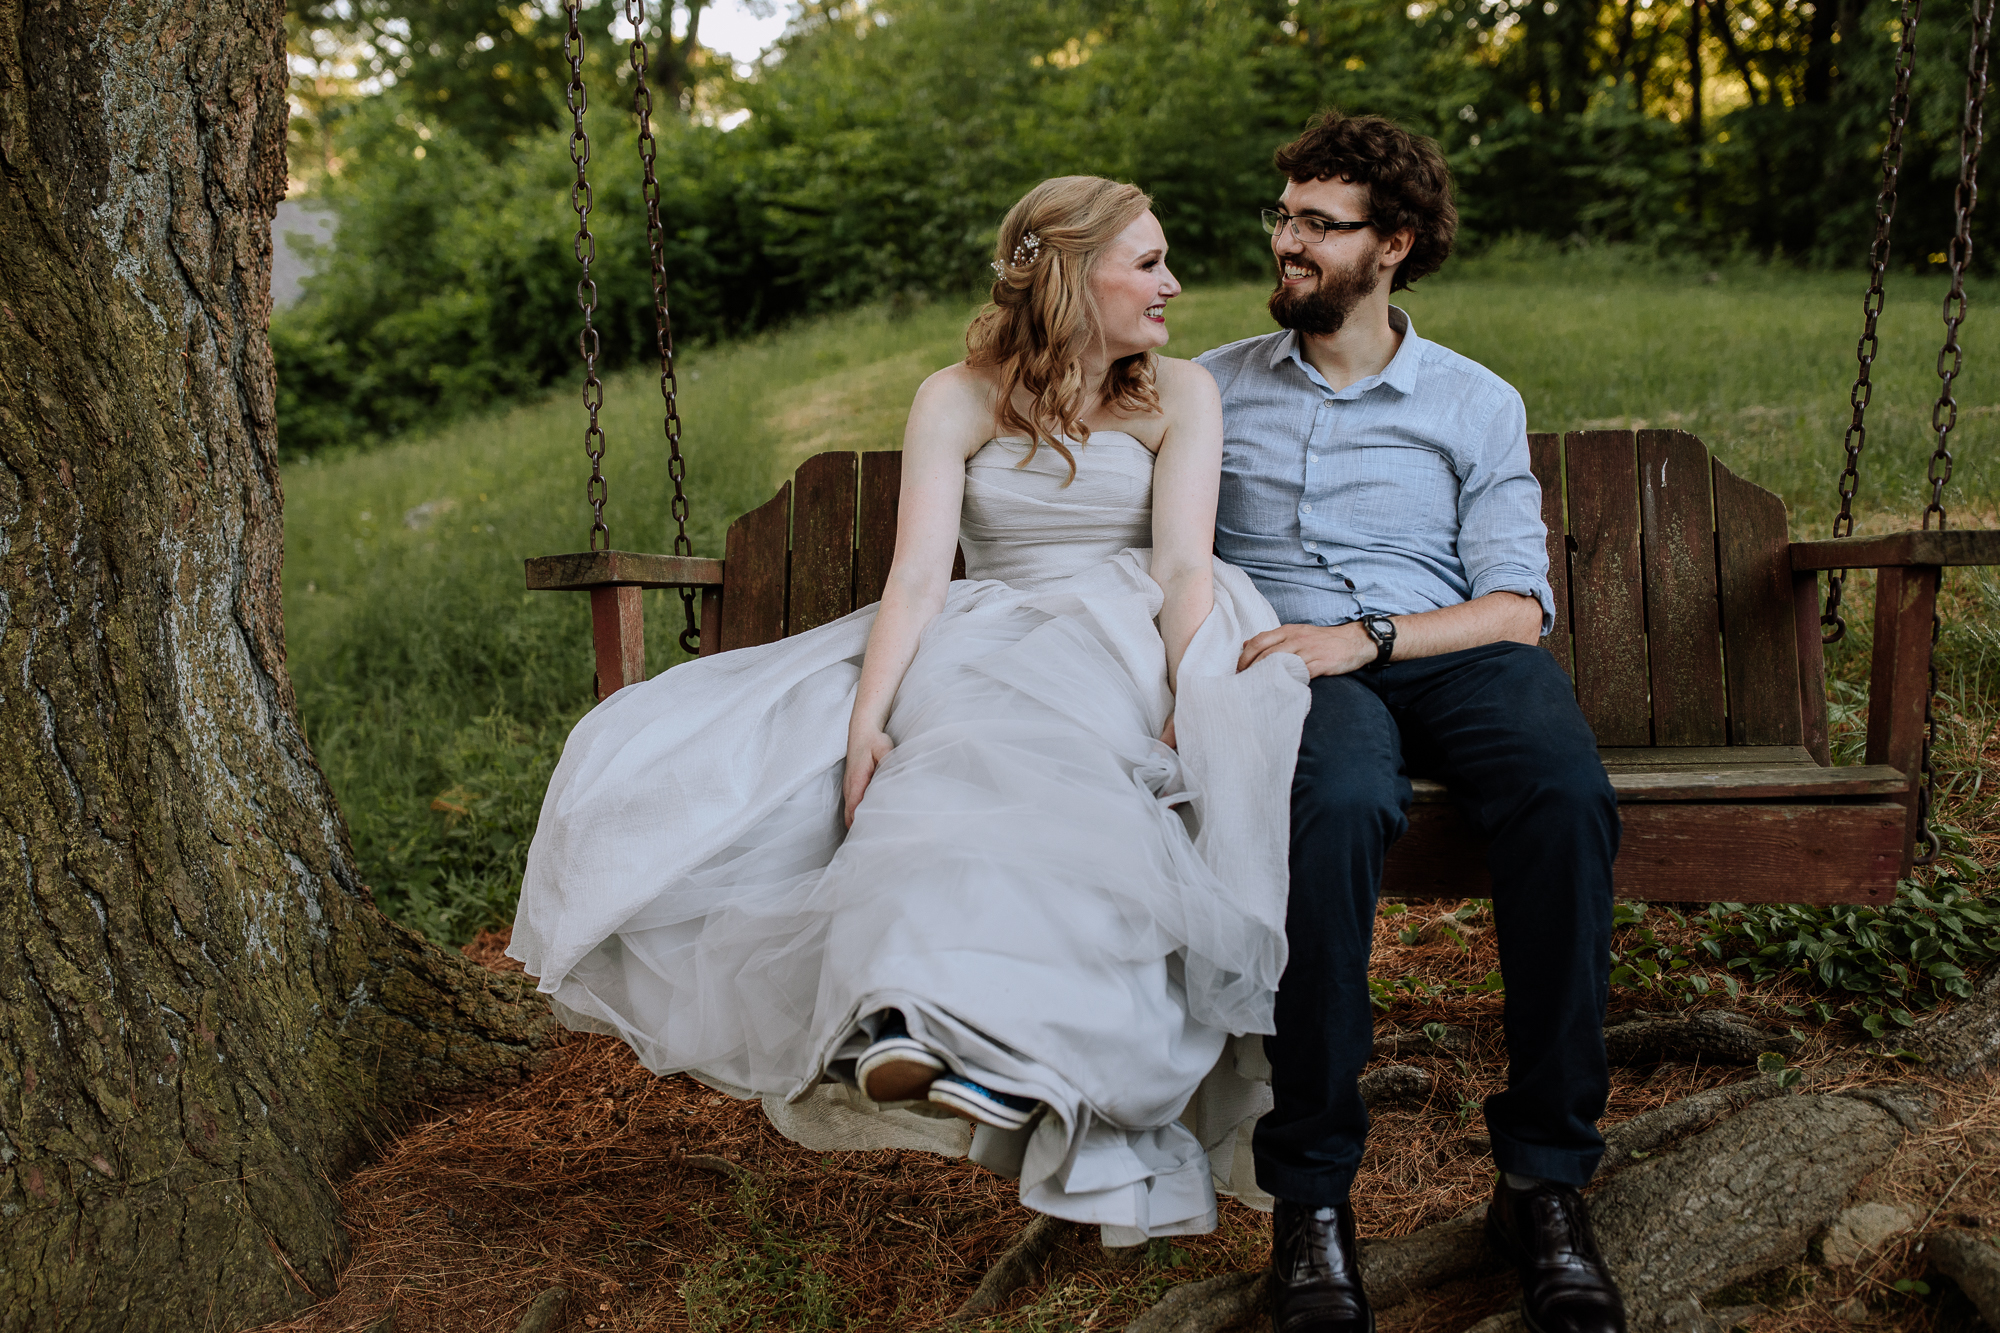
Still – the best tip we can give you for wedding photography portraits is to still have the couple interact with each other.
As you can see in the photos taken below – this is the result of asking the groom to tell the bride what he thought when he saw her walking down the aisle. We flipped the switch and asked the bride the same. Don’t these photos just look stunning?
Wedding Photography Tutorial: Cocktail Hour
We’re happy to say – if you’ve made it this far, you’re in the clear.
From cocktail hour through the end of the wedding, photography becomes much easier. While there are still important events that occur – they are usually much easier to predict and capture. You don’t need to coral people into groups, you don’t need to sneak around a ceremony site, and people are generally shedding their feelings of stress and anxiety for a glass of wine and fun mingling with each other.
Cocktail hour is basically the pre-party. Because of how the day is setup, we will normally only capture the tail end of this.
The photography approach is simple: capture photos of people interacting with each other candidly. If someone asks, snap a photo of them in little groupings.
Most importantly…relax and have a good time yourself. If the photographer is having a good time and being chill, you’ll end up with better photos of people who aren’t feeling as stressed out by your presence.
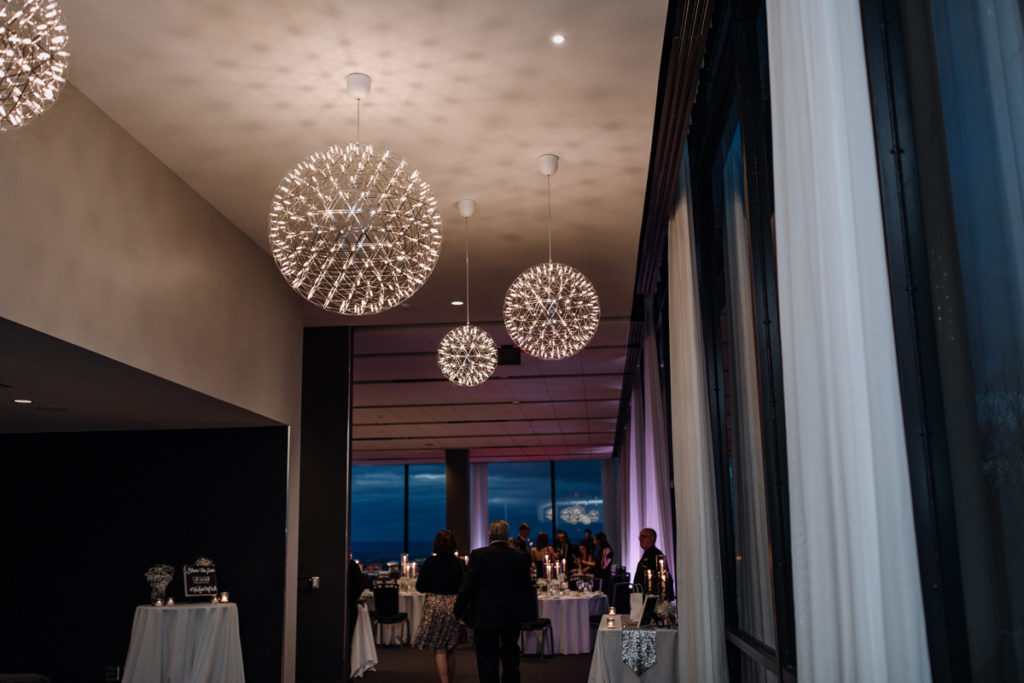
Wedding Photography Tutorial: Reception
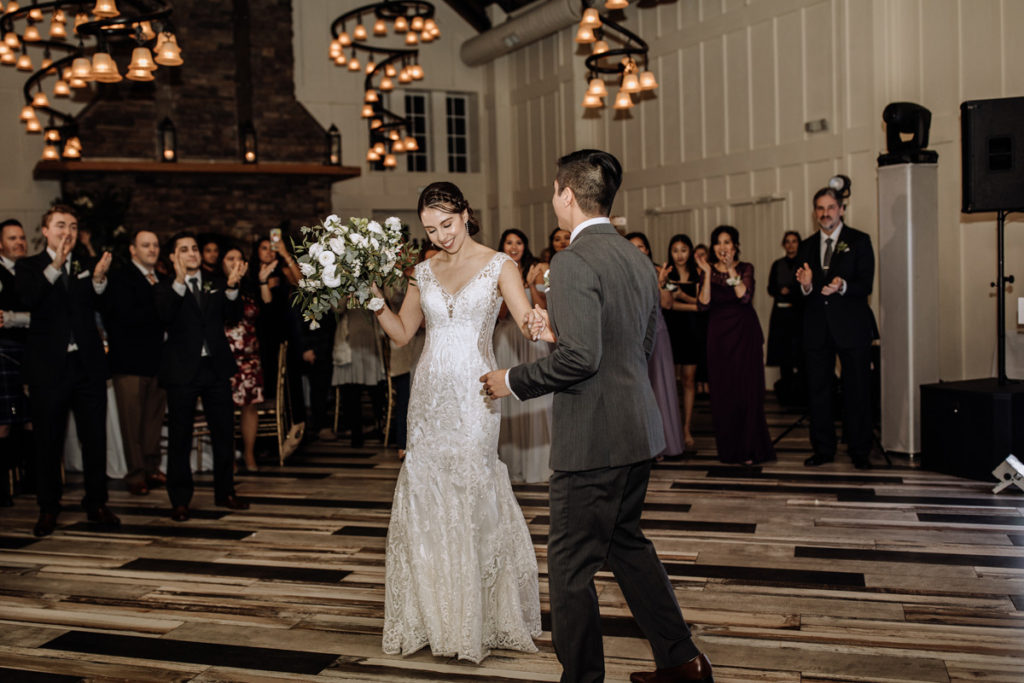
Dinner and a party? Sign us up!!
Most of the receptions we have been to have been a great time.
It’s a very freeing part of the day for a wedding photographer – finally getting to slow down and be more selective with the things you are photographing.
Some parts of the reception will be very formal and straightforward.
Some Common reception events include:
- Introductions
- Toasts/Speeches
- First Dances
- Bouquet Toss
The rest of the reception though will be filled with candid interactions and a lot of dancing.
You should feel motivated to let loose and experiment during this time. We absolutely get some “safe” shots – but then start playing around with long exposures, light dragging, ambient light & flash, and other techniques. Swapping our lenses also allows us to see things differently.
Pro wedding photography tip: Be mindful of how many photos you are taking of people dancing. These get repetitive really quickly. In about 15 minutes, we have enough shots to comfortable fill out a wedding gallery. You should shoot through the night – but pay attention to who you are photographing, and how your images are turning out.
Pro wedding photography tip #2: It’s important to use flash during receptions – unless you happen to be outside in good lighting. But – most reception halls are indoors, so flash is a necessity. We currently use the Profoto A1 flash – an ideal pro level on camera flash option.
You can check out our Recommended Flash Gear for more detail about the flashes we have used ranging from entry level options for photographers on a budget to more expensive flashes that offer more convenience and reliability.
Wedding Photography Tutorial: Grand Exit
Dun, Dun, DUN!!!
About 95% of weddings we shoot have some sort of proper “exit” to close out the night. Most of these end up being sparklers – which are totally rad. Once in a while, we’ll get couples mixing things up with a fireworks display, glow sticks, balloons, and other fun ideas.
Photographing the wedding exit can be challenging at times, but the result is totally worth it.
For the purpose of this post – we’re just going to look at photographing a sparkler exit since it is the most common. There are 2 approaches depending on if you want to use flash or natural light.
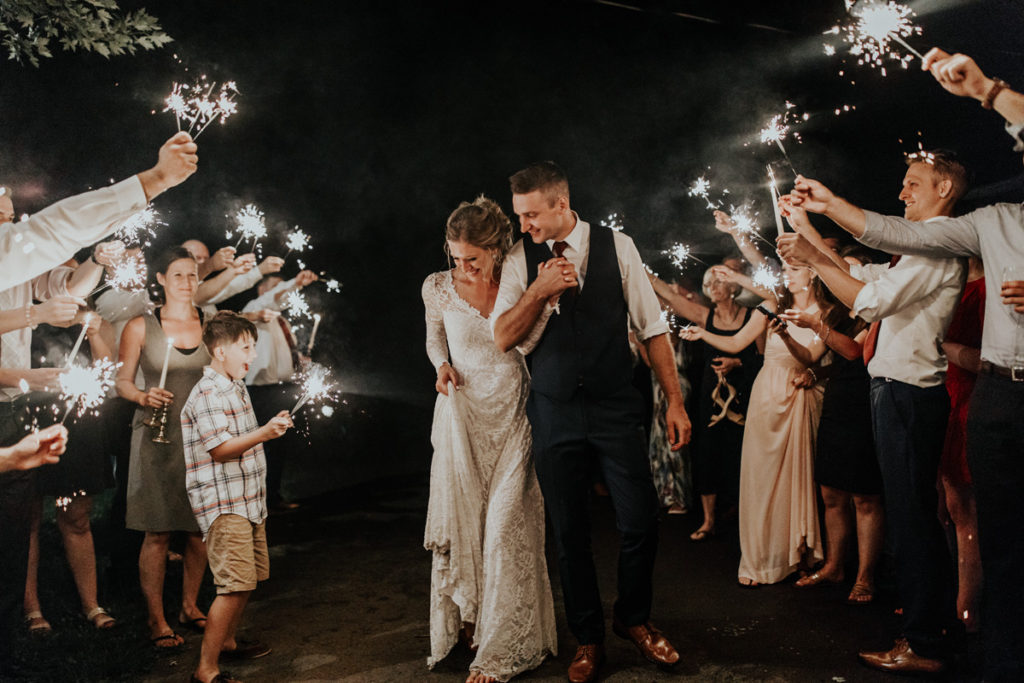
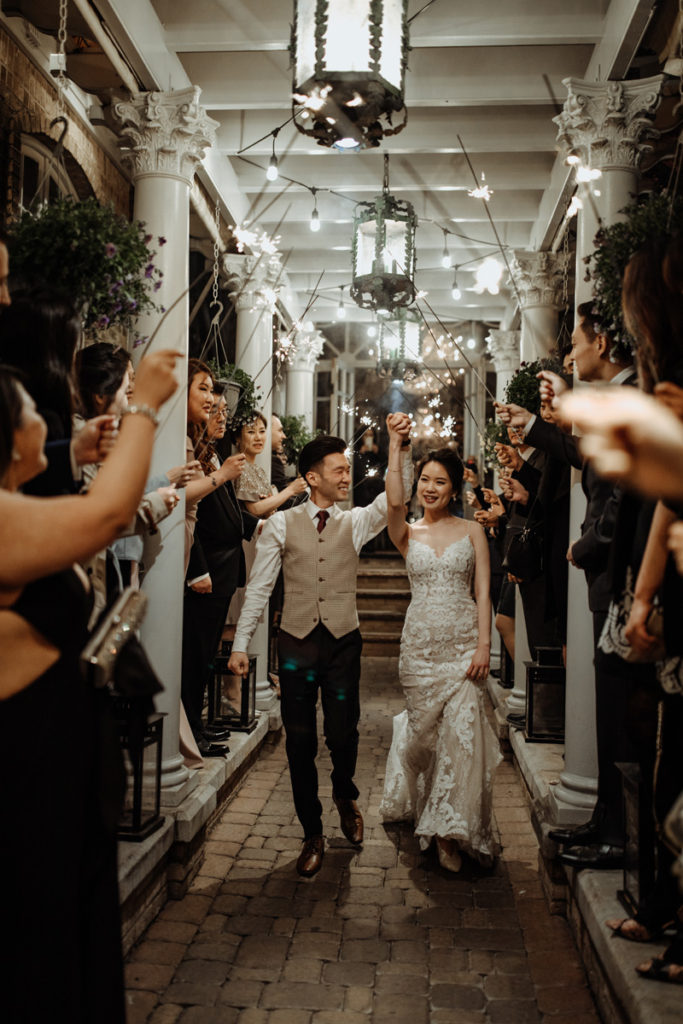
Sparkler Exit Photography – Without Flash
To our surprise, our sparkler sendoff photography preference is to just use the available ambient light to photograph the exit. On paper, this honestly seems a little crazy considering how dark it is at this time of night – but it works out very well.
The key to nailing great sparkler shots without a flash is to use a wide aperture and high ISO. We often shoot around f/2 and as high as ISO 3200 (or higher). In camera, the images aren’t usually all that appealing – but once we have a chance to edit the images later, the results can be stunning.
Here’s an example of sparkler sendoffs taken without flash:
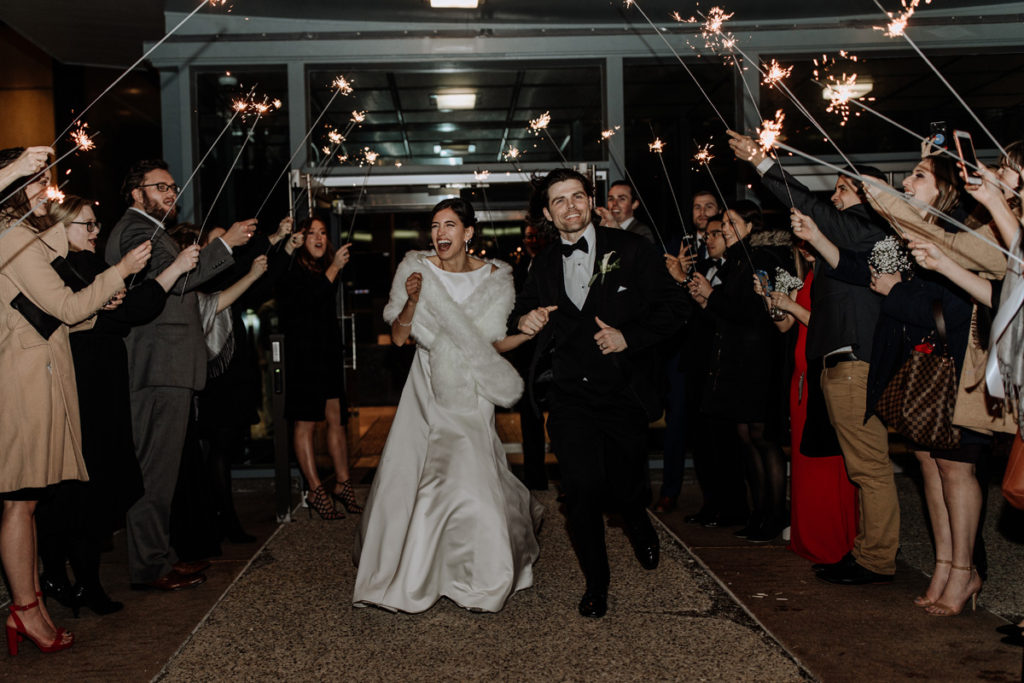
Sparkler Exit Photography – With Flash
In some ways, using a flash (or multiple flashes) to capture the sendoff can be seen as a “safer” approach. The most obvious reason for doing this is it will allow you to illuminate people resulting in a much cleaner image.
In this environment, the trouble with flash can be it’s overpowering and artificial look. Fortunately, the result can be better than this if you learn how to effectively use a flash.
There are many approaches here depending on how you want to play with the light, but one we’ve employed before and liked is this:
- Set your flash to High Speed Sync (HSS). This will allow you to set a higher shutter speed and retain more ambient lighting.
- Use a slightly high shutter speed (start around 400). This figure isn’t about capturing movement but is about keeping the ambient light of the sparklers looking good.
- Set your on camera flash to point directly at the couple. This would normally be a no-no, but since they will be running and looking in all directions – you won’t get much blinking.
- Fire away!
- Bonus: You can add an off camera flash into the mix for some direction lighting and extra power if it’s especially dark out.
Conclusion
You made it to the end of the wedding – congratulations!
It’s time to pack up and say your “goodbyes.”
Before you go – make sure you touch base with any wedding vendors you really liked working with. We suggest passing out your business cards too – it’s good to build those connections.
Wedding photography becomes easier with experience, though there will always be new hurdles thrown at you. By doing everything you can to prepare in advance for what is to come and taking actual steps to make sure you’re prepping yourself and your clients for the big day, you can help make things run as smoothly as possible.
If there is anything we’ve learned in our time as wedding photographers, though, it’s that something will always go wrong. Hair & makeup will run a little late sometimes – so you need to be prepared to deal with a shifting schedule. A bride’s mom might get a little crazy – so learning how to manage expectations and be a calming presence is a helpful thing. Learning to handle these things in stride will make a world of difference for you.
We hope our wedding photography tutorial walking you through a full day is helpful to show you what you should expect.