5 Tips for Shooting a Wedding in Mid-Afternoon Full Sun
You know you’re a wedding photographer when you dread the mid-afternoon clear skies with full sun because you have an outdoor wedding ceremony. The struggle is real!
While we all love the sunshine otherwise, photographing a ceremony in harsh light can be less than ideal, especially if you’re not used to shooting in this sort of scenario.
While we can’t change the weather, we can help prepare you for shooting a ceremony in the harsh mid afternoon sun with these simple steps!
1. KNOW WHERE YOU ARE STANDING
It can be as simple as that when it comes to your position and angle of the sun in your photos. Even at high noon or early afternoon, the sun is always going to be on one side or the other. This ends up meaning that there is almost always going to be a softer side to the light.
How do you find this? Simple!
Finding the softer, more shaded side will always be opposite of where the sun is directly hitting.
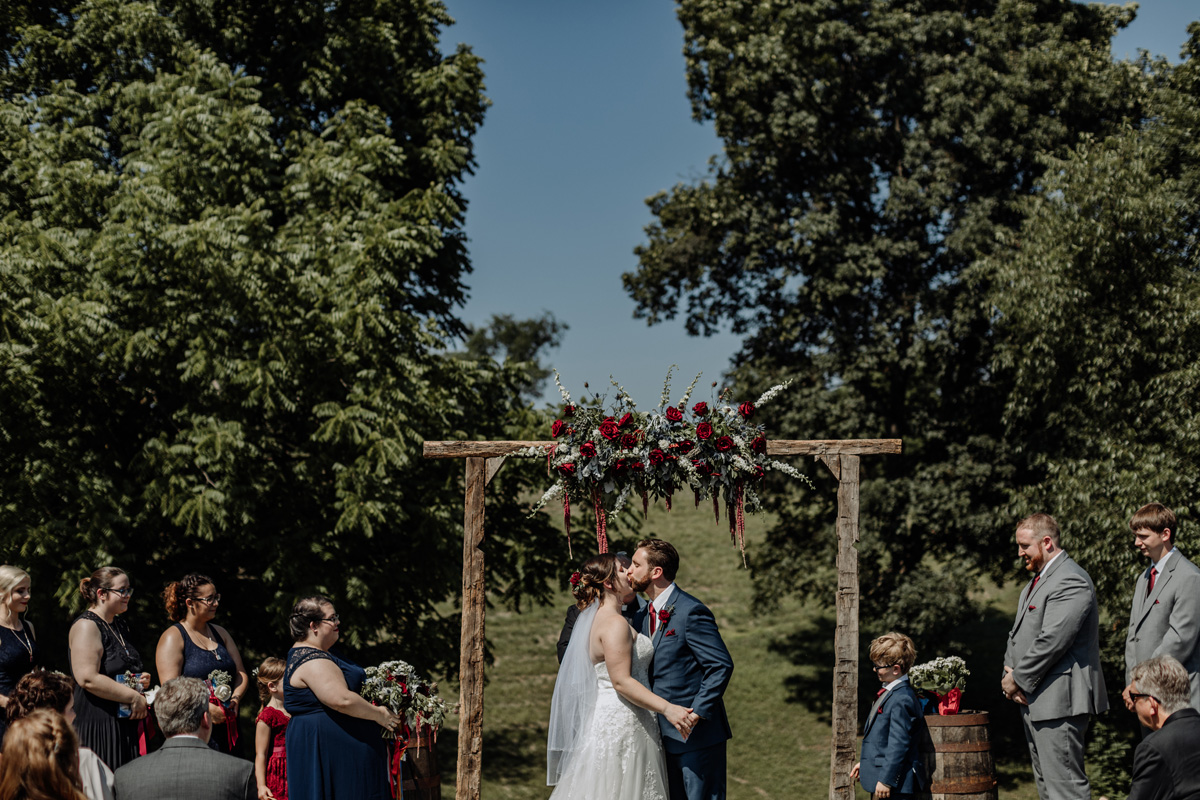
However, sometimes we don’t always get lucky with having the sun on one side or the other and we just have to choose our battles. During one of our favorite summer weddings the sun was directly behind the bride as she walked down the isle, which meant the groom was left squinting into the light when he saw her walk.
2. KNOW WHAT TO EXPOSE FOR
Now typically we always underexpose our images a little bit because that has a play in our own stylistic preferences. For a day with high noon sunshine during the ceremony, we will underexpose even more than normal so we don’t lose any details or blow out highlights on skin.
If you’re exposing for highlights, you will be able to adjust comfortably in Lightroom to lessen the shadows which can help even out the distribution of light over skin tones.

3. SHOOT IN RAW FORMAT
If it’s your first time shooting a wedding, it might also be the first time you’ve even heard about RAW file format. As a standard, most consumer level cameras shoot to JPEG images (which are smaller files with less ability to be adjusted in post production). On the other hand, RAW image files are basically the equivalent of a film image’s negative.
By shooting in this format, you will be able to better make adjustments later on to shadows, highlights, overall exposure, white balance, individual colors, and more later. While our goal is always to get our exposures right in camera, with changing light conditions this isn’t always simple to do or possible.
It is worth noting, if you are just beginning to shoot in camera RAW, you will want to be sure you have large capacity SD cards as these files tend to be around 30mb’s per shot. We recommend the SanDisk Extreme Pro 128GB SD cards ourselves.
4. BE PREPARED TO EDIT YOUR IMAGES IN POST PRODUCTION
Going along with shooting to RAW files is being prepared to edit your photos once you get home. We begin this process by culling our images using Photo Mechanic, then import our photos into Lightroom for the bulk of our photo editing. Once we near the end, on a few photos that may need more selective editing, we’ll drag them into Photoshop.
In Lightroom, we have much flexibility in how we approach editing the images we have taken. It has taken us quite a while to get edits on ceremonies in bright sun right, but we are there and now comfortably use some self-made presets to help us along on future wedding galleries.
5. USE FLASH TO FILL IN SHADOWS
A more advanced technique for handling harsh sunlight in your photos is to use flash. It may seem counter-intuitive, given there is already so much light in the scene, but the intention here is to use the flash to illuminate the bride & groom, who’s faces may be cast in shadow.
Flash is especially useful if you have a bride & groom with “patchy” sunlight on their faces. This is the least flattering type of light, and without flash quite difficult to control.
You can experiment with different flash options. If you are relatively close to the couple during the ceremony, an on camera flash such as the Profoto A1 will be a suitable option. If you want to be further back, you might consider an off camera flash option such as the Profoto B1X.
While shooting a wedding ceremony in broad daylight can seem like a daunting task, it actually isn’t too bad! With the 5 techniques we’ve outlined, you have full potential to get the best shots you want – and you want your couple to have.