Get Better at Photography With Practice (Photo Tips, Tricks, and Your Questions Answered)
Last Updated: May 19th, 2026
One of the hardest parts of photography is learning how to effectively practice.
New photographers can quickly feel like they are stuck in a rut and not progressing, so having a good approach to practicing will help you to have more fun, create more interesting photos, and feel like you have some forward momentum.
From an early age, I got into photography as a hobby. Between high school photo classes and random photo trips I would take with my friends, I started to practice very organically. Looking back on all the photos I took from these early years, it’s pretty easy to see that my photography skills never really seemed to get better. I consistently liked photographing the same things again and again (flowers, trees, bugs, family) – and didn’t have a crazy refined view of photography back then.
As I got older, and especially when I started to view photography professionally, I really honed my skills. The biggest changes to my photography came under pressure of shooting for clients. My practice was experienced in a “trial by fire” and after a few years, it’s resulted in an ability for me to create consistently beautiful photos again and again.
In this post, I am going to teach you how to more effectively practice photography, so you don’t have to learn under the crazy pressure I put myself through. I know what types of techniques are ineffective, and what things you should be doing to make sure you grow in your photography skills. This advice is totally free and will include my personal tips and tricks, as well as thoughts on common questions photographers have when it comes to practicing photography.
Lets get started!
Common Photography Practice Questions – Answered!
 The burning questions that you are just dying to know the answers to will be covered in this little mini-FAQ about practicing photography. I pulled these questions from a variety of sources online such as Google, Reddit, and other forums – as well as from questions directly sent to me via email from this site’s viewers.
How can I practice photography?
This is one of the broadest questions that can be asked by beginner photographers. I understand where the question is coming from – a place of good intent from a newbie who really doesn’t know where to start.
While taking ALL of the advice and tips you’ll find throughout this post is a good starting point, I’d summarize things like this:
Begin by taking photographs of things around your home and outdoors at places you are comfortable with (or that otherwise inspire you). To really shape your skills and come to understand what you are doing, a great starter technique is to educate yourself about a concept, then go out and try to implement it into your photography.
For example, you can dedicate a week to taking photos that include leading lines. By being intentional in your photography, you will end up seeing real results in your images.
What can I practice taking pictures of?
Put another way… What should a beginner photographer shoot?
You do not need to take pictures of things that don’t interest you – this is a way to become bored and hate the hobby of photography!
When I started out, I loved taking pictures of flowers and documenting landscapes as I hiked around parks around where I lived. I would also just grab my dog and friends to practice taking portraits.
The beauty of photography is that you can make anything your subject. If it interests you, snap away!
How can I improve my photography skills?
You will see improvement in your photography abilities by doing 3 simple things:
- Learn about photographic concepts in your down time by reading online articles, photography books, watching videos, attending online classes, etc.
- Apply the things you have learned to your photography practice sessions
- Review your work – how are your images turning out?
- Repeat
The truth is – this cycle never really ends in photography.
There is always a new challenge to overcome!!
I take professional photos (weddings and portraits primarily), and while I would consider myself a very good photographer, I still face challenges and have to work my way through just like anyone else. Beginning photographers feel these challenges really intensely, but do know that after you learn even just a few core aspects about photography, it gets so much easier (and fun!).
How do you practice photographic composition?
For many photographers, adjusting camera settings can feel like a chore. Settings are more of a scientific problem to be worked out than “art.”
Composition, on the other hand, feels much more artistic. It is the one area that allows for photographers to really come into their element. How a photographer decides to frame even a simple portrait will play a huge role in the end result of their work.
Photography composition is made up of many things such as position of the photographer, position of the subject(s), relative position of the subject(s) compared to the foreground/background, shapes and lines occurring in the scene, angle of the lighting, and more.
The struggle many new photographers have with composition, I would guess, is getting all of these things to work together. Another common struggle I see is photographers feeling like they need to have a really extraordinary composition to make a beautiful photograph!
In practice, photography composition should begin small and simple.
If taking a portrait, start by featuring a person front-and-center in your frame. While easy to pull off, this is an absolutely great portrait composition used even by well paid professionals.
As you evolve your compositions to be more interesting, a great way to practice is to find sample images you love and set out to replicate in one way or another. Review the image(s) for specific characteristics, camera techniques, and qualities that you want in an image – then make it a goal to implement those things into your own shots.
If there is a particular type of composition you are struggling to understand, feel free to leave a comment at the end of this post asking about it. I’m sure I can help you out!
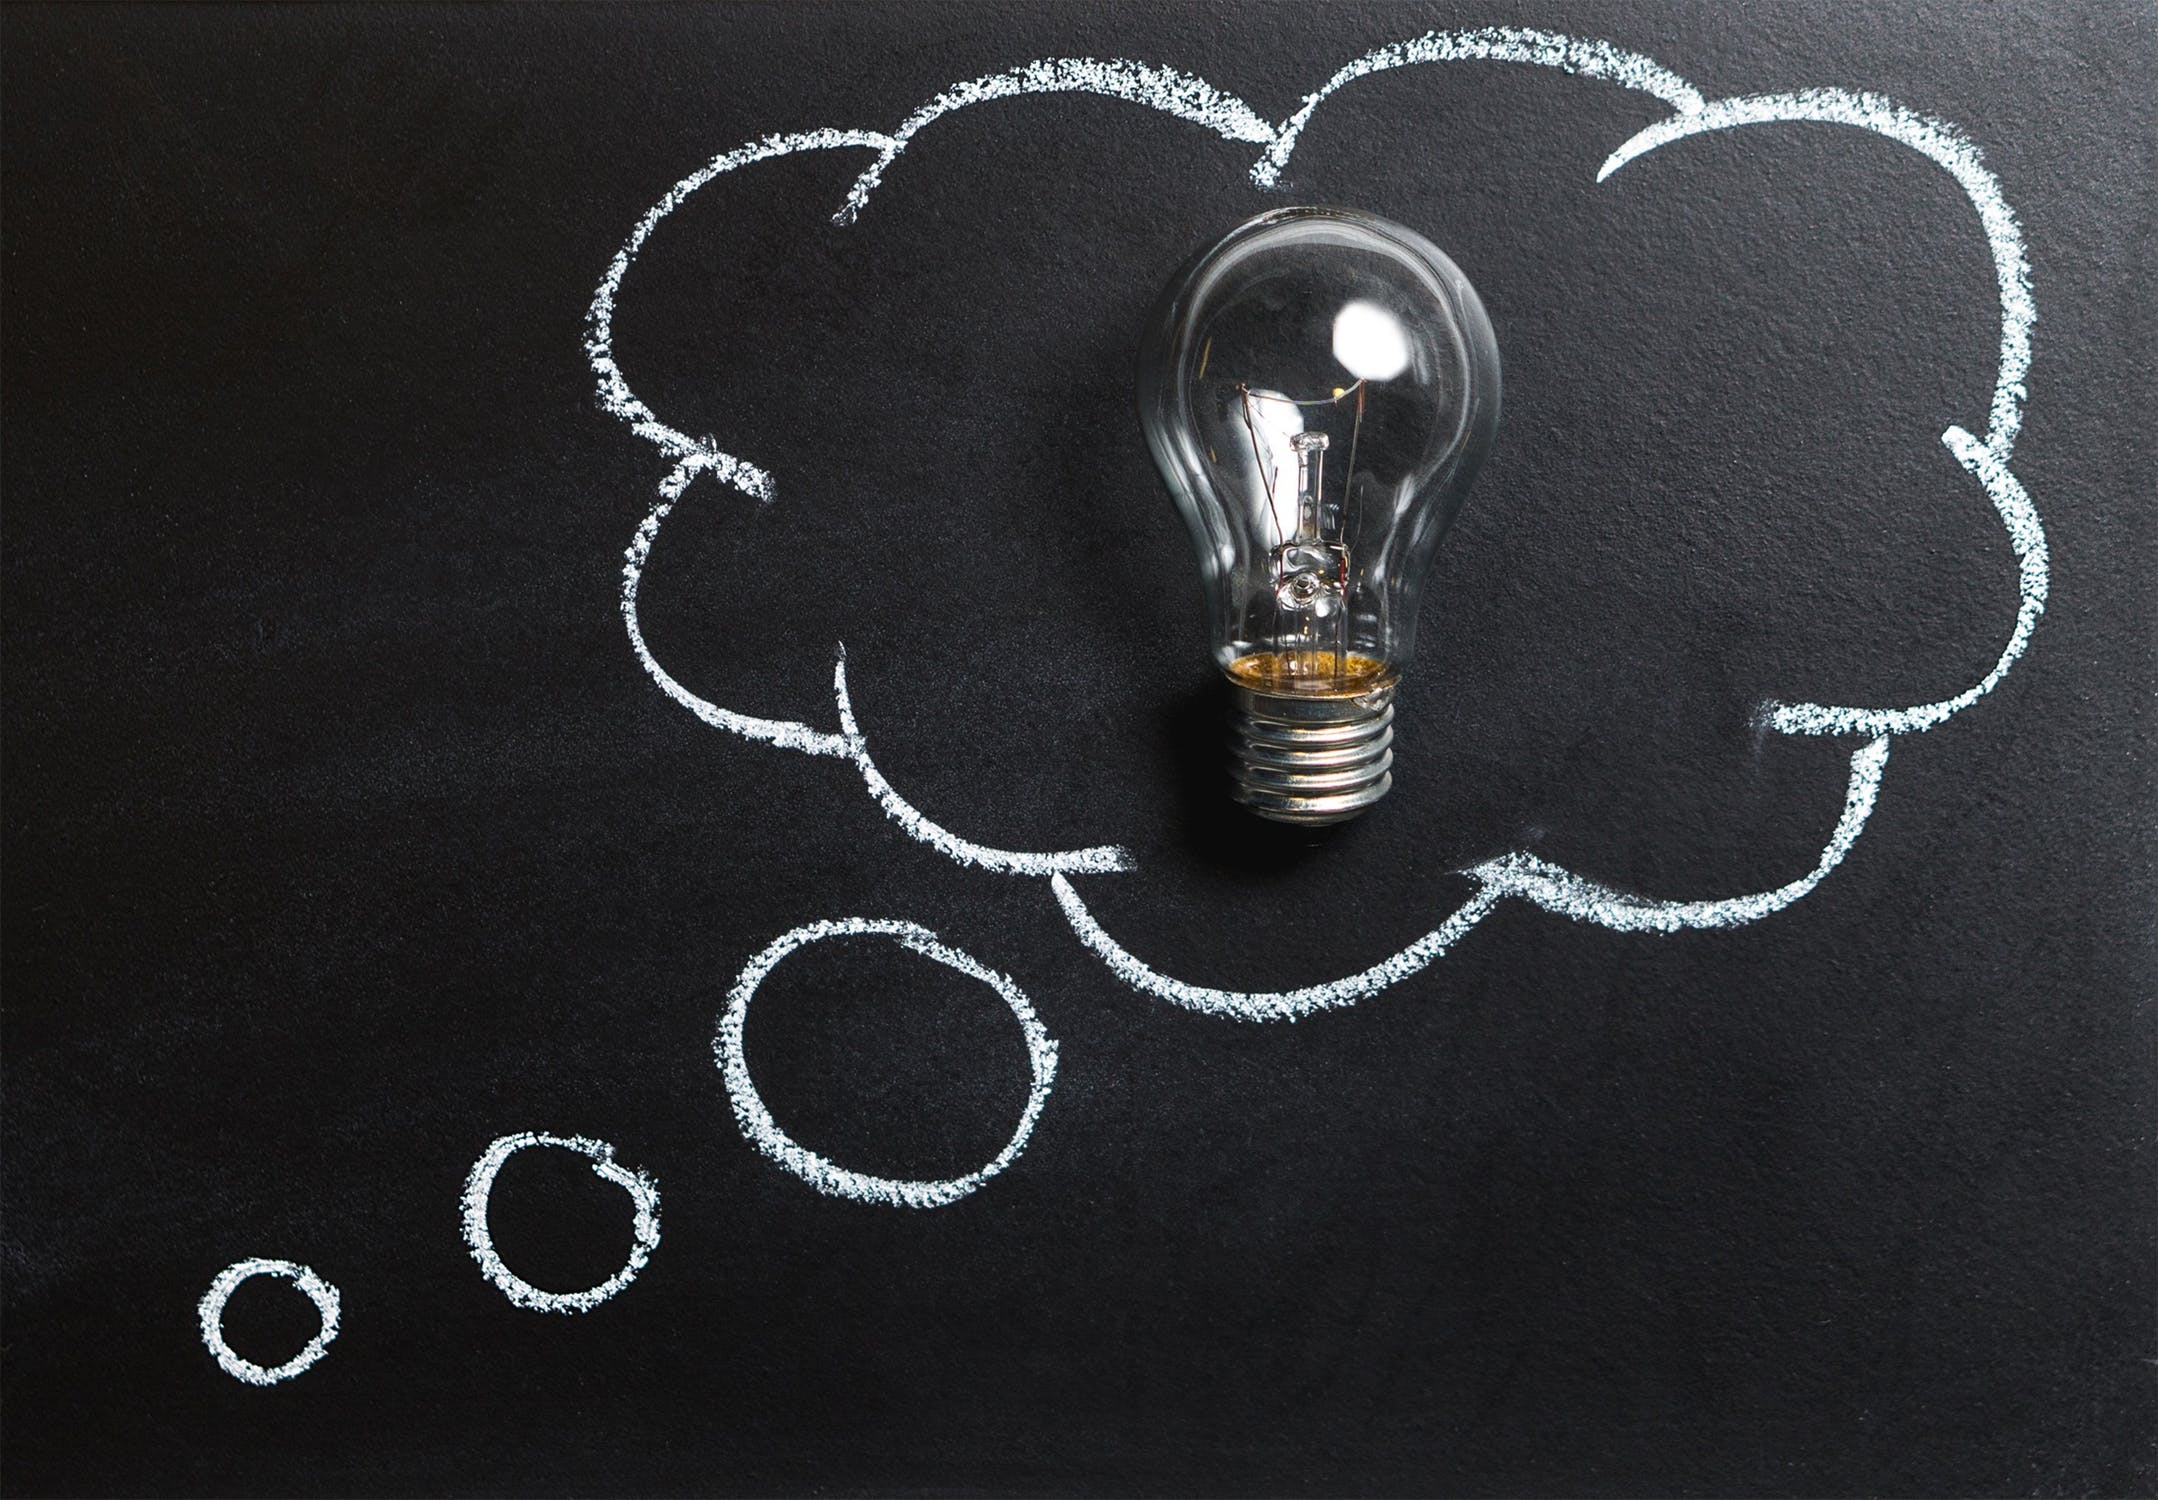
Photography Practice 101: A Mind Exercise
 I have a great list of photography tips coming up that you will be able to review for rapid-fire thoughts on how you can be better at practicing your photography. Before I get into that, though, I want to walk you through what I call a “mind exercise” to help you take better pictures.
Required materials:
- Paper
- Pencil
- Camera
In this quick exercise, I am going to have you think about a photograph you would like to take. You will want to consider your subject matter and environment. Ideally, what you envision should be at least relatively realistic to your personal situation.
By using this simple technique, you can begin to think like a photographer, and take these ideas and turn them into actual images!
Step 1: Close Your Eyes
Step 2: Take 10 Deep Breaths
This is to help you relax your mind & body – almost like a mini-meditation!
Step 3: Visualize Your Image
Think about the key details like the subject, environment, lighting, etc.
Step 4: Zoom In On Details
When thinking about an image like this, we often just see general objects, and miss out on the details. Go through the image in your mind and look at the details.
For example – if you are envisioning a portrait of a woman, think of more fine details about her. What is she wearing? What does she look like?
Step 5: Control the Composition
Most likely – your subject matter is centrally framed. This is natural because it’s how we see the world when we’re really actively looking at and thinking about things. But just like how we have things going on outside of our vision, it’s time to think about the composition of your mental image. If you like it centered, keep it that way. But, if you feel it could benefit from being moved around, you can change the camera in your mind right now to see it in a new perspective.
Step 6: Snap a Picture
You have picked a subject and set the scene up to fine details in your mind, now take a picture in your mind. How does it look to you?
Step 7: Draw Your Picture
No – you don’t have to be an amazing artist to draw out a representation of your photo. I have the drawing abilities of a 1st grader myself. 🙂 The actual “look” of your drawing will not matter. Instead, I want you to focus your drawing on alignment of features. The arrangement of your composition. Where you place your subject.
By drawing out your mental image, you are taking an extra step to ingrain a thought process into your photography. You are taking an active role in creating images instead of just relying on luck.
Step 8: Review Your Drawing
When you look over your mental image drawing, what things do you recognize as valuable in your work?
- How are things arranged?
- What kind of shapes are on display?
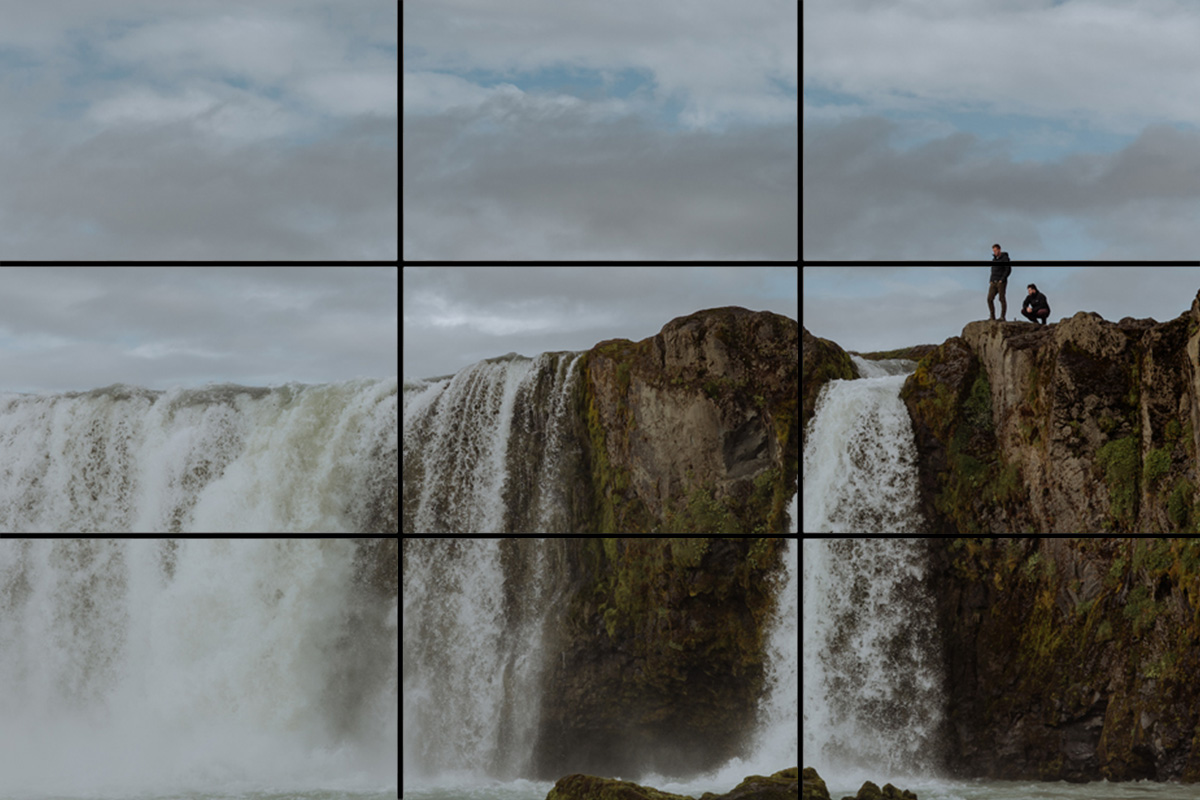
- Are you (intentionally or unintentionally) using any special photography techniques (ie: The Rule of Thirds)?
- What is the lighting like?
- What is the subject of your image? Does this have meaning to you?
Step 9: Make Your Mental Image a Reality
Ultimately – the picture you see in your head can be brought into reality by finding a subject and location that mirrors it. Most likely, the photograph you end up taking won’t look 100% the same as what you dreamt up – but that is to be expected…
The practice of visualizing an image in your mind, then going “into the field” to make it a reality is very common in photographers. The same type of method is naturally employed by creatives working in different fields as well such as music, painting, etc.
With this method of “mental practice”, you can engage with photography even when you are away from your camera. Over time, it becomes natural for photographers to “see” images before they are taken.
When I photograph weddings, for example, I don’t usually have a lot of time to put together a shot – but I can do so on the fly because I have trained my eyes and my mind to work together to compartmentalize a scene to an extent that I am able to find great shots within a moments notice. If this is something you struggle with, this technique will help you to overcome this big challenge!
10 Beginner Tips to Practice Photography
1). Start with education
How can you practice photography if you don’t know what to practice?
Think about it like this: if you were trying to learn how to paint, is the most effective way just buying a paint set and going to town on a canvas? No. While you’re doing the action of painting, you’re not really training any of the skills necessary to do much more than put color on a canvas in shapes.
Beginner photographers need to get exposure to ideas and techniques that have been referred to by photographers for a long time.
Fortunately, you are in the right place if you need some help figuring out where to start. With many articles written with the intention of teaching new photographers the necessary skills they need to produce great images, let me suggest a couple of great posts to you we’ve written here on Formed From Light:
- Photography for Beginners: Where Do I Even Start?
- 101 Digital Photography Tips – A Comprehensive Guide for You
- Portrait Photo Tips: How the Right Light Can Make ANYONE Look Beautiful!
- How to Take Professional Photos That Are Amazing!
- 5 Things Every Landscape Photographer Should Remember
Going beyond freely available content, many new photographers also get a lot from reading photography books and taking online courses. While these types of things do require spending a little money, their educational value is really great because they provide really detailed and comprehensive sources of knowledge.
A few photo books & courses I recommend…
- Read This If You Want to Take Great Photographs
- National Geographic’s Visual Atlas of the World
- Humans of New York
- Photo Nuts and Shots Course
- 31 Days to Become a Better Photographer
2). Let practice be free flowing or structured
Even today, I find myself regularly practicing to keep my photography skills in check. My approach to practice is either very loose and fun, or more structured and specific.
In free-flowing practice, you simply take pictures of anything and everything that looks good to you. A big part of the practice that comes from this is playing around with your camera settings, as well as keeping your mind open to experimentation. As photographers, having this type of unstructured practice time removes pressure from photography – which allows us to have more fun!
Now, structured practice is used to learn new skills and refine the ones you have already learned. Put very simply, you can structure some practice time by picking a single thing you want to focus on practicing. This could be a certain composition style, using a specific aperture setting the whole time, or even only allowing yourself to shoot with a single lens. The options are really limitless – but the results will be more educational. If you commit to practice in this way at least some of the time, your photography skills will improve.
3). Photograph things you enjoy
 Starting photographers can sometimes find themselves excited to take photos, but stuck when they can’t think of good subject matter. For many people, they think too much about what to photograph, and not enough time on picking things they actually like to photograph.
In the modern day, this can be driven by feeling a need to compete for attention with our images. Teens might want to take photos that are cool to post on social media. Pro photographers (like me) need to take great images that compliment our portfolios and marketing materials. But – setting lofty goals like these can sometimes ruin the joy of photography at it’s core. While there is nothing inherently wrong with either of the situations I described (…and you can find enjoyment in those things!), they can serve as large distractions when you are still learning and needing to practice.
So – the moral of the story – photography things you want to photograph. By doing this, you will cement your interest in it and have a good time with it!
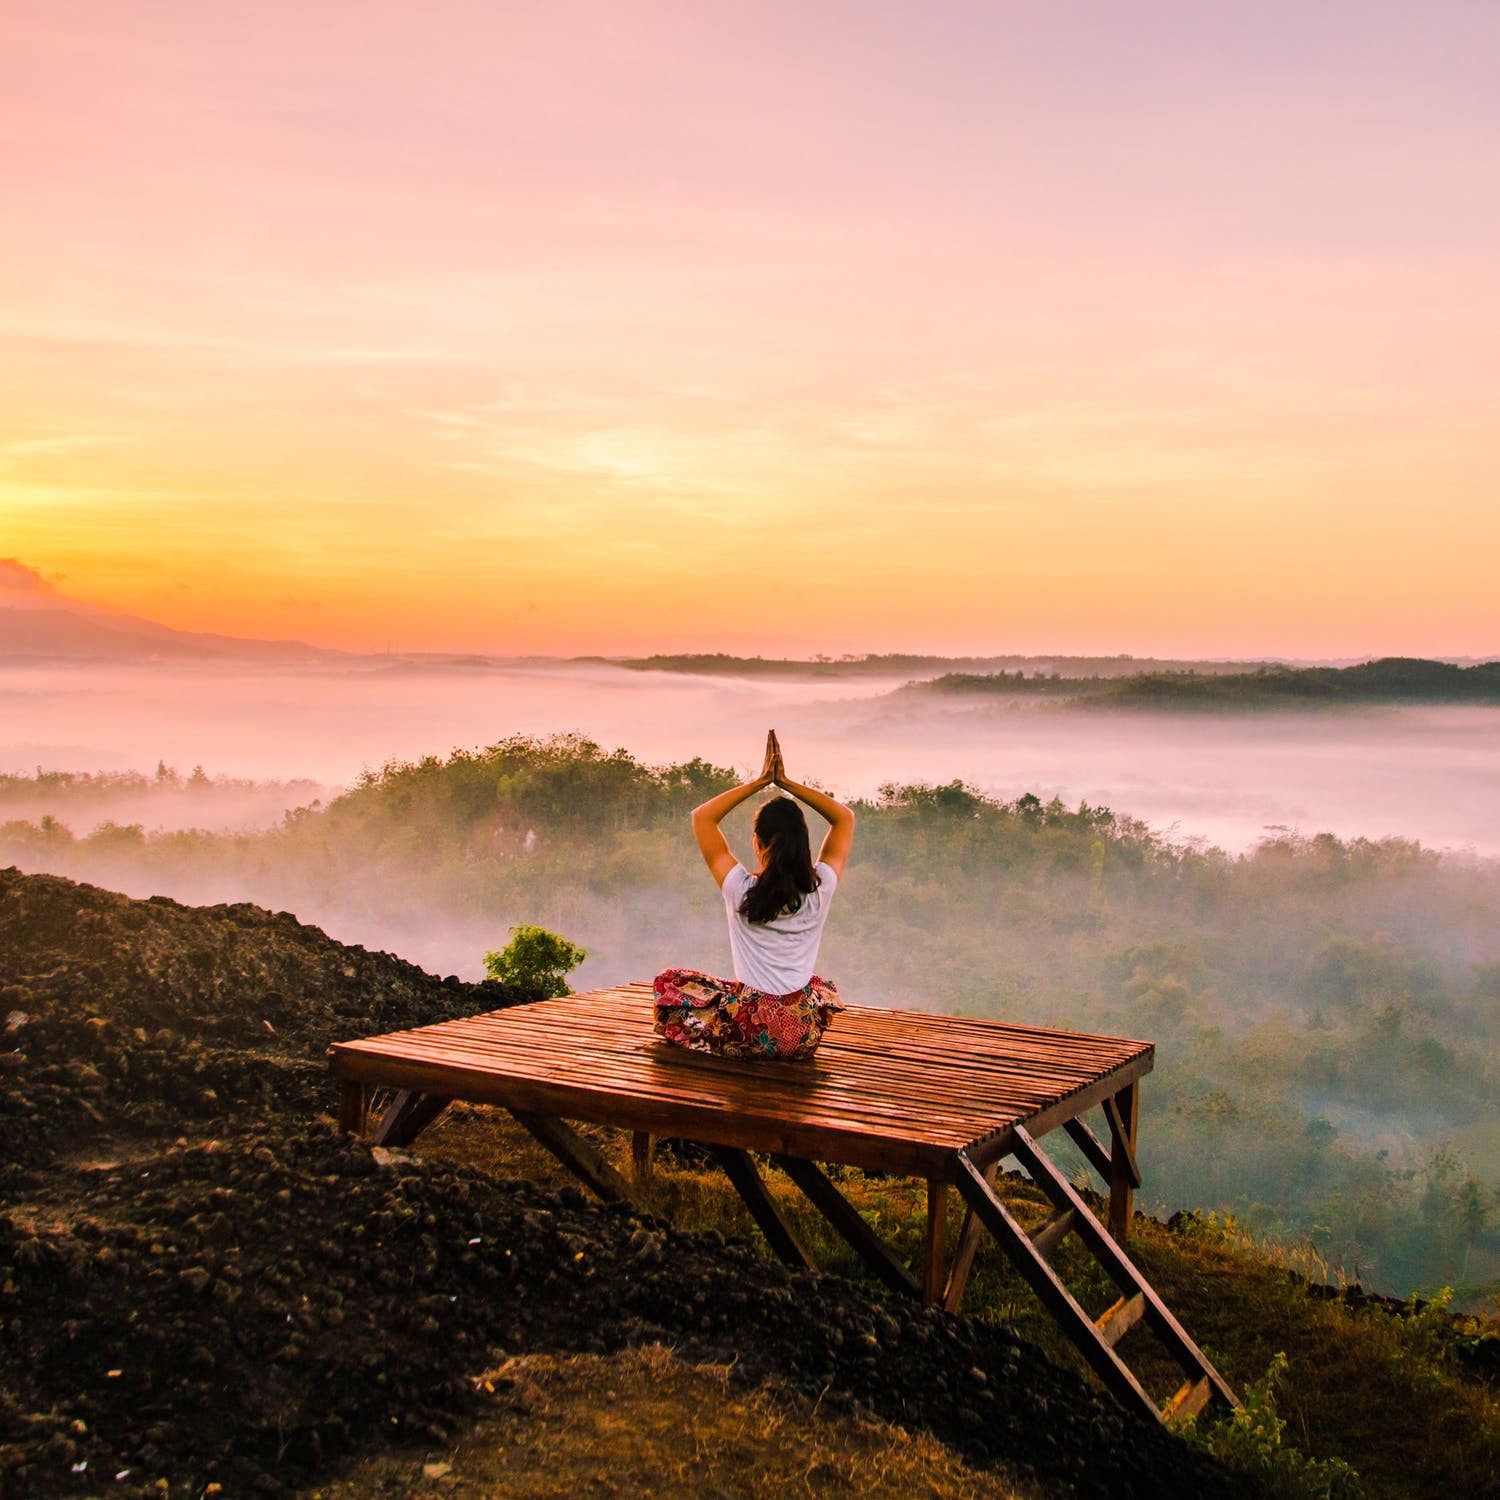
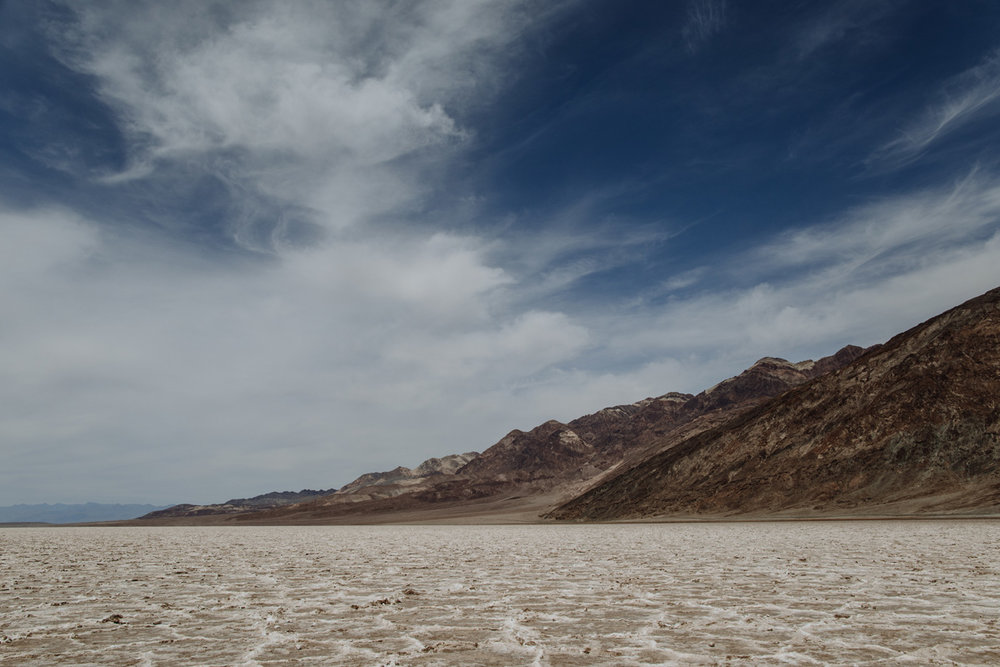
4). Start by working in “easy” light
One of the best photography tips I can offer you as a beginner is to start out by working in light that is easy, flattering, and beautiful.
Many new photographers make the mistake of thinking that going outside to take pictures when it is bright and sunny is going to equal great photos. Don’t get me wrong – great pictures can be taken at any time of day (and you should plan to learn how to make that happen), but it’s much easier to get consistent results during Golden Hour.
Whether you are photographing portraits, landscapes, real estate, products, etc. – all of these things can be done outdoors, and all of these shoots can be arranged around sunrise/sunset. The reason why I recommend shooting during this time for newbies is because it will allow you to focus more on composition instead of finding the “good light”, and will allow you to feel more accomplished as you walk away with more photos that you love.
5). Focus on specific techniques
 In our 101 Digital Photography Tips post, we cover a wide range of topics including specific techniques that photographers use to create great images again and again. That post is a highly recommended read!
Taking time to practice things like the use of leading lines, The Rule of Thirds, using a wide or narrow aperture, etc. all will contribute to you having a well rounded knowledge of photography that you can bring with you to any photo shoot you do in the future.
When I photograph engagement sessions for couples, I still refer back to many of these photography basics. I look for leading lines in the environment to make more interesting compositions. I use the Rule of Thirds (when it makes sense) to help my images feel more balanced and interesting. These, honestly pretty simple, concepts when learned and applied make for increasingly better images.
6). Plan your practice sessions
Planned practice is easy when you are taking a photography class in school or maybe working with a local photography club, but outside of these types of social and academic pursuits, it can be one aspect of practice that gets neglected. I remember when I was a kid, my approach to photography was frequently “fast-and-loose.” I’d go from bored and sitting around to walking around a local park with a Polaroid or an old digital camera in hand with little thought in between.
While it is overlooked, planning your photography practice is very easy to do.
Just set a time during the day (1x a day – even 1x a week if you have a busy schedule), and dedicate it to honing your craft. By reserving this time, you make yourself more willing to invest in your photography pursuits.
7). Practice consistently for the best results
Photography is a lot like working out or eating healthy – it’s easy enough to do once or twice, but harder to do consistently over-and-over again for an entire lifetime. If you have a real passion for photography, channeling this into practicing should be easier for you, though!
The trouble many photographers run into is that they hit these “road blocks” from time to time where they feel like their is no more progression for them to make. Often, this can translate into becoming less interested in photography or feeling like they need to shell out a lot of money for new camera equipment to produce better work.
I have found in my life that consistent practice helps to make it easier to work through the challenges that photography offers. The easiest way to do this is simply take your planned practice sessions we talked about in my last tip, and schedule the same timing on a regular basis. If you always have Friday evenings off, say that every Friday from 4-6 your going to go take pictures – and you’ll find your work will be better for it.
8). Shoot under stress
 It might sound counter-intuitive, but shooting under stress has been the #1 thing that helped me to advance my skills as a photographer.
While this isn’t a good way to learn as a complete beginner, it can end up being a defining moment that helps you to remember photography concepts and how to apply them in reality.
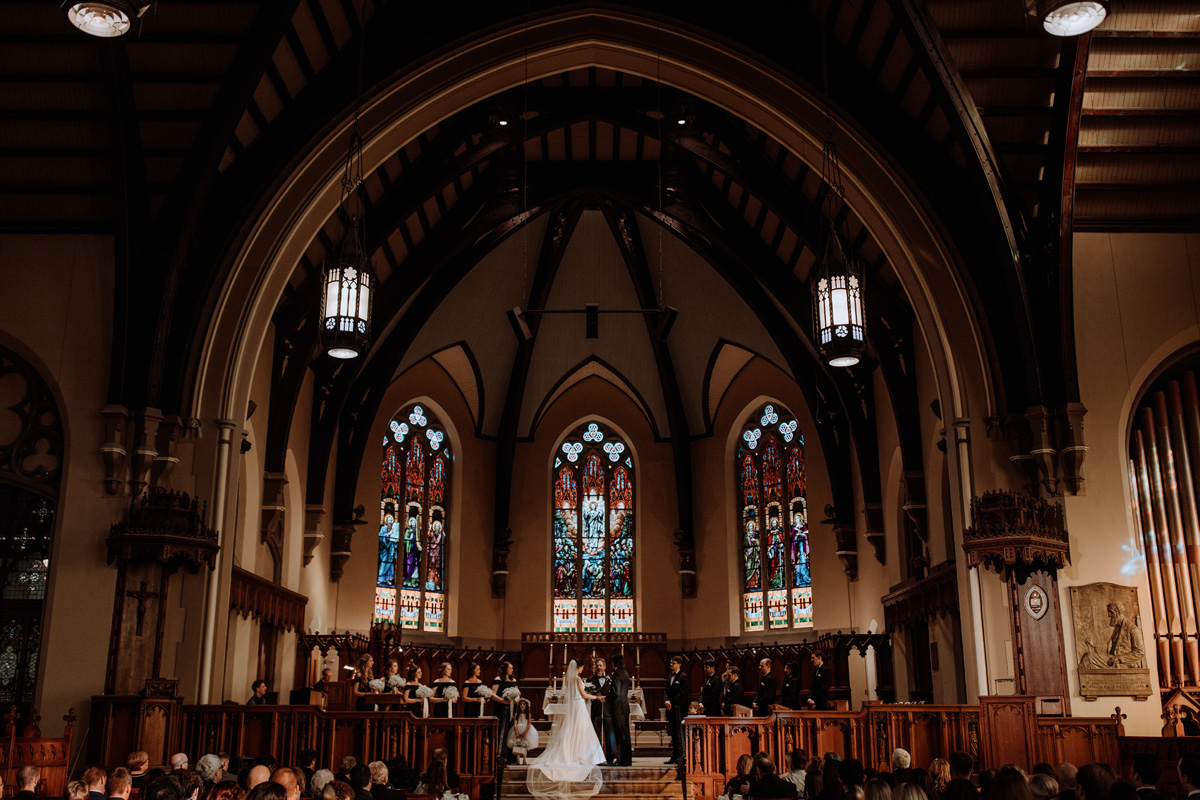
Since I made photography my full time career, and shoot weddings for a living, the stress comes naturally from this type of hectic environment. Plus, I am actually working (even if it doesn’t always feel like it) for clients who booked me for a good deal of money.
For those of you who aren’t aspiring pro photographers, there are still ways you can introduce “stress” into your practice efforts.
One such example is to give yourself time limitations. You could set a timer and tell yourself you have 5 minutes to take a really amazing photograph. It can be an interesting exercise to see what kind of work you can produce in this short window of time – and the stress doesn’t do permanent damage to your reputation if you come up short. 🙂
9). Give your photography purpose
I won’t speak for everyone, but I can say that the best things I’ve done in life had a purpose I could get behind.
I once worked an office job that basically amounted to a lot of data entry for a big corporation. While the things I did helped to support the larger organization and product I worked under, it wasn’t fulfilling. In short: it was boring and pretty meaningless to me on a personal level.
You can have the same experience with photography, or you can give yourself a purpose!
Fortunately, unlike our careers, when starting out with photography as a fun hobby, a lot of your interest in pursuing it will be personal. This internal motivation to work at photography is really significant.
In my own experiences, my purpose in photography varies from shoot to shoot.
When taking pictures for clients, my main goal is to produce authentic images that they will love. And sure, I want to create work I can be proud of too!
During more personal shoots, my goals are a little different. Sometimes, the images I want to create might even be made with the purpose of trying to describe an emotion or feeling, something less tangible than just producing a good quality product.
Whatever purpose you prescribe to your photography – let it be your own. All of the time you spend practicing and just “doing” photography will be made better for it.
10). Emulate successful photographers
The great thing about photography is that there are so many examples of amazing pictures taken from master photographers to no-name Instagrammers.
While your work as a photographer shouldn’t be about recreating what other people have done, as a tool for practicing? That is a really great thing!
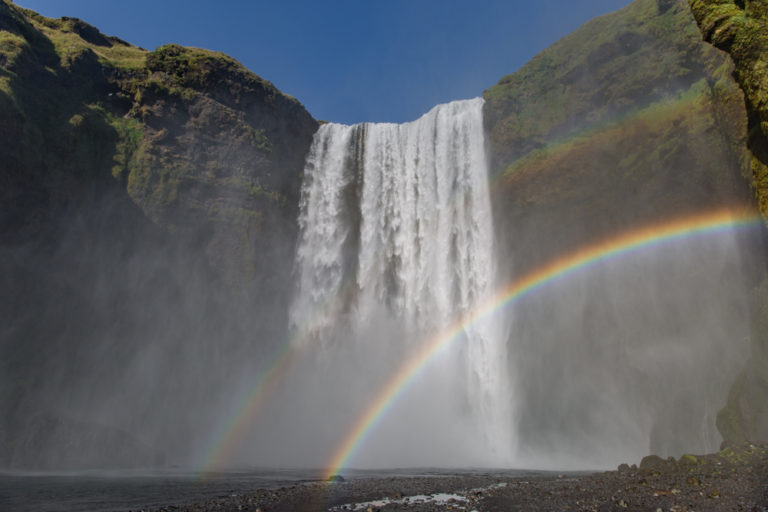
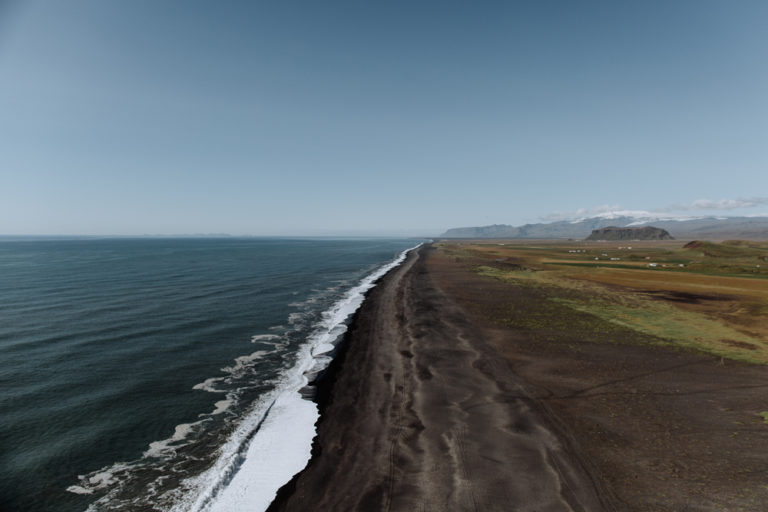
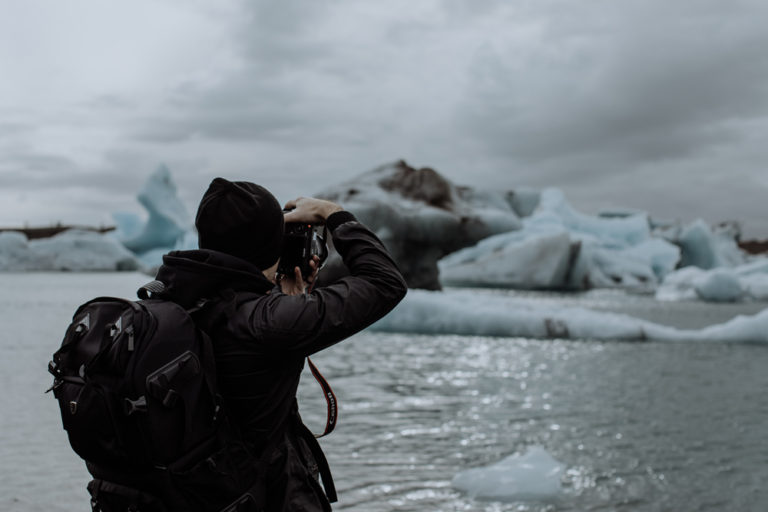
What a new photographer can take from trying to emulate and recreate the work of others is that it can help them to see through a more established photographers eyes. In landscape photography, this is seen a whole lot as new photographers visit locations like Iceland, Lofoten, Scotland, etc. and go to the same popular locations in these regions to “get the shot.”
Conclusion
By learning how to practice photography effectively, you can find yourself enjoying photography in the long term much more. While taking photos is mostly a fun thing, it can also be challenging, frustrating, and even stressful once in a while, so knowing how to prepare and manage these feelings is one of the keys to success.
As a hobby, photography is a great outlet for all types of people regardless of age. I regularly work with young kids to show them the ropes, and enjoy chats with photographers who got into the hobby later in life. It would seem – there is always something new to learn, which helps keep it interesting even as you advance.
Whether you want to just stick to photography as a fun hobby, or maybe pursue a career in photography (or start your own business like I did), practice will help you achieve any of these goals!!