Last Updated: February 14th, 2020
One of the driving factors behind our decision to visit Iceland was being able to see the natural landscapes.
If you don’t know, Iceland is a small country that harbors everything from volcanic craters to frigid glacial lakes. Having the opportunity to travel to all corners of this little island in the Atlantic was nothing short of life changing for us.
Naturally, we brought along plenty of our camera equipment, as Iceland just begs to be photographed. Some of our favorite landscape photographs were taken on this trip and have managed to be turned into wall art in our home at this point. We’re partly obsessed because we took the photos ourselves, but we must give credit where it’s due…the Icelandic landscape makes it easy.
The focus for today will be in talking about Iceland’s beautiful glaciers, and how you can best photograph them.
Finding the Best Glaciers in Iceland
First up, every great photo you see of a glacier in Iceland involved a photographer jumping through the hoops to getting to it. In much of our own research leading up to our personal trip there, we only really remember seeing a handful of distinctive glaciers. As you can imagine, most people are flocking to just a few notorious sights.
But! Iceland is a country really dominated by glaciers.
Iceland’s land mass is actually made up of 11% glaciers. Of this, there are 269 named glaciers on the island.
To find the ones you want to photograph most, we suggest you start by taking a look over this Iceland glaciers map. This showcases some of the largest and most popular glaciers in Iceland.
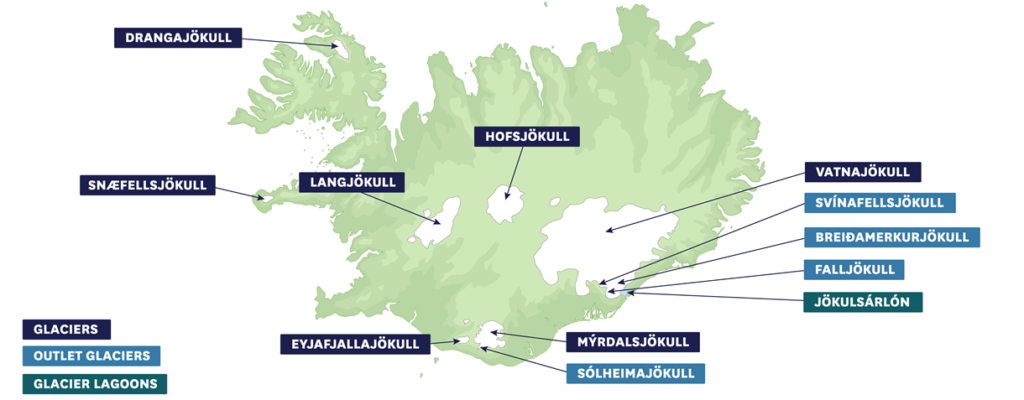
Image: Glacier Guides
While we only formally visited two of these, Jokulsarlon and Vatnajökull, many are visible from the road in some form or another so long as there is no fog obscuring their view.
How to Get to the Glaciers?
Getting around Iceland is easy (for the most part).
We aren’t exactly people who love driving outside of our own country as it can be daunting when you don’t fully know all the driving laws or what to expect. But, on our 10-day trip, we didn’t have any significant issues as the roads are generally fine (with the exception being when we left the main roads).
The road rules are also quite simple, and we suggest actually following them because Iceland has traffic cameras that monitor speed and will issue tickets with very little leniency. The speed limits tend to stick pretty heavily to this pattern:
- Urban Roads: 50km/hr (30mph)
- Gravel Rural Roads: 80km/hr (50mph)
- Paved Rural Roads: 90km/hr (55mph)
Of course, not everyone will be into driving themselves around the country. We get that. There are plenty of options to jump on a bus or join a tour to many of these locations as well.
Related: The 25 Best Hotels in Iceland – Hand Picked By Us for You!
Glacier Photography – Iceland’s Finest Landscapes
The first time you see a glacier in real life is pretty intoxicating. Pictures can try to replicate the experience, often times to great effect, but getting out of the car and seeing it with our own eyes was amazing. It’s just fascinating to see these huge chunks of ice floating around in the water – many with rich hues of blue to them. The surrounding landscapes also greatly compliment the glaciers, and really brings the otherworldly vibes up a notch.
Taking pictures of glaciers follows many of the core principles of landscape photography in general. Our photography tips below will take these principles and show you how they apply more specifically to these unique environments. 🙂
[amazon_link asins=’1631218131,B06X99W1L6,9935936910,1465468935′ template=’ProductCarousel’ store=’ffl0d-20′ marketplace=’US’ link_id=’418331c4-5091-4e2a-ac05-350c137940e9′]
5 Tips for Photographing Glaciers in Iceland
1). Start with the wide angle.
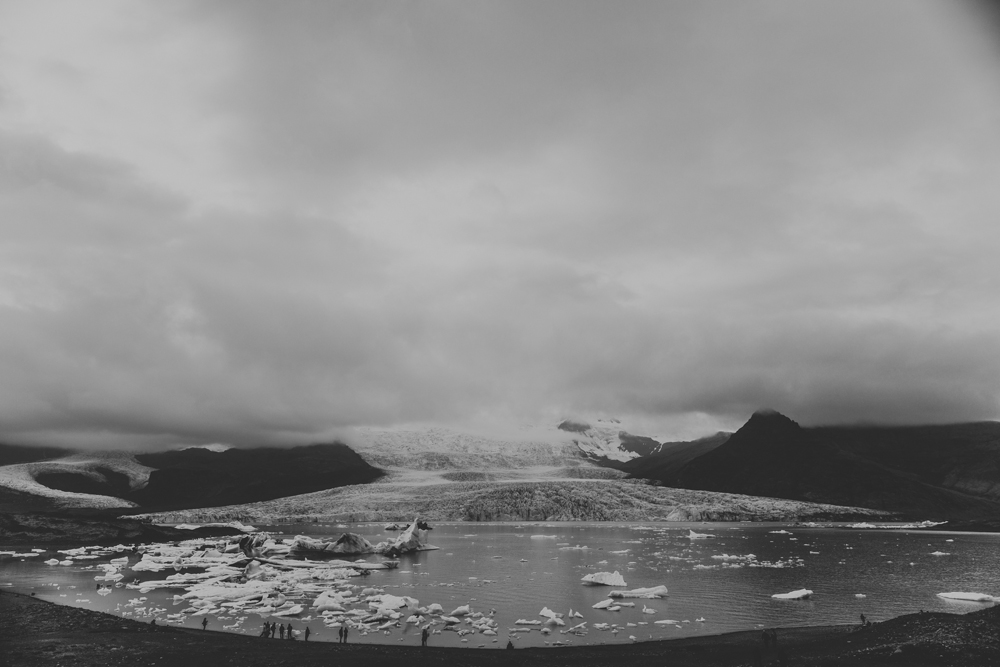
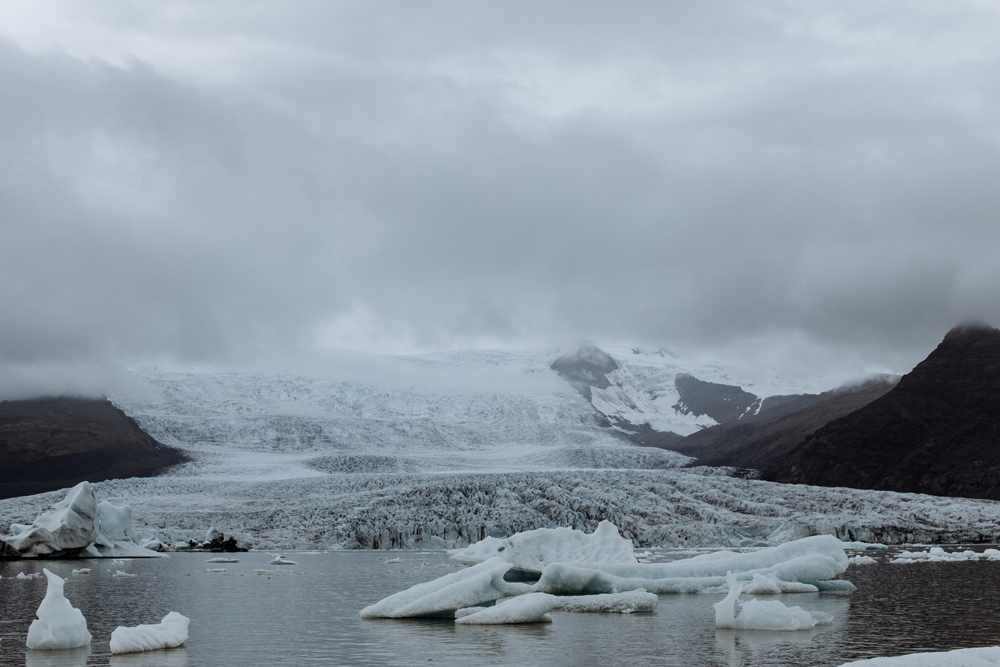
The glaciers in Iceland are often very expansive. The sheer scale is what really got to us when we came face-to-face with them in person. For this reason, using a wide angle lens is really perfect for some initial shots that just capture the entirety of the glacier. These shots below we took at Fjallsárlón do just that. Simple, yet effective!
2). Use people to show scale.
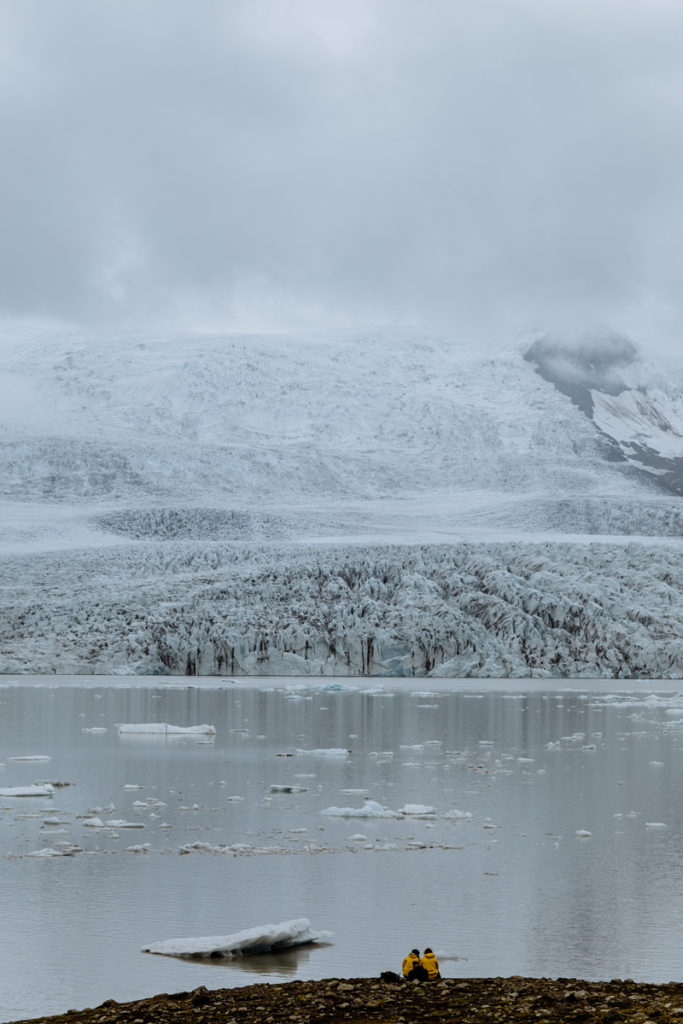
One of the most common landscape photography tricks is also one of the most effective. Photograph viewers are able to more easily connect with pictures that have people in them. It adds that human element that brings something familiar into a scene that can be pretty alien.
While this can be approached in many ways, in the below image, we made the decision to photograph two people in front of a glacier using a Canon 70-200mm lens. By placing our focus on the people in the shot, and using a longer focal length, we are able to really showcase the scale of the place. It’s truly one of our favorite images from this area by far.
3). Get close to the ice.
While the natural thought when photographing an Icelandic glacier would be to show the whole thing, there are other great shots to be had. Glacial ice is interesting to look at, and much of it pretty dynamic in it’s coloration and how it interacts with the light around it.
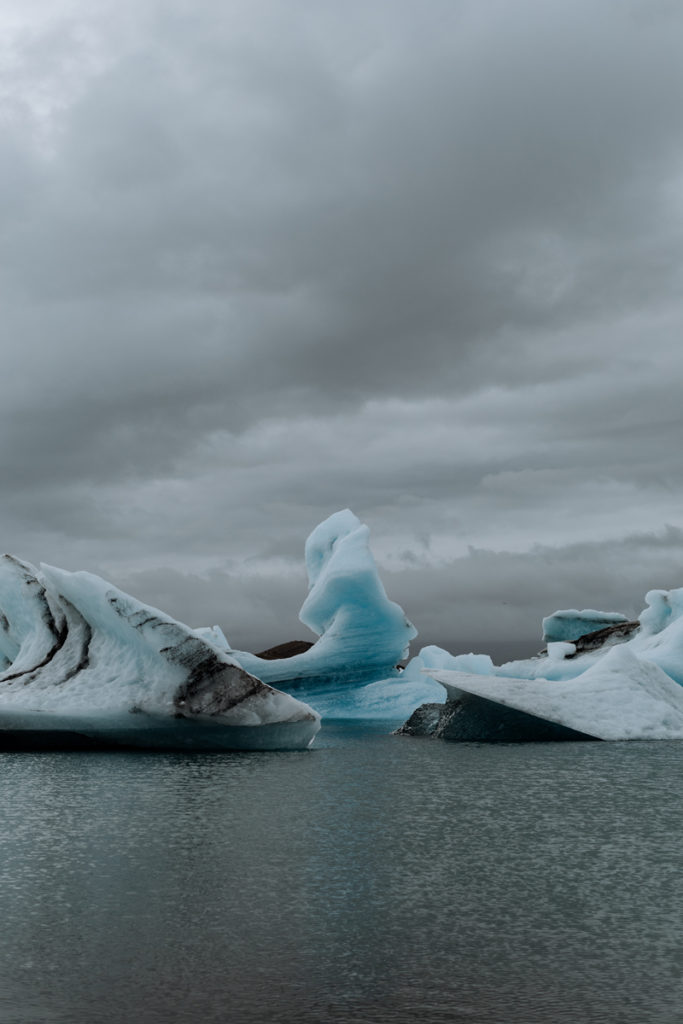
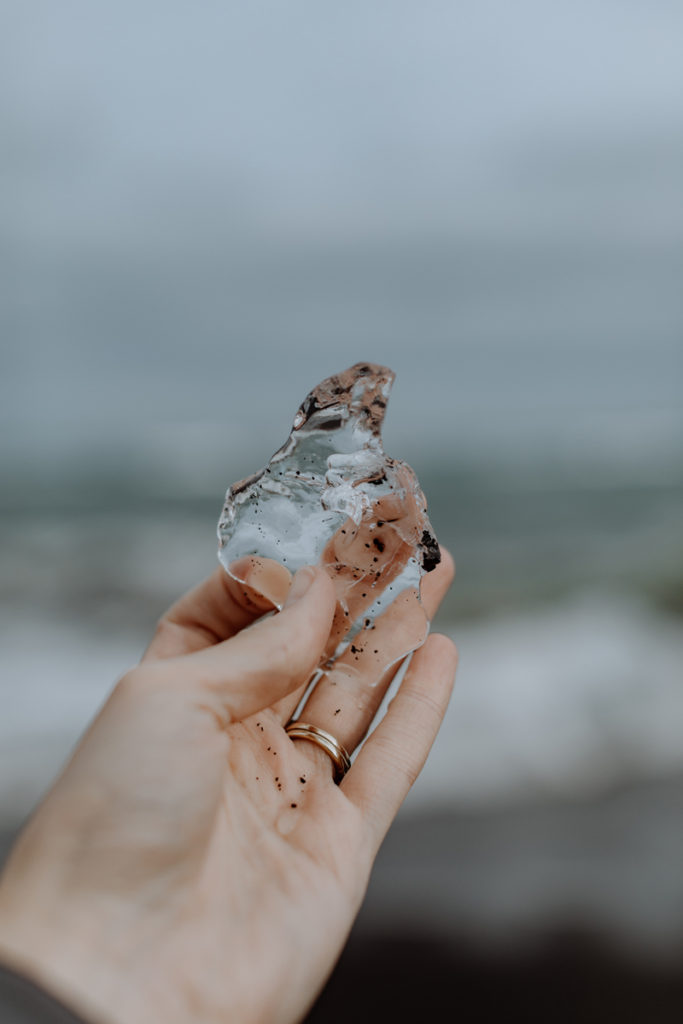
These shots, taken at Jokulsarlon Glacial Lagoon and Diamond Beach (right across the street) reveal the vivid blues and crystal clear glass.
4). Allow for some minimalism.
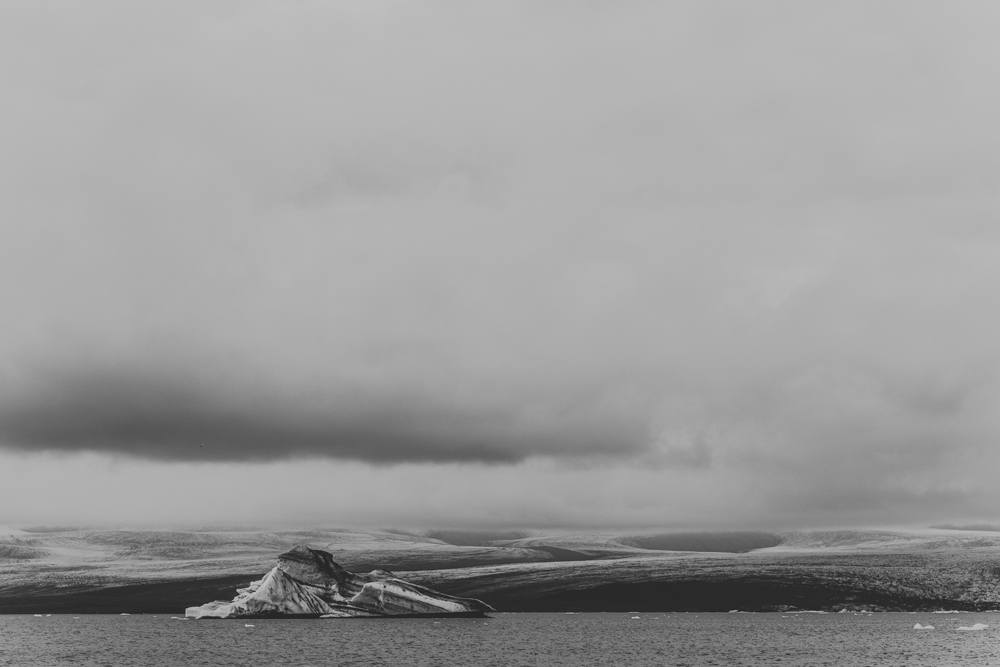
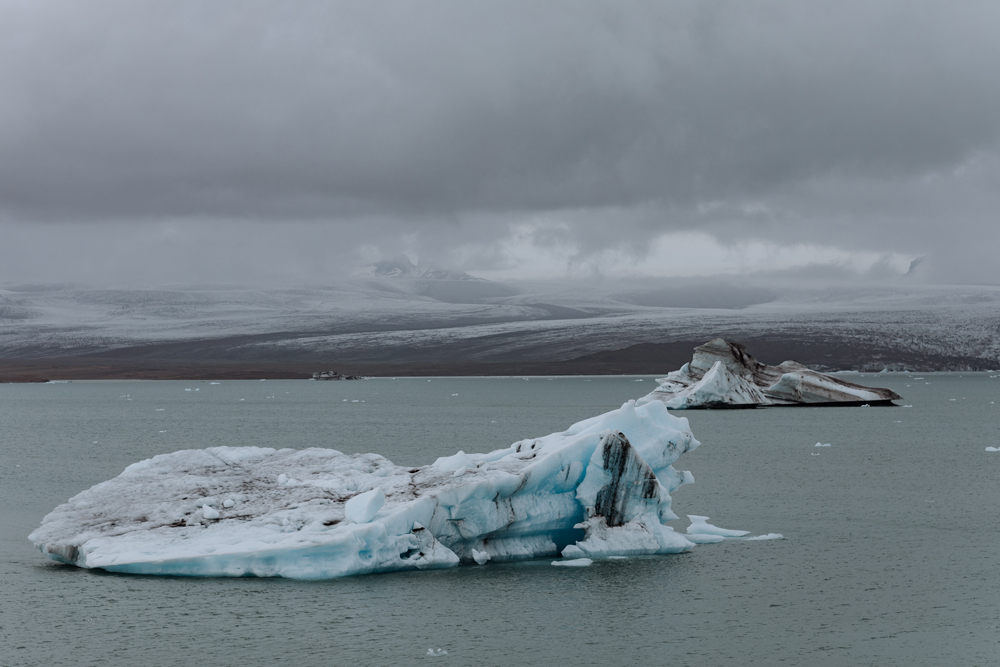
The glaciers in Iceland we happened upon had a lot going on. It’s all visually very stimulating, but sometimes photography can be about isolating some of the key features and showing them off to the world. If you’re struggling to find a shot, sometimes the best bet is to just look for something really simple.
5). Look for depth in the scenery.
Because glaciers are complex and living environments, there are many opportunities to add depth to your photographs. A few things we like to look for in really any landscape photo we take include:
- Leading lines
- Color contrasts
- Contrast between shadows and highlights
- Standout features
If in doubt, and you have the opportunity, shooting a glacier during Golden Hour would be absolutely jaw dropping. We did not have this chance due to our schedule at the time, but you can still see some of these concepts in effect in the two photos below even with the lighting being a little flat.
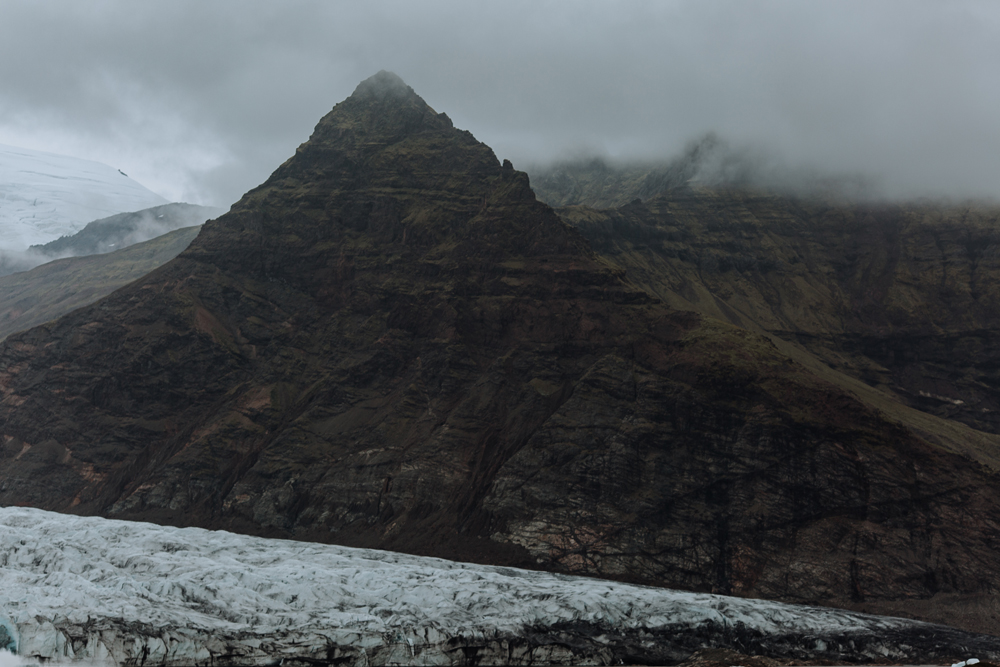
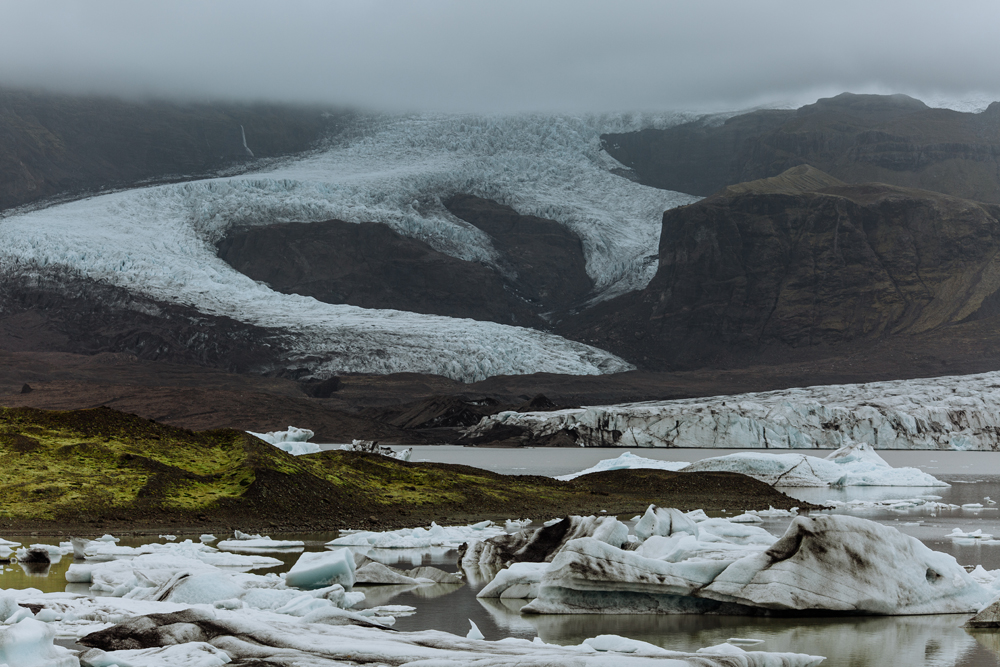
For more to read, check out: The Extremes We Go to for a Shot – A Landscape Photographer’s Tale