A Short Guide to 4 Lighting Scenarios for Photographers
Light is both the thing that makes photography possible, and occasionally feels like the bane of our existence as photographers.
To the average person, it might not be noticeable that there is “good light” and “bad light.” So often when we meet people for portraits, they are under the impression that if it’s a clear and sunny day – the light is perfect. The light is certainly workable, but not ideal for most photographers. The inverse is also true – when we meet up with people on cloudy, even rainy, days – they often express concern that things won’t work out. The funny thing is…we prefer this type of light ourselves.
What constitutes good or bad light for you will vary depending on your photography style, and even what you are photographing.
For today, we’re going to talk just a little bit about 4 lighting scenarios we face as photographers, and how to succeed with using the light in the best ways possible.
Natural Light
Natural light is simply the light from the sun. It’s a beautiful creature really, and takes many forms at different times of the day and depending on weather conditions. Without a doubt, we prefer to use natural light when it is at all available to us, as it’s less confusing than having to figure out how to light something with artificial light that we have to introduce into the scene.
Now, we are going to break down some aspects of natural light you may face, and reveal how we handle different lighting scenarios ourselves:
-
Harsh light. When we think of natural light, our minds immediately drift to thinking about a bright and sunny day. It’s perfect for getting outdoors and hiking, or if it’s warm enough, lying around on the beach somewhere. For sure, days like these might seem great – but for photography it can prove to be a challenge at times.
The harsh light that comes out during the middle of our days can make the environment seem very bland, as everything around becomes bathed in white highlights. This does not mean it is impossible to work with, but it does take a little more thought than most other natural light scenarios to make it work how you want it to work. What your photography subject is will also impact things – shooting landscapes is “easier” than shooting portraits (but, admittedly, still challenging as you look for a composition that isn’t boring), as you’re not so concerned about potentially blinding someone.
The simplest tips we can give you in this condensed article on the topic is to look for shaded areas when possible, use a reflector if you want to keep your subject(s) face illuminated, and aim to not position anyone facing right into the strong sun rays. This is a topic that can be quite involved in more detail, and we will cover that more in a future article on our site.
-
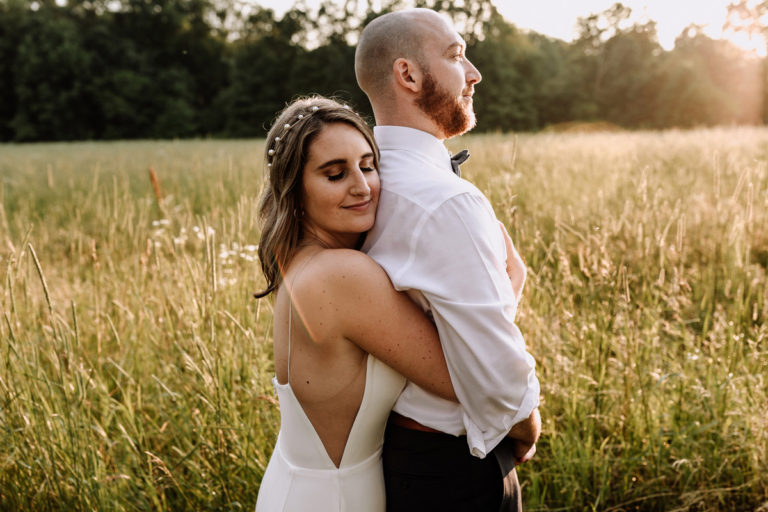
Golden Hour light. Almost every photographer will agree that photography becomes easier and more interesting during the time when the sun is rising and setting. This is light that is very soft and flattering, and taking photos even with your subject being directly lit by it is far easier to do as it is not as blinding. The shadows and light that come out at this time can be worked with to create stunning shots that are moody, romantic, dramatic, and so on. For portrait subjects, this is the best time to work – and even other types of photography benefit. A landscape shot with an intense sunset is definitely more captivating than most.
-
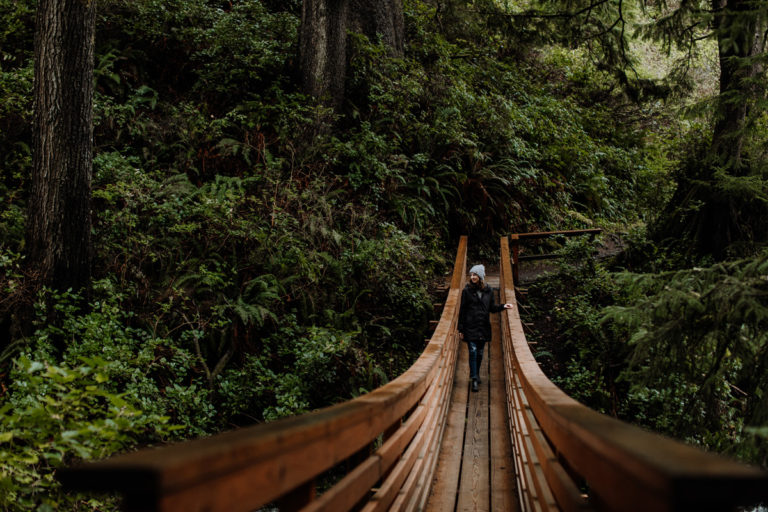
Cloudy light. When there are clouds in the sky, it is a great thing for photographers. Clouds serve as a natural softbox, diffusing the light from the sun and making for more beautiful and dramatic light, even in the middle of the day. While it’s maybe not quite on par with the light at Golden Hour due to less color changes, how you approach shooting on a cloudy day will end up being quite similar to how you shoot during Golden Hour. In our experience, the richness of color is much easier to come by in this sort of situation – and we are secretly always praying for cloud cover most days.
By extension, cloud coverage takes many forms. From a warm summer’s day to a stormy one, clouds end up serving the same purpose. We often would prefer even rainy days to shoot instead of a bright clear sky because of the available light – and add to this the rain saturates everything, making for more intense colors on virtually everything. Even uninspiring street pavement turns into a really rich black color from our experience, adding something significant to your shots.
-
Back light. Less a “type” of light, and more an approach – backlighting is an important technique to learn that can be used at all times of the day. It is particularly useful when you don’t have the natural softbox of clouds or are not shooting during an ideal Golden Hour timeframe. When shooting wedding portraits, for example, when time doesn’t really allow for going outside for sunset – it can be a way to keep your subject in focus, and add some drama to your shot. The way to do this is to position your subject so they are facing away from the sun, and line up your composition so the sun hits there backs. Sometimes you can let the sun creep through and create lens flairs for artistic effect.
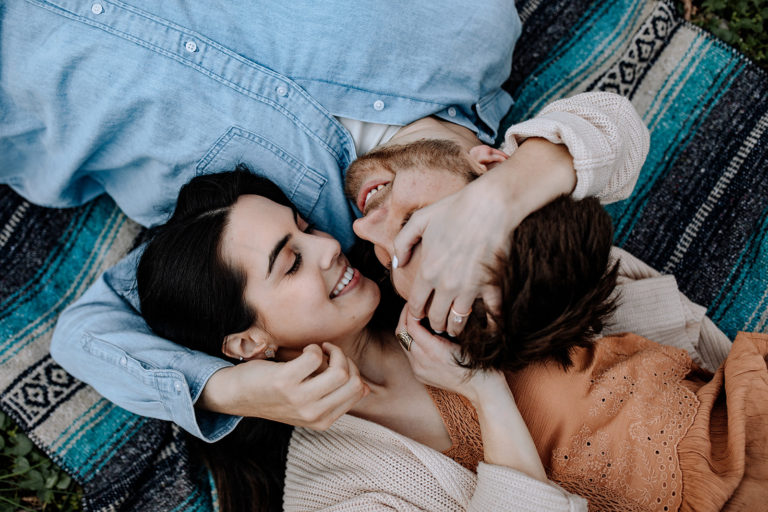
On Camera Flash
While our preference is definitely to use natural light when it is available, there are times when flash becomes an essential to capture a quality image. Even with a pro level camera body that can perform well in low light situations, as you begin to move your ISO upwards, the image will begin to become more and more grainy. On budget cameras, the effects of this grain can be felt even at relatively low ISO settings – on a camera like the Canon 5D Mark IV, which we use, unusable territory tends to be more past ISO 6400.
As a rule of thumb we follow, if we need to push the ISO that high – it’s probably best to add a flash into the mix.
The starting point for flash is an on camera flash setup. These range in price and quality as you might expect.
Some cameras, especially beginner cameras, come equipped with a built in flash. This type of flash “works,” but isn’t flattering. This type of light is very harsh, and often leads to people feeling blinded by it as it shoots straight into their face.
The best type of on camera flash is one with an adjustable head. This allows you disperse the light in different ways. For example, when shooting indoors – you can point the flash straight up to bounce off the ceiling, or to the right/left and even behind you to bounce off the walls. As a result of this, the light shoots from the flash and is dispersed off of the environment, thus creating directional light. This immediately will add more depth to your images, and give a much more natural look.
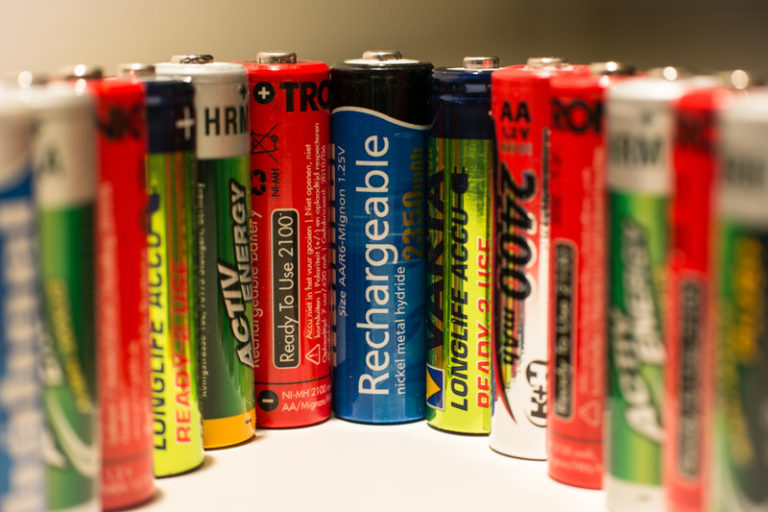
4 On Camera Flashes We Recommend:
These are all flashes we have used at one point or another – listed by price in ascending order. In our experience, they all have their merits, and you should buy depending on your specific needs and budget.
We currently only use Profoto flashes at this time. The reason for this is because we frequently need to use flash during wedding days, and needed a more reliable flash option and something more intuitive to setup and adjust on the fly. For us, it was worth the expense – but you need to judge what will work best for you.
Off Camera Flash
For more advanced flash techniques, off camera flash is a must.
If you are unfamiliar with off camera flash, it is exactly what it sounds like – a flash that is not directly connected to your camera. Instead, you can position it anywhere you want, and it can be an effective way to add some serious directional light into your images.
In general, off camera flashes also tend to be more powerful than their on camera counterparts. As a result, they can also be used to take photographs outdoors where you want to expose for your subject AND the sky because the light being projected can, for the split second it takes to shoot, overpower the sun.
If you are just wanting to experiment with off camera flash before committing more money to it, many inexpensive speedlites can be used both as on camera and off camera flashes. Early in our wedding photography career, this is exactly what we did, and in a dark environment like a reception hall – they worked reasonably well.
As you become more interested in “real” off camera flash photography, it will become necessary to upgrade to a dedicate off camera flash. There are many on the market, but our experience in this realm is pretty limited to the Profoto B1X – our off camera flash of choice. This is a piece of photography gear where you really end up paying for quality, but it is a good investment if you plan to use it frequently.
Combined Light Sources
Having the tools of natural light, on camera flash, and off camera flash at your disposal can be a great thing – but the hard part for a photographer is learning when to use one and not the other, or even use multiple at the same time.
This is a topic that is challenging to get into because so many environments you might find yourself shooting in vary. If you are wondering how to tackle a particular type of scenario, be sure to let us know in the comments.
For the moment, we will just discuss a couple particular situations we’ve seen in the past, and how we’ve used a combination of these things to get a great picture.
-
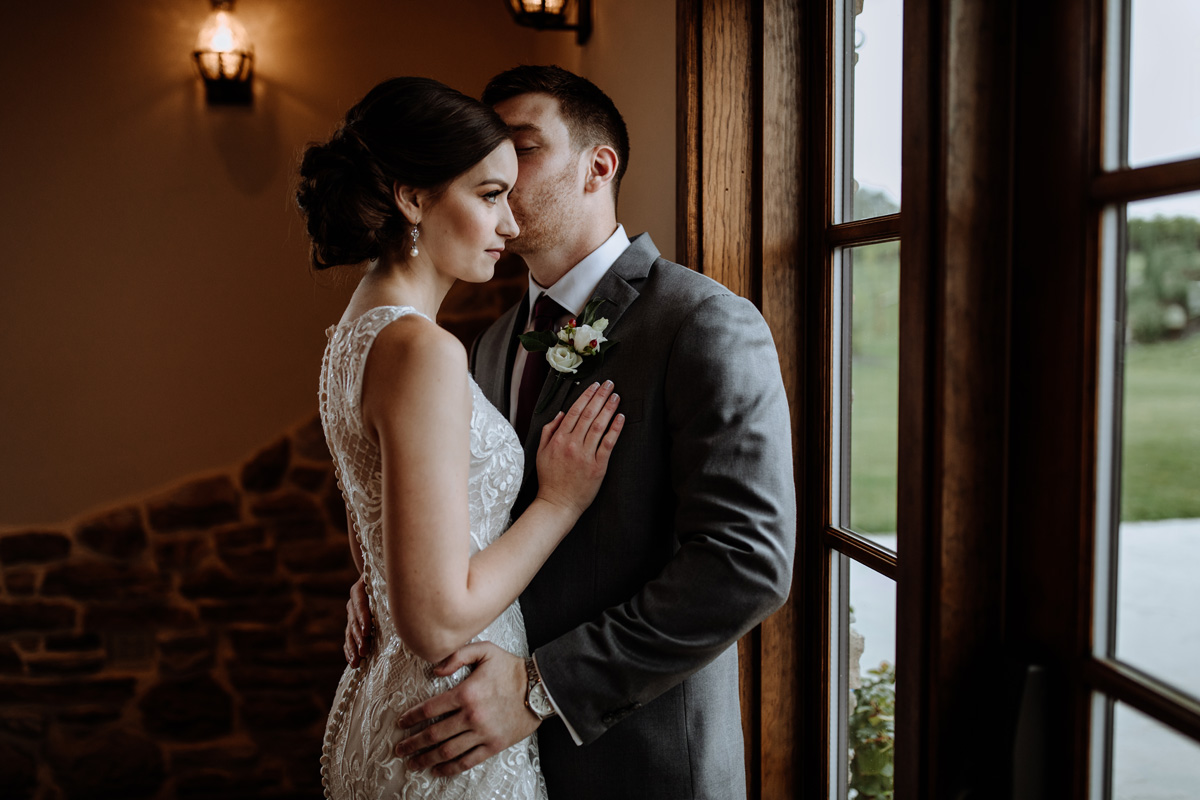
Scene #1: Picture this – you’re in a hotel room, it’s pretty dark in most of the space, but there is window light coming in. You want to take some photos of a groom here, but are unsure how to light him. You take a couple test photos just lighting him with the window light, but find it’s causing the half of his face away from the window to be too dark for your tastes as it’s cast in shadow. The natural light is great on his face, but you just want to fill in the shadowy side a little more. Here, you can add an on camera flash (or even off camera if you want) to bounce off the ceiling or a wall to fill in his face entirely. This way, there is less shadow visible, and the portrait now looks more consistent with what you were thinking of in your head.
-
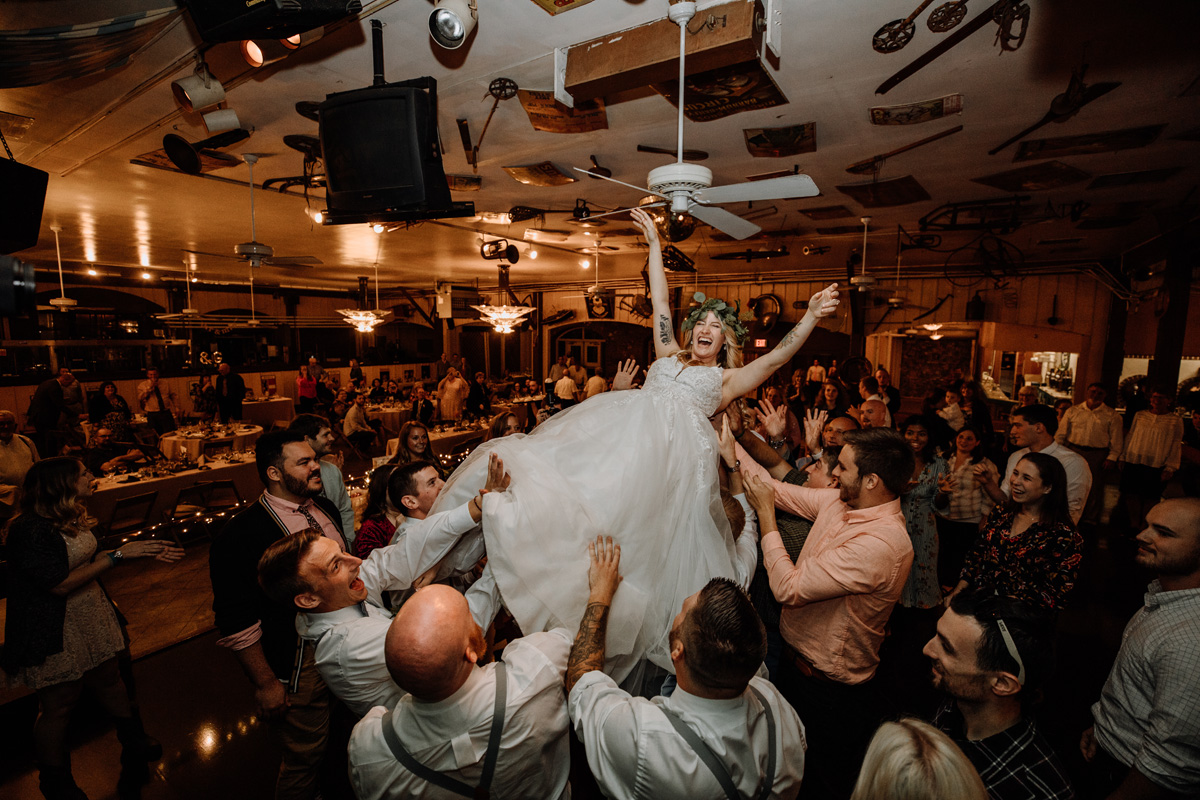
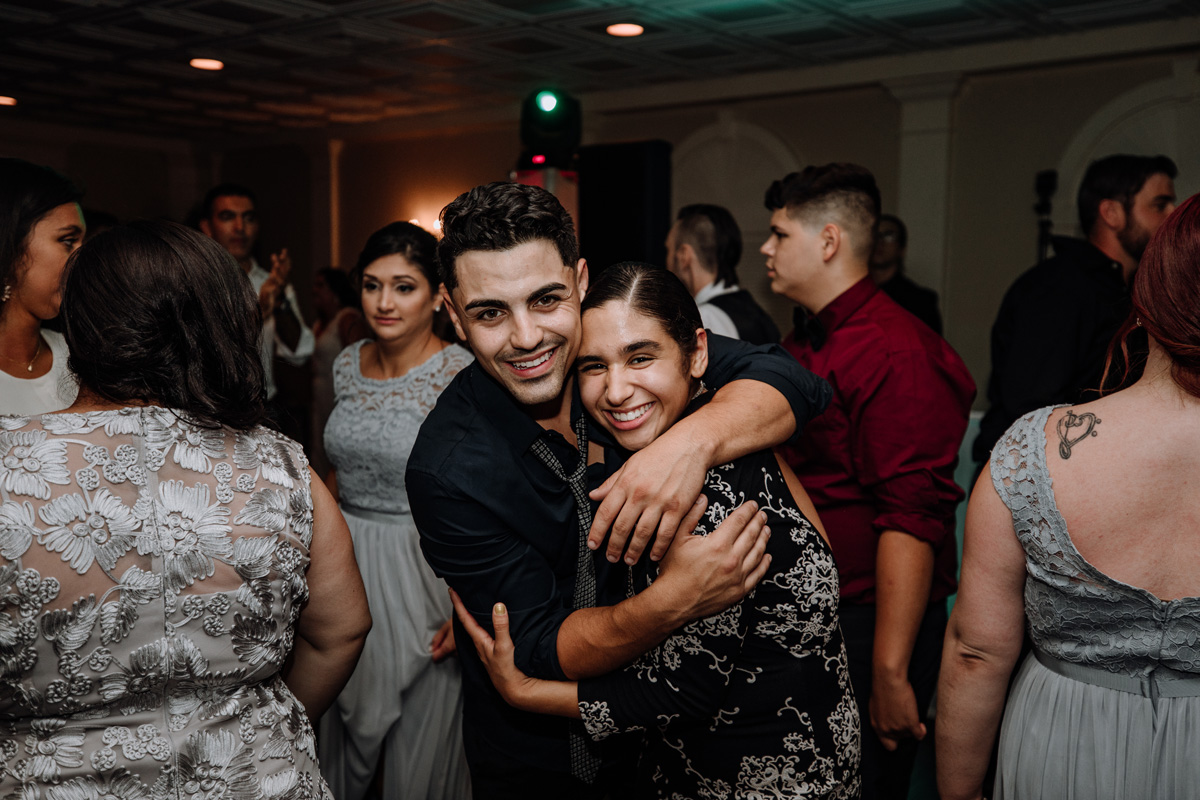
Scene #2: Now picture this – you’re in a large reception hall, and the lights are down low for some serious mood lighting. Photographing this is going to be virtually impossible without flash. You start by shooting some shots with an on camera flash, but feel the shots could be a little more dramatic or even experimental. You add an off camera flash into the mix. Now, you can take pictures with both the on camera flash bouncing off the ceiling or wall, and the off camera flash firing in a pre-determined direction based on how you set it up. The mixture of light directions makes for a more interesting shot than even one of these light sources on it’s own.
These are just two examples we encounter a lot, but we’re confident you can think of more!!
Ultimately, getting the light “just right” is where photography becomes difficult, but the ability to explore the many possibilities lends itself to making photography a really interesting art form. Often times, there is no right or wrong – and how you choose to go about getting the photo you want will be personal preference.