Last Updated: February 14th, 2020
New to photography and unsure where to start? You’re in the right place!
Pretty much every photographer starts off taking pictures at home. It really is one of the best learning grounds – there’s no pressure and virtually unlimited subjects at your disposal.
Given that we actually learned a lot about photography ourselves by shooting things around our house, we thought we’d talk about some great and simple photography ideas for beginners that can be experimented with from the comfort of your own home.
The first half of our 10 photography ideas at home for beginner’s list will cover more educational things (you know: stuff to think about before you take any pictures). The second half will talk more about some things you can actually photograph, and how you can approach them as subjects to get great photos at home.
1). Identify the best spots for photography
Since every person’s home is different, it’s impossible to say that the best spots will be in the same place consistently. Because of this, your first step is to do this leg work yourself.
There are some common features you’d want to look for in your home to help determine if it would be suitable for photography:
- Availability of natural light
- Unique features
- Interesting ambient light
- Splashes of color
- Simple backgrounds
- Right size for your subject
There are definitely other things that can be added to this list, so feel free to share in the comments if you have any thoughts!
What happens if you don’t have a space that is perfect for photography?
The good news is: you can take great photos just about anywhere. Almost any location you choose will have at least one of the above features. From there, you can do a few things to make the space more workable such as:
- Rearrange the space. Sometimes, you have a great space to work with in your home, but it just isn’t set up quite right for photography. The biggest problem comes from clutter. So creating some breathing room between items in your to-be scene will make a huge impact.
- Add something new to spice it up. We think of this in the same way we approached remodeling our living room space. We took our home from looking pretty stale (it was stuck in the 70’s) and gave it a more modern appearance with a lot of black, grey, and white on display. This could get pretty boring if left as is, so we added pops of color in certain areas like our rug, accent wall, wall art, and so on. Even a small addition can make a difference!
- Use camera techniques to make things more interesting. If you have a great subject, you can make a great photograph. A lot of times new photographers get hung up on thinking an entire environment needs to be photogenic, when in reality photographers actually have the ability to change how a place looks entirely.One of our favorite aspects of taking photos is controlling the aperture. You can read more about this technical component of photo taking here. To give you a quick summary: a wide aperture setting allows you to separate your subject from the background environment – creating a blurred “bokeh” effect. This can make even unattractive shootings space still look great, because all the things contributing to the unwanted look just blur out.
2). Learn to visualize the space with and without a camera
Now that you have some locations in your home lined up, it’s an important tool for a beginner photographer to start by taking snapshots in their mind. You really don’t need a camera to start visualizing your photos. This a technique that helps us to think up all of the things we want to keep in mind when going into a shoot – from posing, arrangement of a location, lighting, and so on.
The fun part here is: the sky is the limit.
New photographers sometimes get the impression that their photography is just limited to the things they see with their eyes. This honestly is understandable and makes a lot of sense. It’s exacerbated by use of camera phones, which offer less control than a standard camera, and often inferior image quality.
The reality is far different. Basically, if you can picture it, you can make it happen.
With post processing abilities, you can even further make changes in a program like Photoshop or Lightroom.
In camera, with the use of special tools like a flash and some colored gels, you can significantly change how a shot looks. Check out the video below for an example of this:
Whether thinking about the space or looking through your camera’s viewfinder, once you’ve visualized your scene and how you want it to look, you’re much closer to get the shot you want.
3). Look for leading lines
 One of the more specific things we look for in any shot, but especially those taken indoors, is for leading lines. Leading lines create more depth in a photograph. More than this, they can make even small spaces seem larger to a viewer.
Fortunately, leading lines are all over the place. Your composition of choice will dictate which lines really play into your scene. Walls, tables, furniture, etc. all function as leading lines in different situations.
We talk about leading lines and more in our 101 Digital Photography Tips article!
4). Experiment with and without flash
Normally, the best places to photograph have ample natural light. For portrait photography in particular, natural light is often our preference because it can be much more flattering to a subject. With this said, there are definitely scenarios where flash is necessary – and if used well, it can still make for some great images.
In our homes, it’s often the case that natural light is abundant right near a window. Unless you have a home with skylights that allow real sunlight to come into your house, most other areas will be natural light “dead zones.” In these areas, you will want to use flash.
Playing around with flash photography (or a lack of flash) is a great way for beginners to get more accustomed to knowing how it works, and enables the best at home photography options.
5). Use standard, wide, and macro focal lengths
One common area where people who are just learning to take photographs can feel restrained is by their lens options. It is very common for a beginner camera kit to include a single 50mm lens. For us, we grew up using only this lens ourselves for years. As we began to purchase our own photography gear, it became very eye opening what other lens options out there could offer.
Here is a break down of some focal lengths and how they correspond to the types of images you can take at your home:
- Macro lenses. Macro lenses come at different focal lengths, but can be used for photographing really small things in your environment. We photograph jewelry, flowers, insects…the list goes on.
- Ultra-wide angle lenses. These are the lowest focal length lenses you will find such as 6mm – some even considered to be fish eye lenses. For photos being taken at home, this could be suitable for really unique compositions inside, or could be used to capture shots of your actual house from the outside.
- Wide angle lenses. These are less dramatic that ultra-wide angle lenses, and operate in the range of 16mm – 35mm. These lenses have more practical applications, but do well to capture relatively large scenes. When shooting at home, they would basically apply in much the same way as ultra-wide lenses.
- Mid-range lenses. Lenses from 35mm – 70mm operate in what we would consider to be the “mid-range.” These are focal lengths that are most similar to what you would expect to see with your own eyes. As such, you’re able to get a solid amount of information into a single shot – or can start to get more details depending on the specific scene. These are great for portraits!
- Long range lenses. Anything from 70mm and up are meant for longer range shooting. In most home settings, this will be too much for most photos you would want to capture. They could, however, be cool if you have something like a really long hallway.
To see some of our specific camera lens recommendations, check out our Resources page!
6). Take pictures of your family/housemates
 Now that we’ve spent some time talking about some of the prep work that goes into getting a great photo, we will move on to some photography ideas at home for beginners. Our first stop will be to talk about taking photos of the most likely subjects – the people you live with.
Most photographers enjoy taking pictures of others.
It’s one of the reasons why we buy cameras – even if we’re not interested in getting into the nitty gritty of a photographer lifestyle. Taking pictures of others, particularly those close to us, serves as a great way to remember people.
Fortunately, taking portraits of the people in our homes already is easy enough.
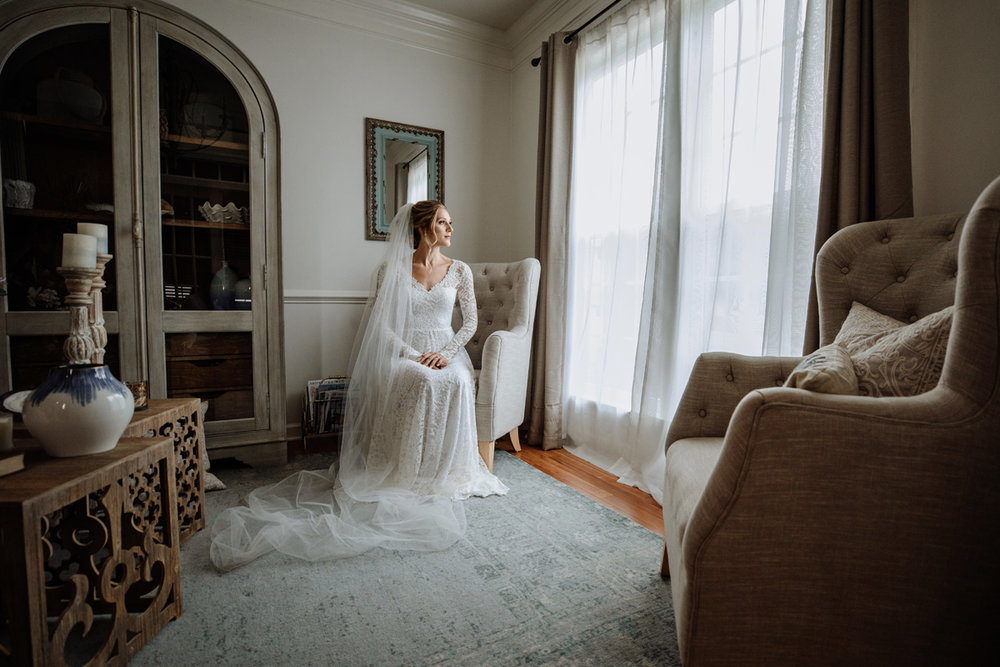
Our advice is to start by placing a person near a source of natural light (if available). Usually, sitting or standing by a window will do. If shot with a wide aperture lens, such as the Canon 85mm f/1.2, the background will not matter a whole lot. These can make for dramatic and compelling portrait photos with relative ease.
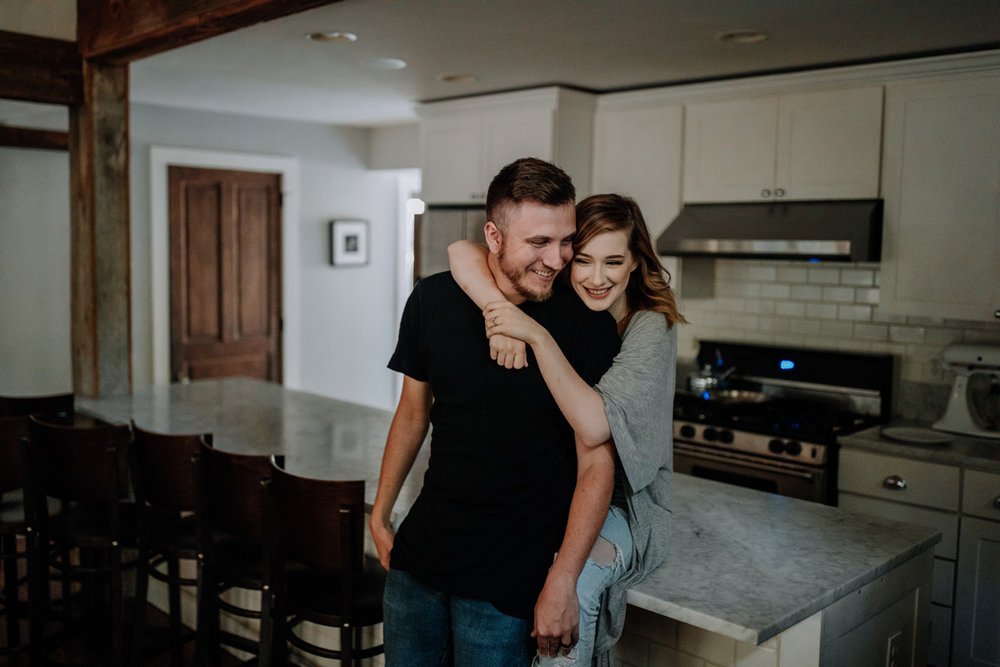
Another way to approach photos of people are candid and in-the-moment shots. These are photos of people just doing their thing. It’s easy stuff, and will help you to train yourself to capture shots of people as things unfold naturally.
7). Your furry friends also will enjoy having a photo op

If finding real life people is to difficult (or if living at home and your parents don’t want their pictures taken), you can always rely on man’s best friend. Cats, dogs, and any other animals you may have around can make for great photo subjects at home.
It’s extremely common for us, even as seasoned photographers, to whip out our cameras and photographs are two cats. Every time we get some new equipment, they are the first to learn about it.
Much like taking portraits of people, you can go two primary routes to photographs your pets:
- Stage the scene
- Capture candids
On at least one occasion, we found an old wicker basket and stuffed it with some nice looking blankets…then put one of our cats in it. The photos are precious, and was a great way to test out our (then new) Profoto A1 flashes. By the end of it, she fell asleep!
8). Photograph flowers and houseplants
Another favorite of ours is photographing flowers in and around our home. When we started photography, taking pictures of these things was extremely common. These make great subjects because of their lush and vibrant colors. You can take close up shots to capture fine detail, or incorporate them in photos with other subjects, too.
9). Get out your jewelry
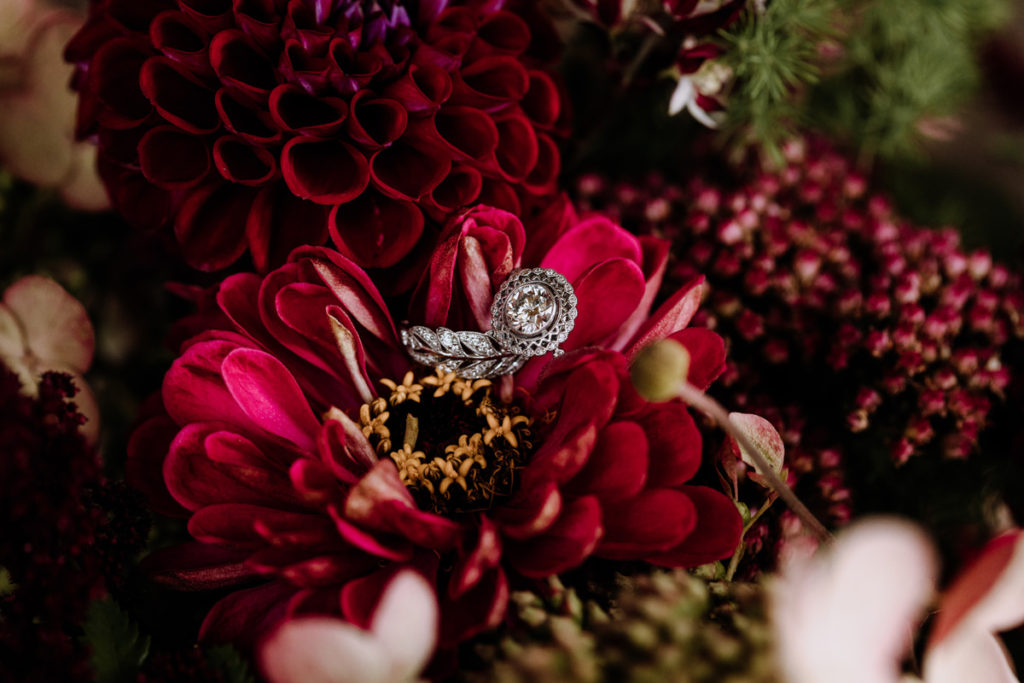
 Another great photography subject is jewelry. If you have a macro lens, such as the Canon 100mm f/2.8 macro, you can really take these shots to another level. The world of macro photography is really incredible.
10). Take self portraits
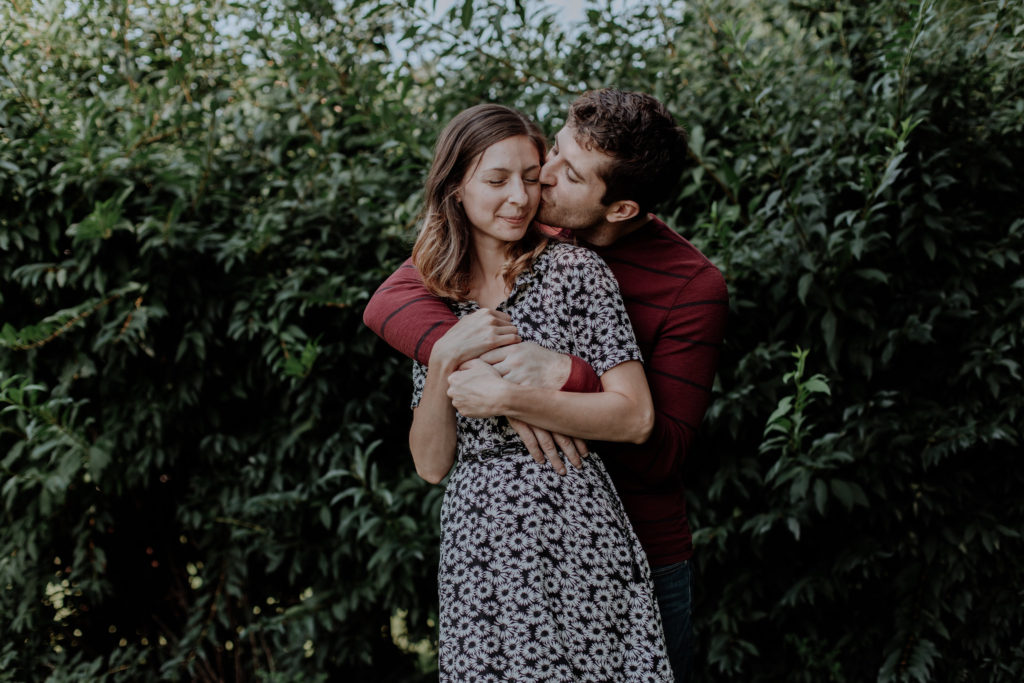
 Taking pictures of yourself is one of the easiest-yet-challenging types of photography you can do at home. The above photo is a self-portrait we took of ourselves, camera mounted to a tripod, in our backyard.
The amazing thing about self portraits is it can be a real learning experience that you can apply to taking portraits of others. We are often our harshest critics – and for this reason self-portraits are challenging. Plus – it can be hard to picture how we look. Learning how to pose yourself is actually a great way to have better photos taken of you by others during future photo shoots. It also helps to teach empathy, so you can understand what others are feeling when you are taking their pictures.
The key to taking a successful self-portrait at home is simple:
- Get a sturdy tripod and mount your camera to it
- Use the delayed shooting setting on your camera, and use a remote shutter release to take the photo
- Preview your images
- If something isn’t just as you like it, repeat these steps and tweak your composition and posing
Hopefully you found these 10 photography ideas at home for beginners to be a useful starting place. Taking pictures at home is a comfortable learning ground for budding photographers. As you hone your skills, you can start to expand and take to the world and explore even more of what this hobby has to offer.