How to Create Photography Business Cards (Part 2): Get Good Prints
Last Updated: February 14th, 2020
In Part 1 of our How to Create Photography Business Cards series, we covered the background of why you would want to have a business card as a photographer, and how to make your own business card files. Now, we’re going to shift over to the fun part of this entire process. Printing your photography business cards is really exciting!
There are a couple of options available to you:
- Send your files off to a reputable business card printer for great results
- Get the right supplies and learn to print them at home
Let’s get started!
#1: Photography Business Card Printing with Moo.com
Our recommendation for printing your business card is online through Moo.com.
We only suggest this because this is where we have gone to print our photography business cards again and again for the past several years. The process for turning your digital card file into a great looking printed business card is extremely easy. We have been very happy with the quality, and the price is very affordable.
For the rest of this section, we’re going to show you exactly how to send your card off to the printers using Moo.
Moo’s Business Card Product Offerings
For a first-time buyer of business cards, the selection can be a little overwhelming. Moo provides a lot of options that influences the look & feel of the card.
Options range from Original Business Cards, which are printed on a high quality premium paper and are the cheapest of the bunch. You can also select more unique card options like the Cotton Business Cards, Luxe Business Cards, as well as a variety of shapes and special finishes.
It is worth looking through their offerings to see what will work best for you.
Moo also provides free samples if you want to see & feel a few in real life before deciding!
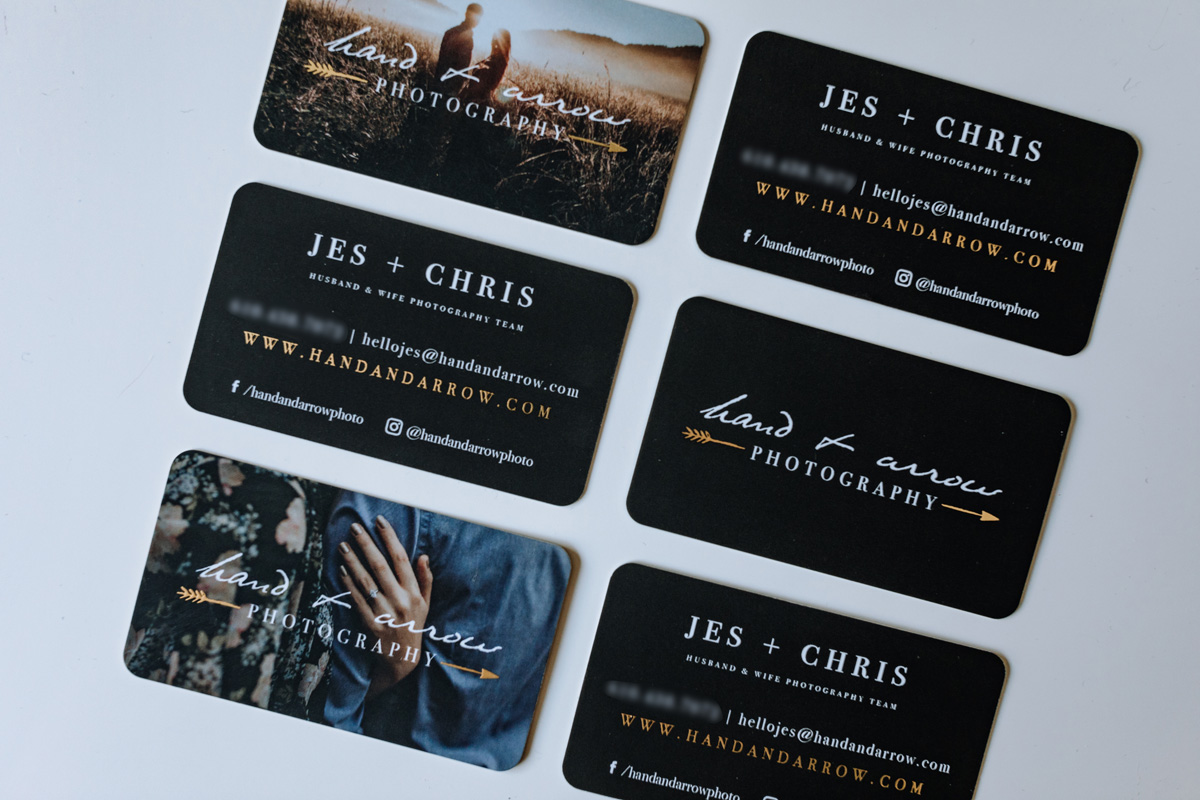
Our most recent batch of photography business cards are the Gold Foil Business Cards. These business cards are amazing because they have a velvety soft texture to them, and include a shiny golden finish in our business logo. They are really eye catching, and we’ve received a number of compliments from people as we’ve handed them out.
Remember…it’s all about creating that unique experience and lasting impression to standout!
Start Making Your Own Business Card
Once you’ve looked through Moo’s business card products and decided on the perfect choice for your photography brand, it’s time to get started!
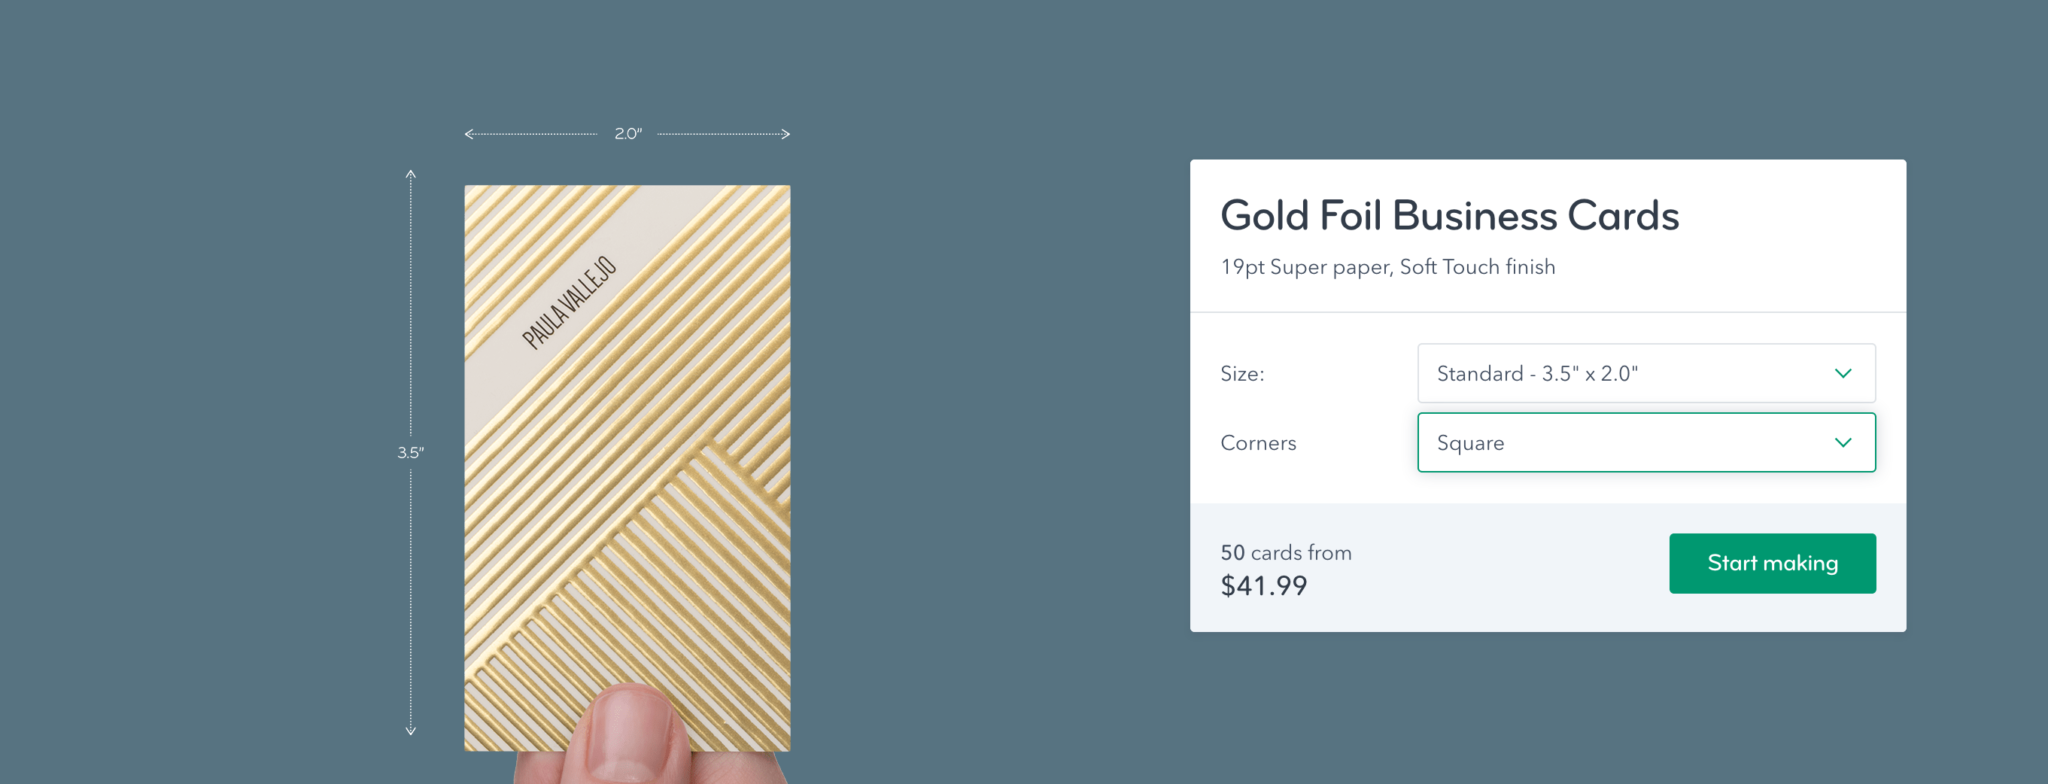
In this example walkthrough, we’ll be using the Gold Foil Business Cards since that’s what we made most recently.
The first thing you will need to do is select the business card size and corner shapes (square or rounded). We went with the rounded edges since it’s a little more unique and softer to look at.
Now – click the “Start making” button!

Design Your Business Card OR Upload a Full Design
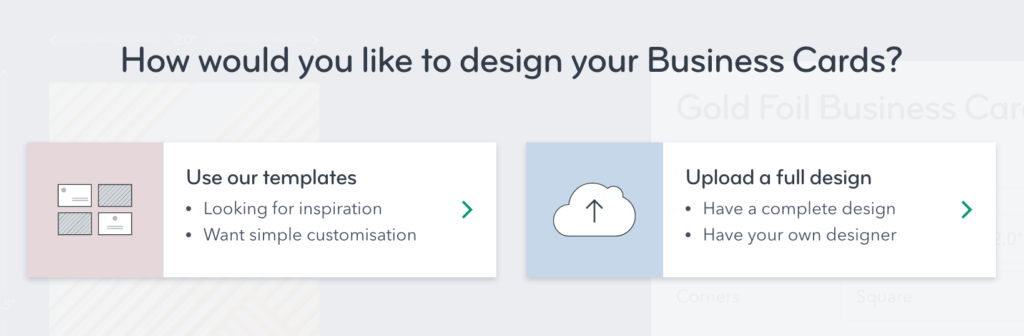
Moo will give you 2 options to continue creating your photography business card:
- Use Moo templates to design your own (good for simple and easy business cards)
- Upload a full design file (preferred for more creative control over your business card)
As we covered in Part 1, our preference was to create our own business cards. This is the only solution that will allow you to create a card featuring your own photography images – so if that is important to you, it will be a necessity.
But, if you don’t feel a need for that, have limited time, or lack the graphic design skill set to create your own, using the prefabbed card templates is a solid solution. We will show you what this process looks like now (hint: it’s super easy!).
Creating a Business Card Using Moo’s Templates
Producing your own business card using one of Moo’s templates is very easy to do. You will need to make a couple selections and update information to reflect your contact information, business name, etc.
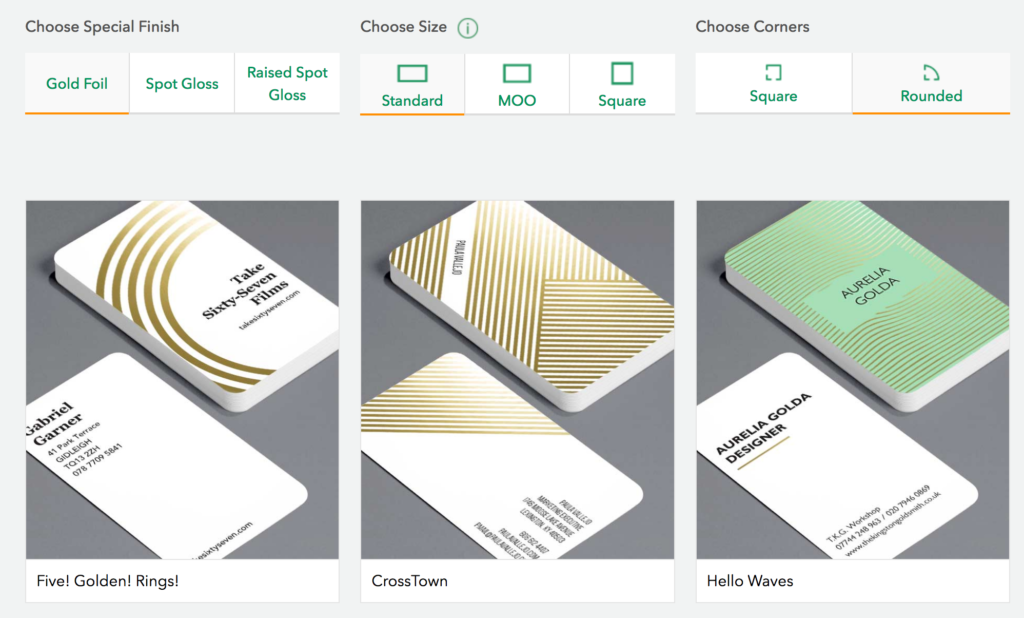
In the image above, this is a selection screen where you can choose the card finish, card size, and corner types. Every choice you make is updated into the template images – a cool little feature that helps you visualize the product you are creating.
From there, there are 30 Special Finish Design Templates for you to choose from. Each of these templates feature a different way to display your contact information, and come with already created graphics and images. These are all great – and most are simple enough that they could easily suit a photographer’s brand.
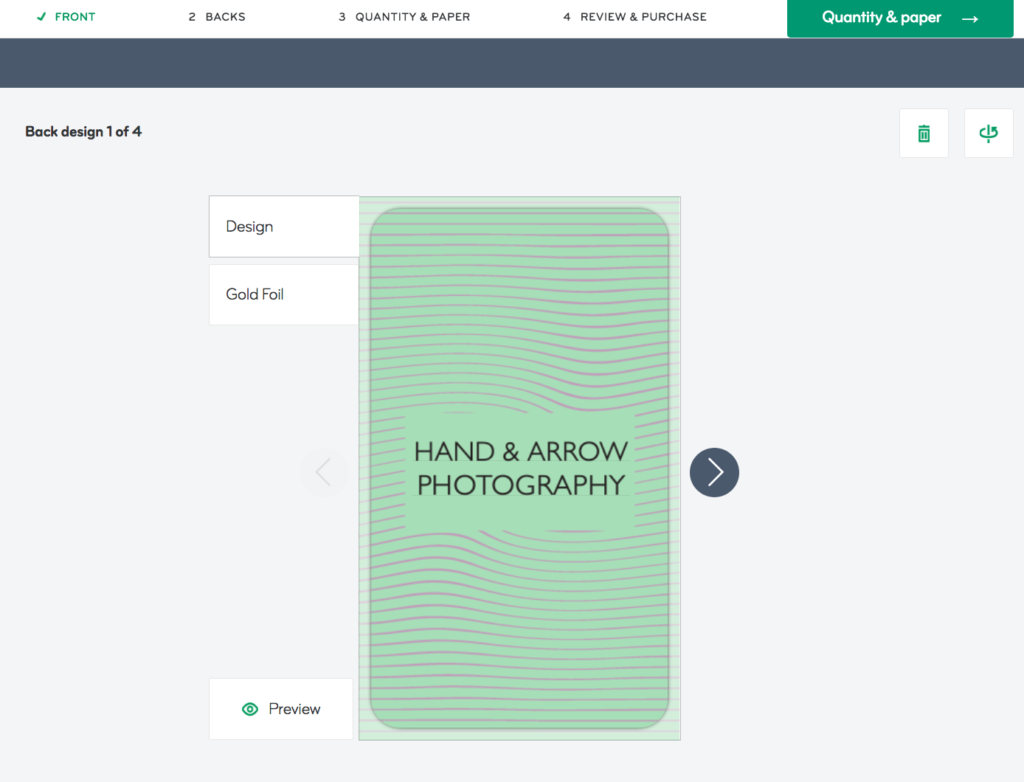
To show you more of this, we clicked the “Hello Waves” template:
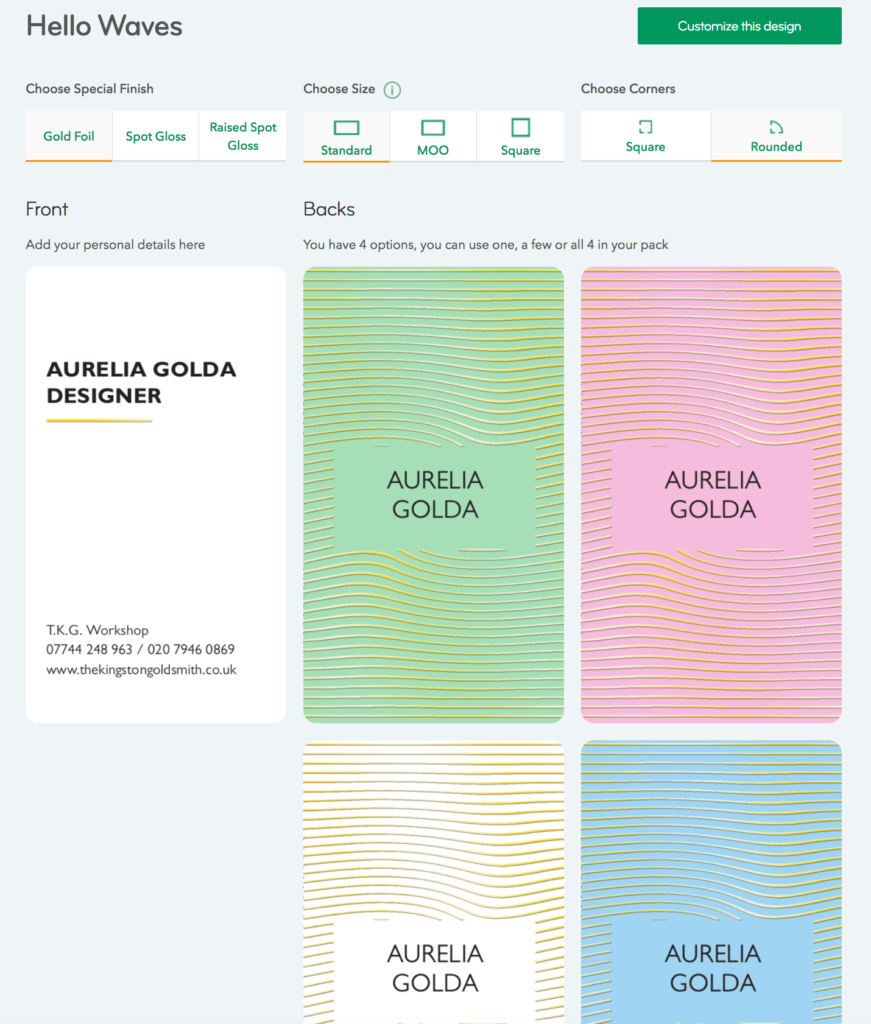
If you like what you see, simply click “Customize this design” to update your own information like so:
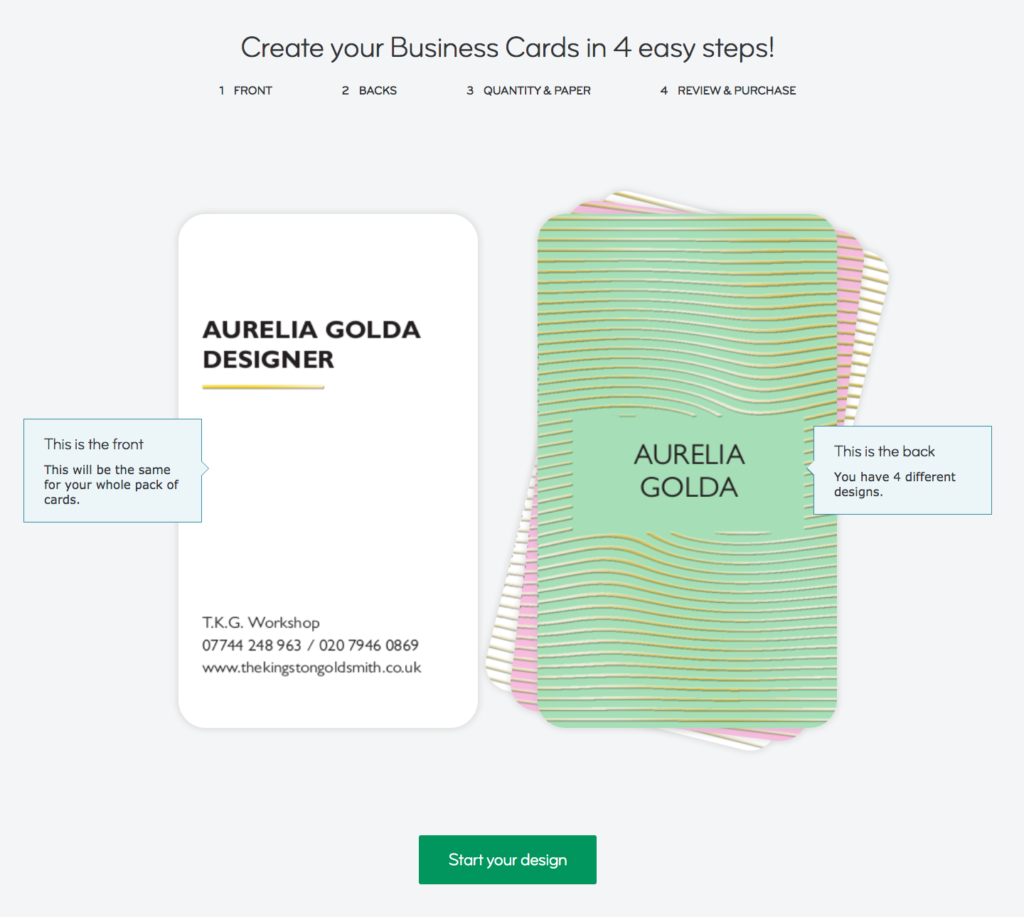
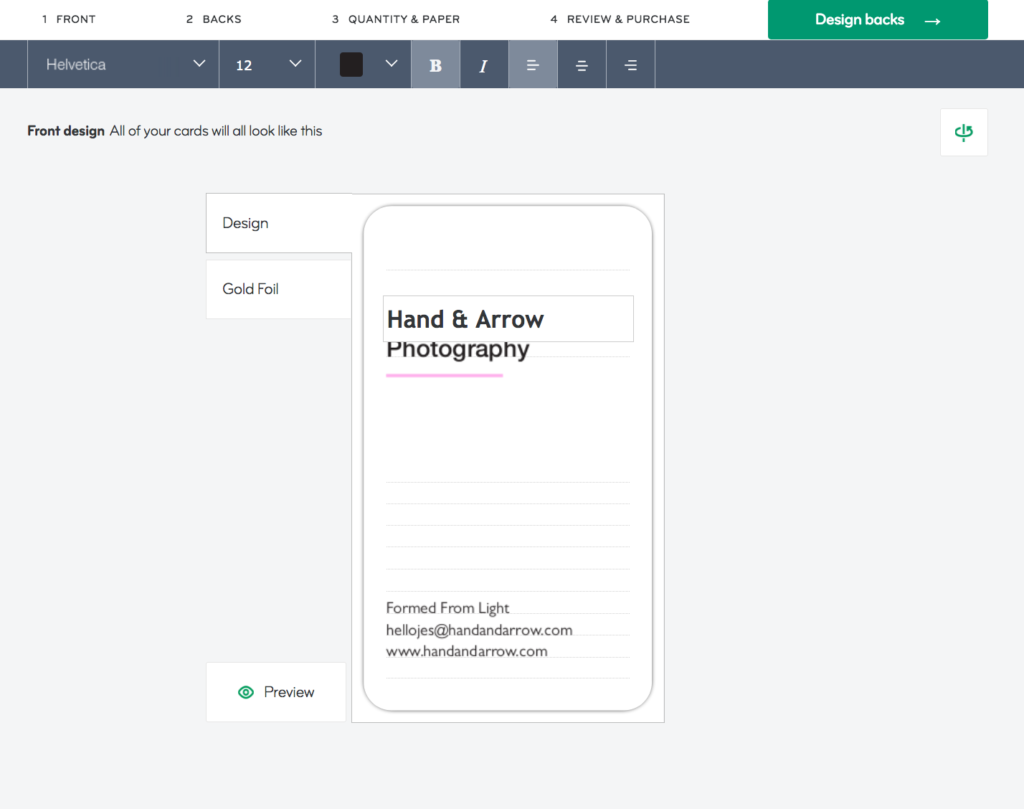
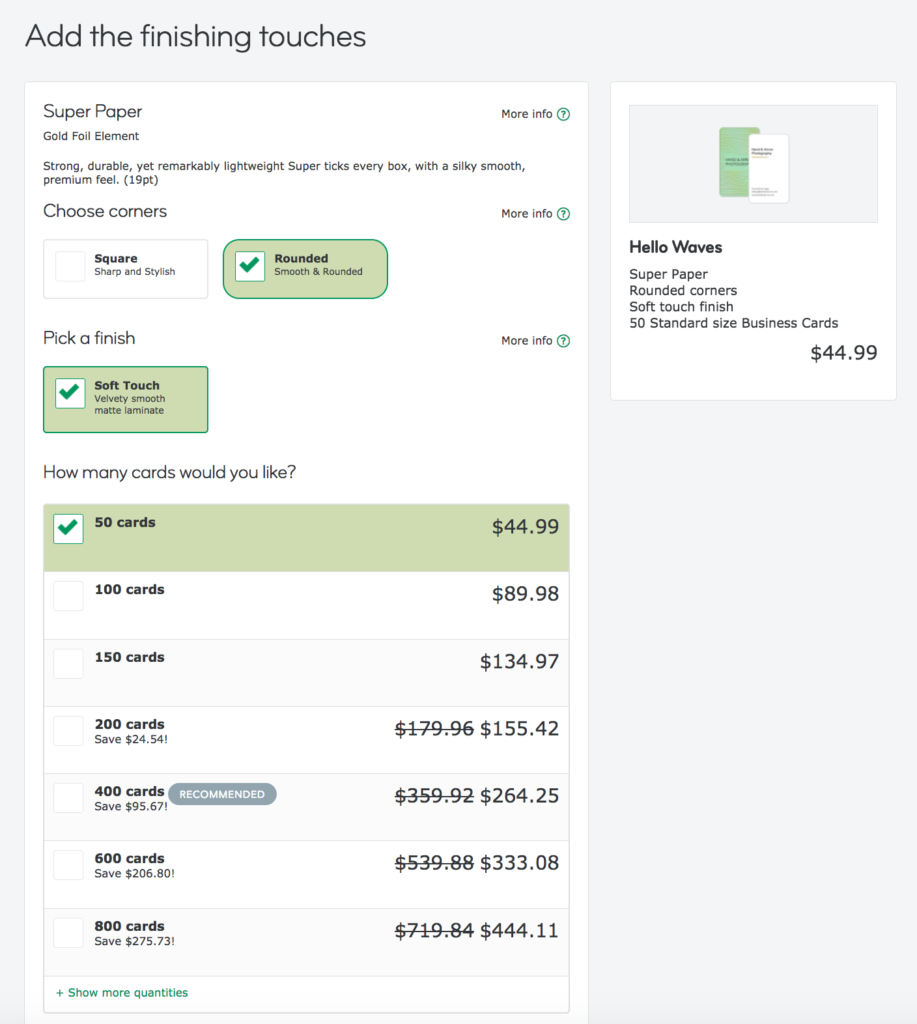
After updating the business card templates with your information, that’s it! You just move on to an order screen where you can make final selections regarding your finish and quantity of business cards to be printed.
When ordering from Moo.com, you save money when you buy a lot of cards in bulk.
For beginner photographers, you will likely only need 50 to get started (this is around all we needed in our first year as wedding photographers). With more experience and work, we now buy larger stacks of business cards to hand out.
Easy, right?!?
Creating a custom business card is extremely similar – except you will upload your design document. For regular artwork files, this should be provided as a CMKY color file in PDF, PNG, JPG, or GIF format. For special finishes (like the Gold Foil), this will be provided in a 2nd file that is a Black & White PDF only. All of these are export settings that can be made in Adobe Photoshop, Lightroom, InDesign, and similar programs. The rest of the process is virtually the same!
Is Printing My Business Cards Through Moo Right for Me?
Moo.com has been our go-to supplier for printing our photography business cards.
It is really reputable and the quality of the products is very high. The positive feedback we’ve received from clients, wedding guests, and other professionals we’ve worked with has made it all worthwhile.
Prior to using Moo, we tried printing them ourselves – but this was a tedious process for us (and expensive when you add up needing a nice printer, ink, special paper, etc.). We also tried using cheaper places to print our cards like Staples – but the quality was really lacking.
We really believe if you want high quality business cards for your photography brand, Moo is the way to go!
#2: Print Your Photo Business Cards at Home
If you are more into the DIY side of things, we wanted to put together a little guide for printing your business cards from home.
While there is no mistake that sending off your business card files to a professional print lab will lead to consistent quality and results, some people don’t feel like spending their money to have someone else do it. Not to mention, having to wait around for the cards to be delivered can be a bit of a hassle if you are trying to get some together at the last minute.
Fortunately, printing your own business cards is easy to do – provided you have the right materials to make it happen!
Things You’ll Need:
- High quality printer like this (inexpensive but good!)
- Printer ink for your printer of choice (for the Canon PIXMA we linked to above, you would need this)
- Card stock paper (simple white like this is a great starter – you can also get colored paper options)
- Scissors (to cut out your business cards)
In total, you are going to need to spend a total starter investment of about $150 to have a high quality printer, ink, paper, and scissors to create your own business cards from home. As time goes on, you will (of course) have to replace ink and paper as you run out of these things.
How to Print Business Cards at Home (5 Steps)
With the right equipment and supplies, you are now ready to start printing your photography business cards.
This is the easy part!
- Open up your business card design document(s). If you haven’t yet made your own, check out Part 1 of this article series for advice on how to make yours.
- Load up the card stock paper into the printer. Obviously – you want to print on the card stock, not regular paper.
- If making a double sided business card, set printer for double sided printing.
- Click “Print”. We recommend making 1 test page to check for quality and alignment.
- Cut out your business cards with scissors.
In the end – printing your own business cards is very simple to do.
Quality still may not be quite on par with a professional print lab – which should be using thousand dollar printers and so on – but it will be sufficient enough.
Most importantly, in the long run, you may end up saving some money as you will be able to print your own cards instead of paying a company to do it for you – but these savings will probably end up being pretty marginal (to be honest).
Wrapping It All Up!
In this 2 part series, we talked about how you can create photography business cards that leave a lasting impression.
Handing out business cards is one of the most effective ways to put your signature on a networking opportunity – whether you’re chatting with another professional in the photography industry, a client, guests at an event, or even friends & family.
Whether you are putting together your own business card design in a software like Photoshop, or making one from a pre-designed template, you have all the opportunity in the world to make your business card a reflection of your photography business brand. It’s one of those things that can be as simple & easy or more complex & nuanced – all a matter of what you want to do!
In either case – the last thing you will need to do to produce a great business card is print it. A business card printing service like Moo makes this exceptionally easy to do, but you can very well print them from home, too!
We hope our guide has made this entire process from start-to-finish easier on you!
If you have any comments/questions, drop us a line below or contact us directly!!