How to Create Your Own WordPress Website with Bluehost
Today, I will walk you through how to create a WordPress website using Bluehost. My wife and I have used our websites to grow our income while we set off on an adventure of starting our own wedding photography business. With the right tools, you can easily set up your own website to be used for whatever goals you have – making money online, personal blogging, creating a company site, and more. Included in this post will be links to Bluehost if you haven’t yet purchased web hosting. As a whole, this article will serve as a comprehensive step-by-step “how to” guide that will show you exactly how to get your web hosting setup, configure WordPress, and produce a great quality website quickly!
Click here to start your WordPress website with Bluehost, then use the rest of this post to walk through the exact steps to make a successful site.
Introduction
I fully understand how the thought of starting a website can be both exciting and a little daunting.
I have worked on a number of websites over the years. In this time, I’ve been exposed to a few different platforms, and have come to find WordPress to be one of the most flexible.
You may have heard in the past how “Wordpress isn’t easy”, and I’d like to prove this wrong.
I can admit, it’s not as simple as the drag-and-drop website builders out there as can be found through Squarespace or Wix – but those platforms also have some serious limitations. They may be suitable if you just want an easy and quick solution for some personal blogging (I talk about this in the article How to Start a Blog) but won’t last if you are hoping to turn your website into something profitable.
Through a lot of my own research, trial-and-errors, and some outright failures – I’ve landed on a great combination of WordPress (for the site infrastructure) and Bluehost as a reliable and trusted web host partner.
With the power of these two platforms put together, you can set up a website in minutes, and build one that is ready for the world to check out in as little as a few hours.
Why Bluehost?
 If you’ve already purchased web hosting through Bluehost, you can skip to the next section.
For the rest – making a financial commitment (however small) is like taking a big leap in your career from a position you’re comfortable in to one that pays more, but comes with a lot of unknowns. I’m the type of person who likes a sure thing myself, so have in the past hesitated a lot before making any big leaps myself.
I share this about myself because it’s easy for me to understand where you might be coming from.
You have this itch to start a website because you’d like to make some extra money – or completely replace your income and become a blogger full-time. Both things are very much doable, and we see it time-and-again as people talk about their online successes.
No matter your current feelings, the good news I have is this: Starting a website with Bluehost is affordable.
Actually, it’s dirt cheap.
We often think of investments as requiring a lot of money, but in the case of Bluehost, it can be bought with my link for as little as a couple bucks a month. That’s the price of a cup of coffee. Included in this purchase is a free domain name registration if you go with a 12+ month plan (a $15 value).
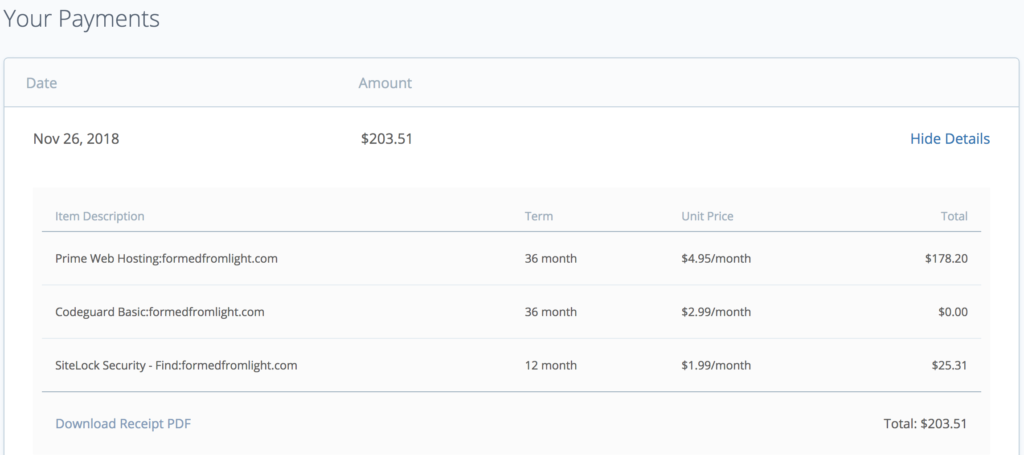
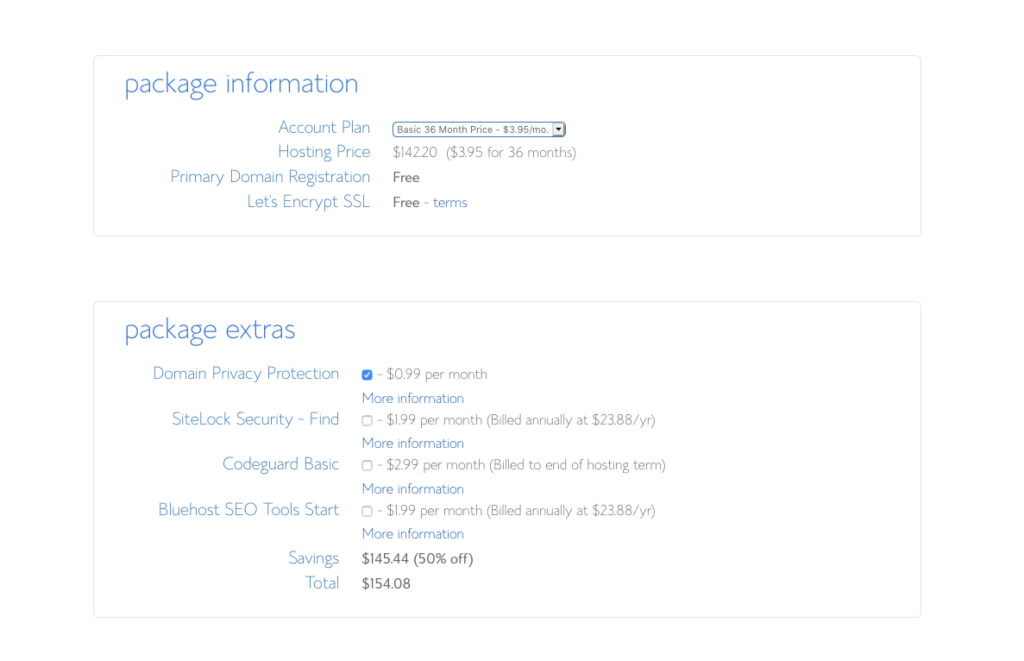
If you need another reason to trust my word (I know I’m just a stranger right now), you can see below my own purchase receipt from when I purchased Bluehost myself for a 36 month term. Compared to other services like Squarespace – which I used to spend around $250 a YEAR for, I’m saving a whole lot by switching to Bluehost and WordPress for my site.
The most significant reasons for using Bluehost for your website:
- It’s easy to setup and use!
- Bluehost is inexpensive
- You get a FREE domain name
- They offer 24/7 technical support – we’ve used it a few times, and they are prompt to help out
- WordPress is free to use through Bluehost and can be setup in the click of a button
- Your website will be self-hosted. The best sites online are self-hosted because it allows you to appear more professional to your readers and gives you greater control over your site for the long term.
- Bluehost offers a money back guarantee.
- You will be in great company along with many respective bloggers who use Bluehost for their websites big and small.
How to Start a WordPress Website on Bluehost
Since I’ve started this article out talking about how easy and simple it is to start your own WordPress website, I am now going to get into the detailed step-by-step portion of this post.
If you follow my tutorial, you will be able to get your own website setup in a matter of minutes.
Guide #1: Getting Started on Bluehost
This guide will take you on the journey from purchasing Bluehost hosting to installing WordPress on your website.
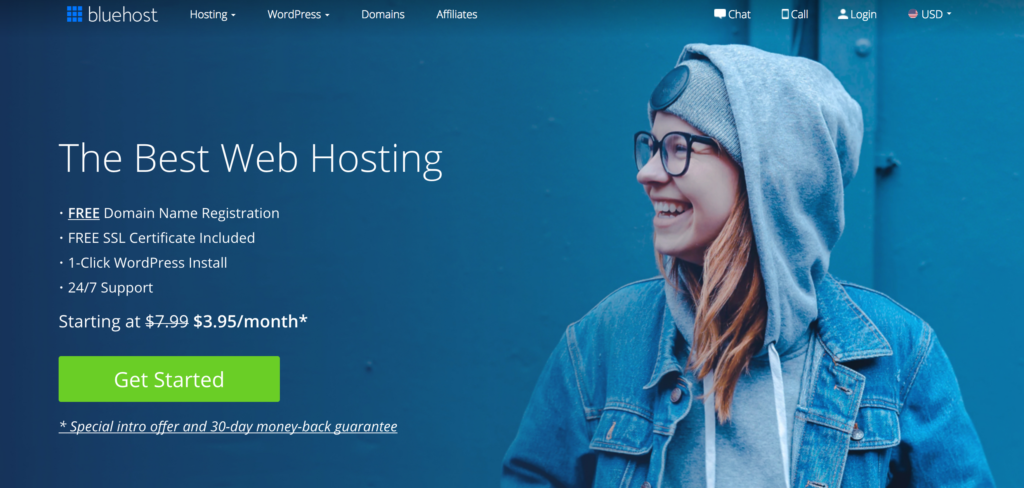
1). Go to Bluehost.com
Begin by clicking on this link to go to their website. By using our referral link, it will make you eligible for discounts on your hosting plan and assist in supporting my website as I do earn a commission every time someone signs up.
2). Click the “Get Started Now” button
The “Get Started Now” button will appear smack dab in the middle of your screen. This will take you into the funnel of steps to get your web hosting plan chosen and paid for.
You are (of course) welcome to explore other pages on the site for more information as well!!
3). Choose a Web Hosting Plan
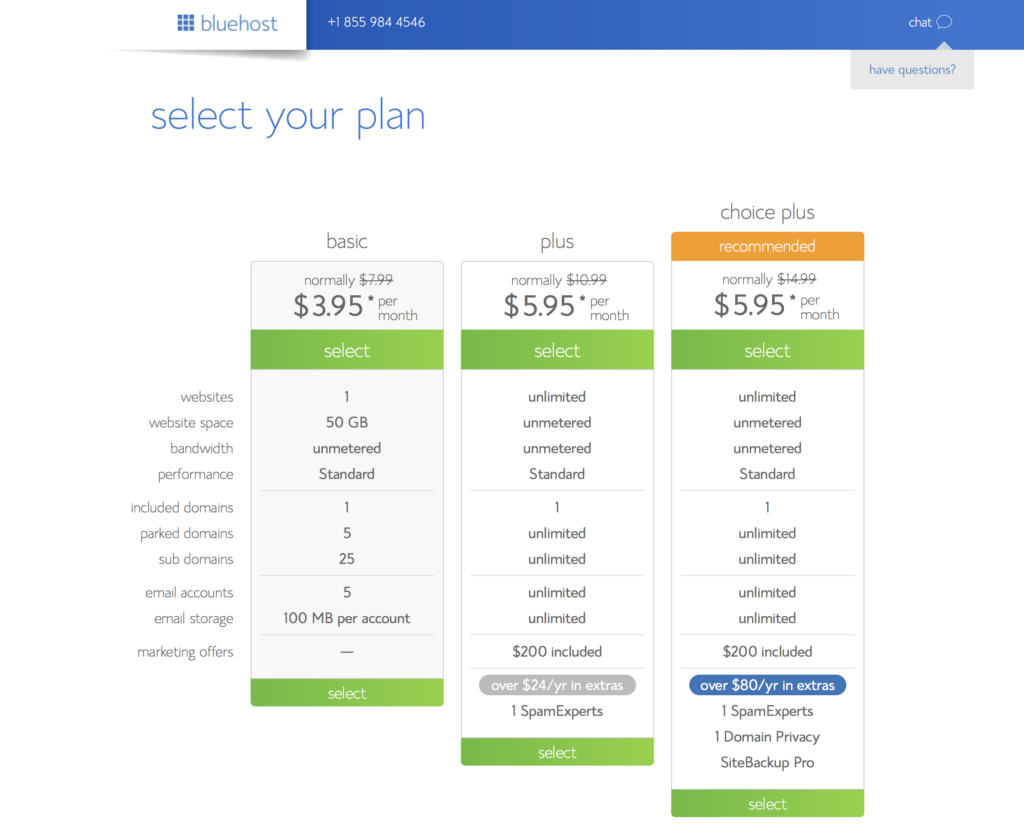
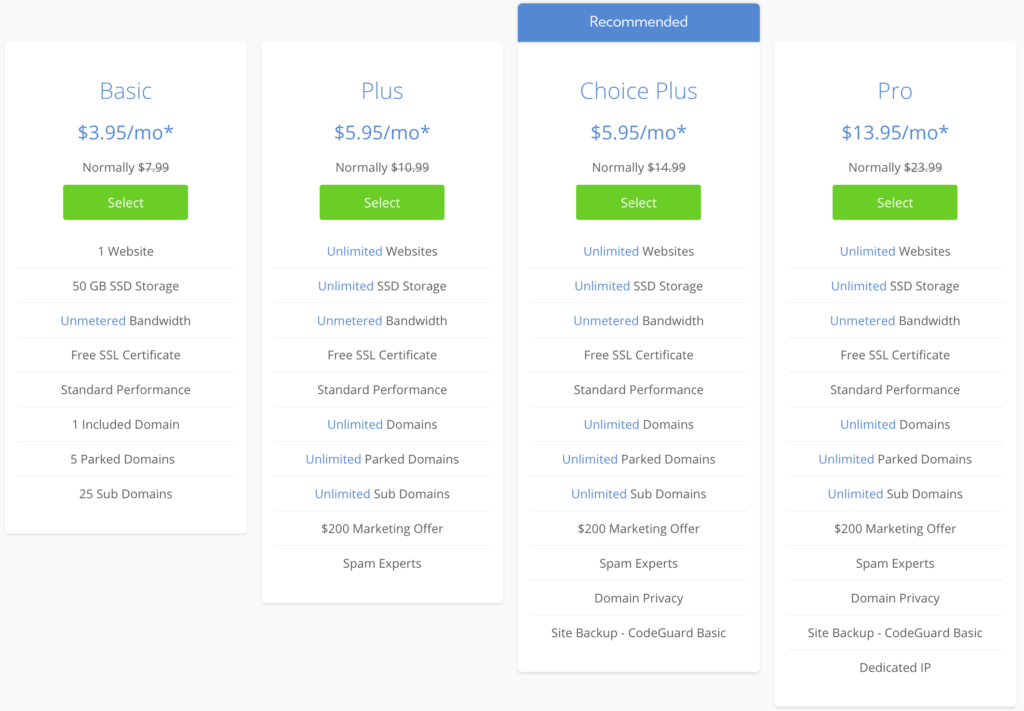
Bluehost offers 3 main web hosting plans: Basic, Plus, and Choice Plus.
Since you will just be starting out your website, going with the Basic plan option will be good for now. This is what we are using right now ourselves!
In the future, if you begin to outgrow the amount of website space (especially if you use a lot of images and video hosted on your site), it is easy to upgrade to the Plus level.
4). Choose Your Domain Name
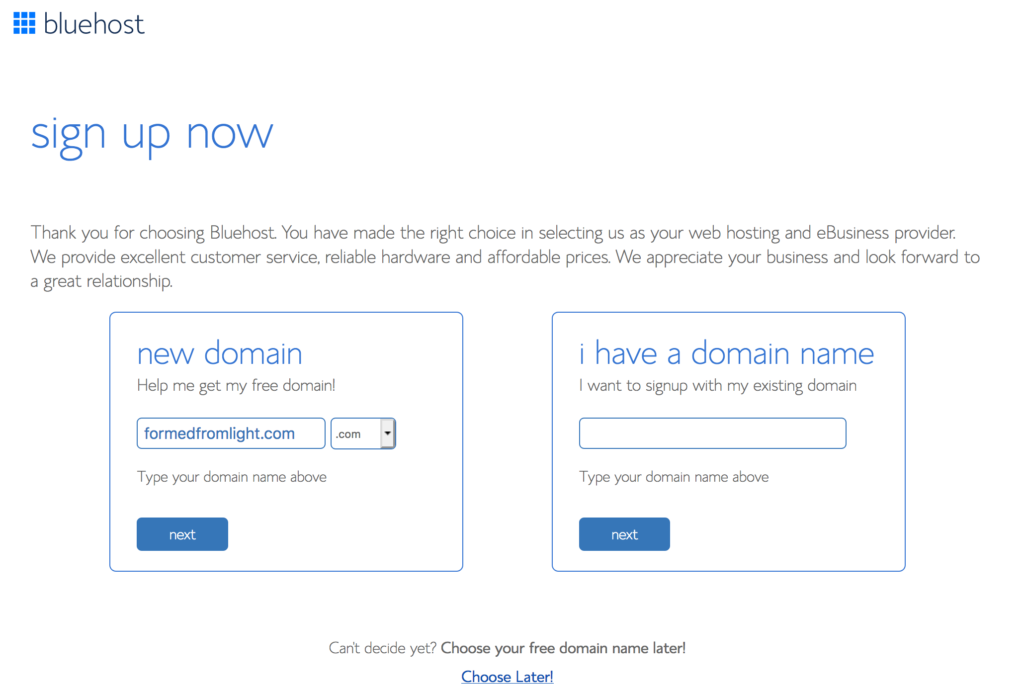
Choosing your domain name is one of the most important parts of starting your website.
At this point, hopefully you’ve already decided on what you want your site to be called. Your domain name should reflect the name of your website as closely as possible.
One challenge people can run into at this stage is finding their domain name is already taken by another website. This is especially common if you are using common words and keywords as your title. A unique site name like “Formed From Light” is less likely to be taken up by someone else – and it wasn’t until we got it!
If you want to jump right in and check your domain name availability, use the little tool below:
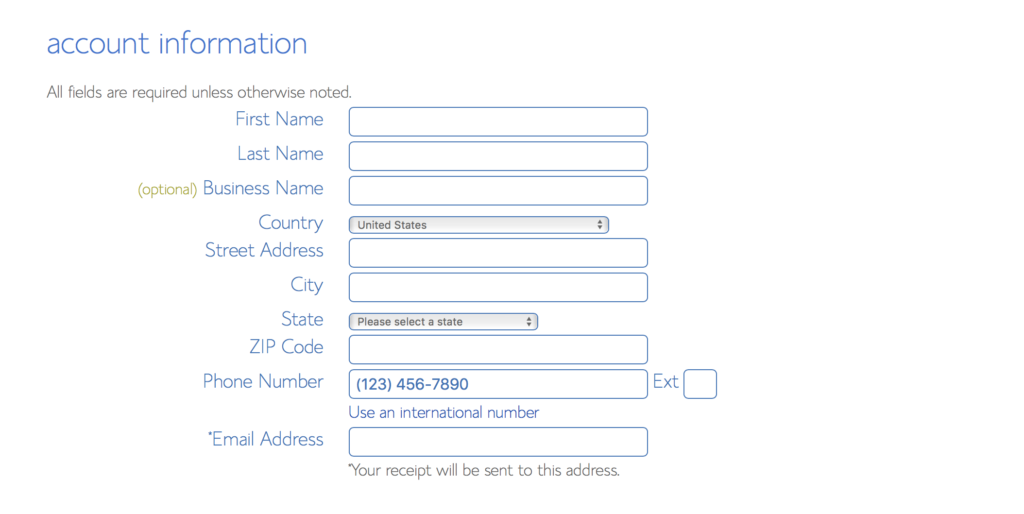
5). Create Your Account
This stage is self-explanatory. You will need to input standard account information to be associated with your web hosting account. This data will also serve as your billing information. In this process, you will also input your payment option to finalize the purchase of your web hosting plan through Bluehost.
6). Choose Add-Ons (Optional)
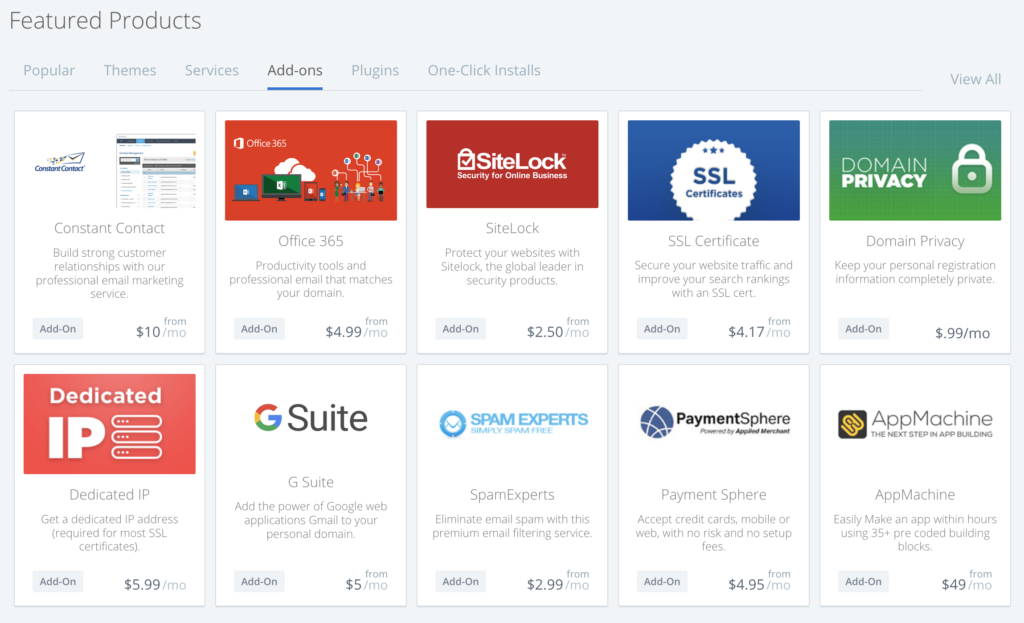
Bluehost will give you options to purchase additional features and services to go along with your plan.
In my opinion, most of these extras are not really worth the added cost right now.
The only one I added on (for .99 cents per month) is Domain Privacy Protection. The reason for this is because it conceals my ownership information if someone was to look for this information when searching for my website. As you can see from my website, I am open with my identity, however when it is freely available to be found associated with my ownership of this domain – it would make me more susceptible to spam and marketing efforts. For 12$/year, it is well worth it to me to keep this information protected.
If you just want to purchase the bare minimum now, that is totally okay!
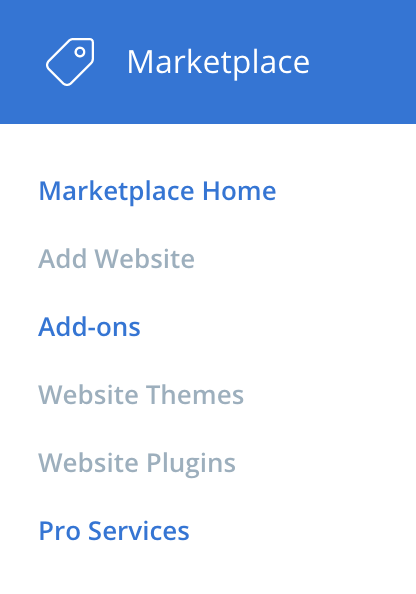
If you’re interested in add ons in the future, they can be easily accessed from your Bluehost dashboard under the “Marketplace” section.
7). Complete Your Sign Up with Bluehost
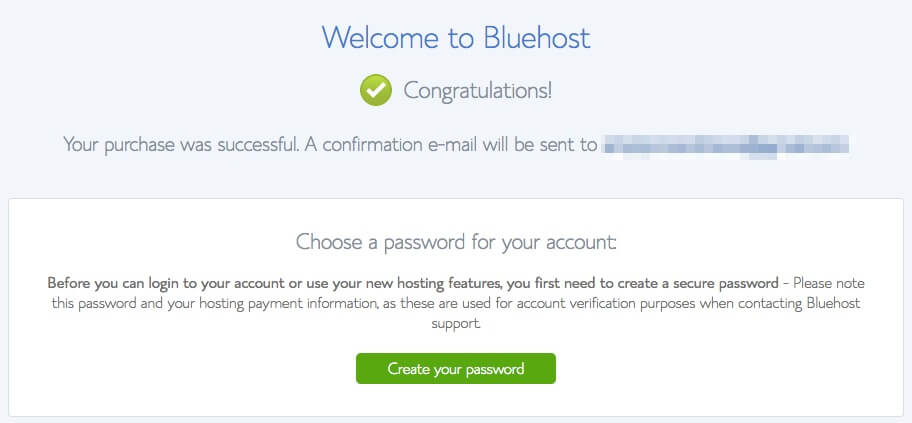
Now, finalize the setup of your account by choosing a password.
Simply click “Create Your Password” and follow the prompts!
8). How to Install WordPress Through Bluehost
The great thing about using WordPress on Bluehost is that it can be installed automatically in one click.
There are few things easier in life!
When I did this for Formed From Light, it took about 5-10 minutes and I was ready to go. So click that button, sit back with a nice drink, and get ready for the what’s to come.
There is an alternative way to setup WordPress through Bluehost as well.
You may need to use this in the future if you set up a second website, or if you just happened to skip (intentionally or by accident) the prompt to setup WordPress in one click.
No matter the reason – it’s also very simple to do manually. In just a few quick steps you’ll be all setup!
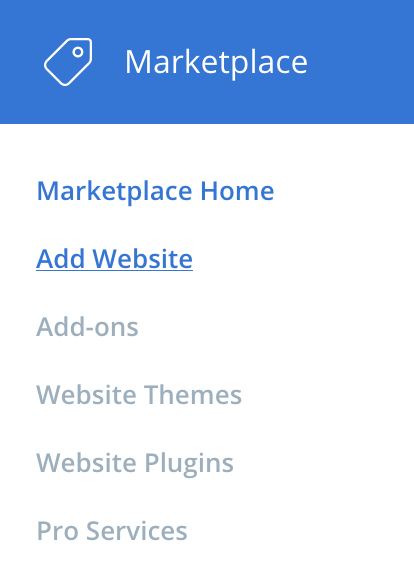
1). From your main account Dashboard, click the “Marketplace” dropdown, and select “Add Website.”
2). A new screen will open prompting you to “Create a WordPress site”
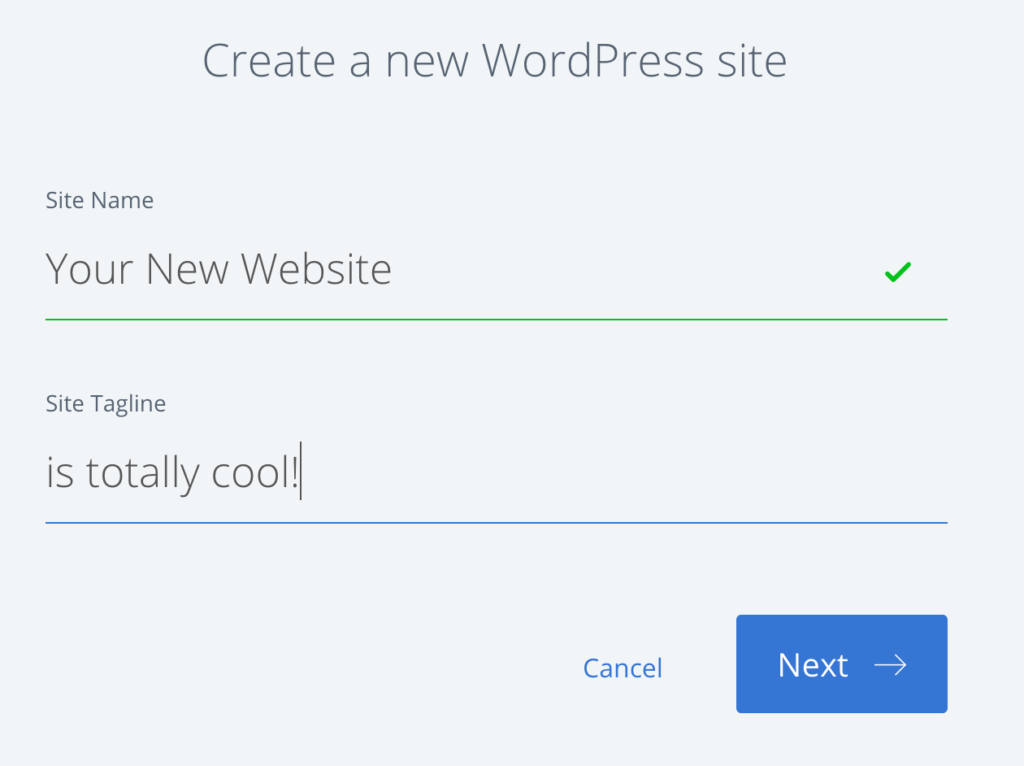
3). Click “Next” and input your Domain information
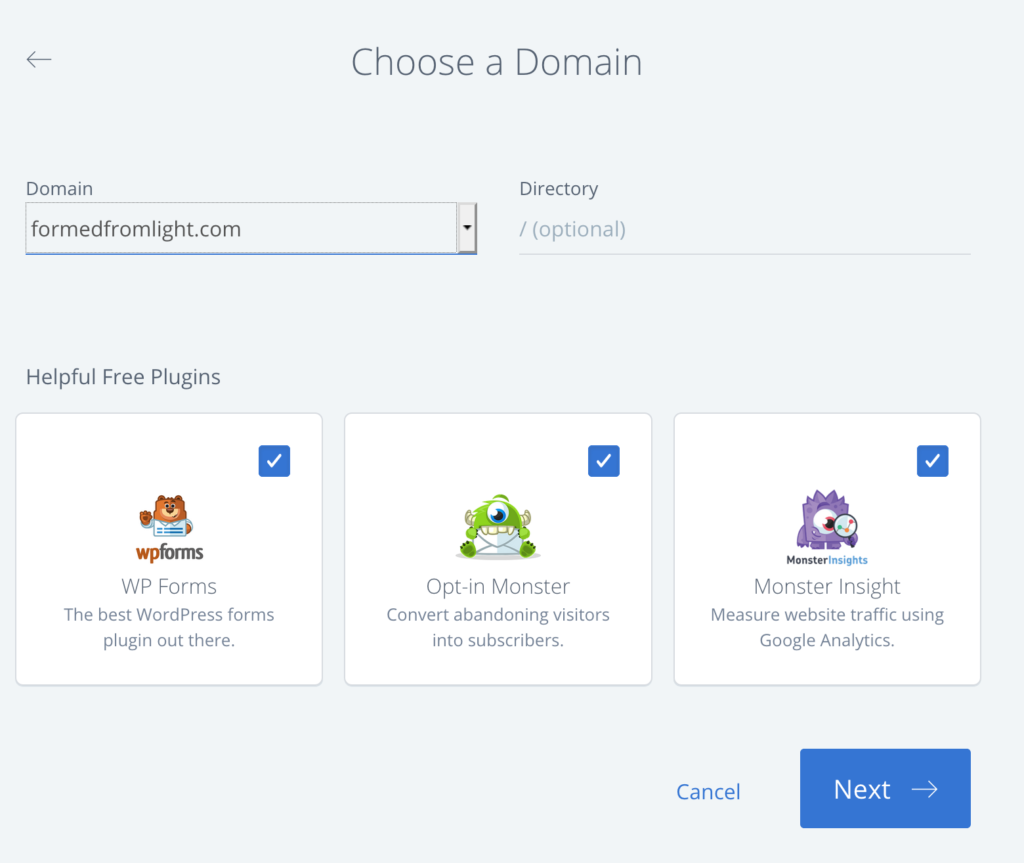
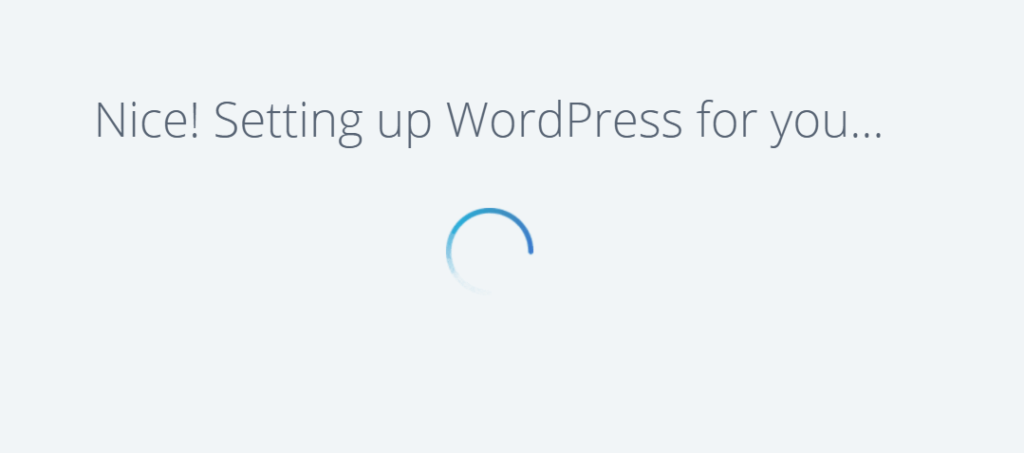
4). WordPress will be installed
Yes, it really is this easy!!
Getting started with WordPress has never been this simple!!
 By this point – you should be really proud of yourself. Go on, give yourself a high five!
Being honest, I was intimidated at the thought of setting up my own website on WordPress. I had heard a lot of scary things about it, and was used to the ease of other website platforms – but it turns out, this is super easy when working with a trusted web host like Bluehost.
It’s also my opinion that all of the setup you have just done was the boring part of having a website.
Within minutes it is all over, and you can move on to doing the fun things.
Creating your WordPress site design and producing content will attract viewers to engage with you, and even make you some money if that is one of your goals!
Guide #2: Setting Up Your WordPress Site (in 5 Easy Steps!!)
 In this tutorial, I will walk you through setting up your WordPress website.
It will be perfect you are wondering how to create a WordPress website for beginners.
There will be a lot of ground to cover here – so if you need to take a break, be sure to bookmark this page to continue the walk through.
Speaking from experience, it’s easy to get caught up in wanting to constantly make adjustments to your site’s layout and design. When just starting your website, you will want to resist this urge as much as possible to get your site to a good final state.
The reason for this? It’s simple.
When you first create your website, you will not have much of an audience.
It takes time to grow your site and attract new viewers.
As you begin to grow, that is when you will want to make more of those refinements, but for right now, your goals should be extremely simple: get your site looking good enough, optimized for speed so as to not negatively impact the user experience, and produce GREAT QUALITY content that people will want to read and share.
The formula for a successful website is this:
- Write great content
- Optimize it for search engines
- Share it with online communities
- Monetize it using affiliate programs, advertising, and your own products
- Repeat
As you can see – a great website has less to do with how it looks, and more to do with the value of the content available on it AND how easy it is for people to find it.
With this clear focus, you will be able to get your WordPress website hosted on Bluehost setup and ready to go in an hour.
1). Pick Your Website Theme
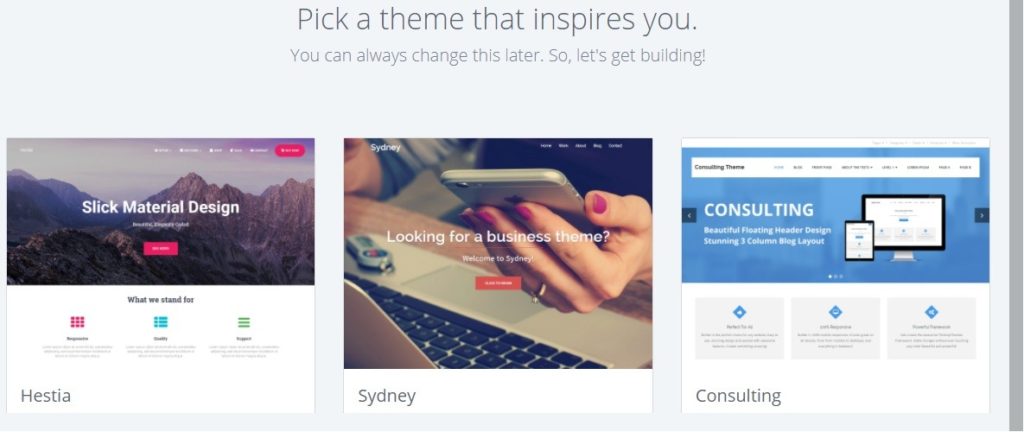
Making your WordPress website begins by selecting a theme.
If you are unfamiliar with themes, these form the basic layout of your website on a visual level.
There are many (and I mean many as in THOUSANDS) of themes available to choose from.
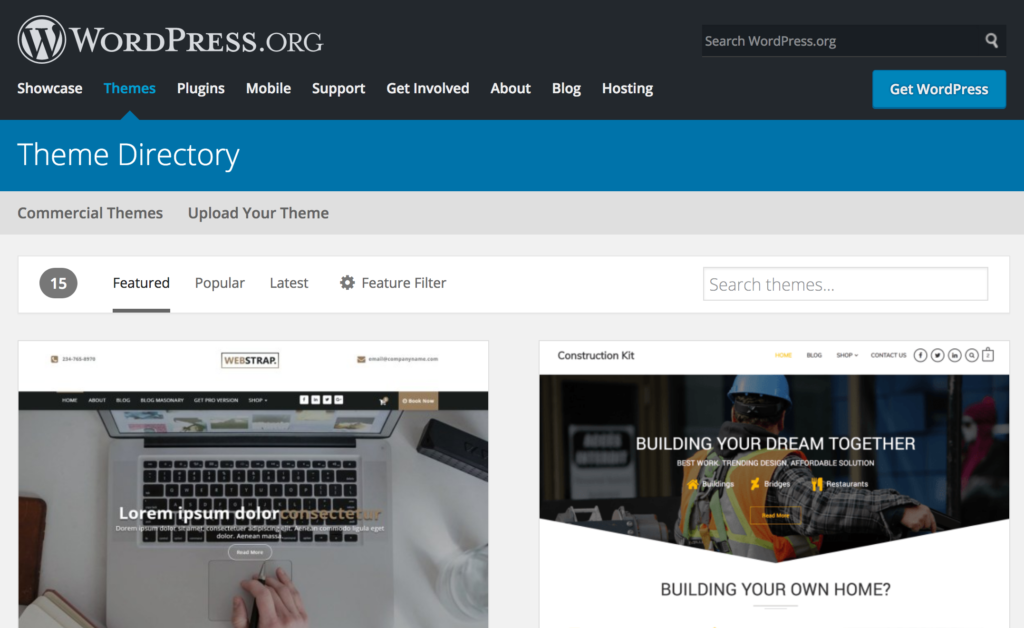
To begin, you may consider using a free theme found through the WordPress.org theme directory. You will be provided with these options through Bluehost directly if you have just finished installing WordPress on your Bluehost server.
Free WordPress themes can be a good starting point for your website.
It is important, though, to realize two caveats:
- Free themes = many themes that are just not good. There are many that are not well optimized, and have poor performance for your site.
- They can also be limited in their functionality. Depending what you are wanting to do with your website, this may or may not be a problem for you.
If I was choosing a free theme for my website, I would only stick with the themes that are Featured and/or well reviewed.
The 2nd option you have is to purchase a premium WordPress theme.
When I started my website, I did just this for a couple of reasons:
- Immediate access to better quality code
- A more unique website design
- Better WordPress plugins
- More optimized for speed
- Easier to use (this is especially true for website builder themes like Divi by ElegantThemes, which makes setting up a website more like using Squarespace)
A couple of premium theme providers that are worth checking out to see if they would be a fit for you include:
While premium themes can range in price, you can expect to pay around $60 (a one time fee in most cases). Most professional websites utilize a premium theme because of the better functionality – so this cost is easy to accept.
Depending on the theme you decide to choose, there will be 2 ways to install.
1). One-Click Installation through Bluehost (for Free Themes)
Much like installing WordPress itself on Bluehost, if you select one of the free themes available, it can be setup on your site with the click of a button.
2). Download the Theme and Install Manually in WordPress
If you find a theme (such as a paid theme), you will need to download and install it to your website.
This may sound daunting, but trust me – it is very easy to do and just takes a couple of minutes.
– Download your theme.
Every theme provider will have a different (but similar) process for accessing the theme files.
Follow the instructions associated with your specific theme to download. This file will (normally) come in a .zip file format. Save this file to your desktop to easily find for the next step.
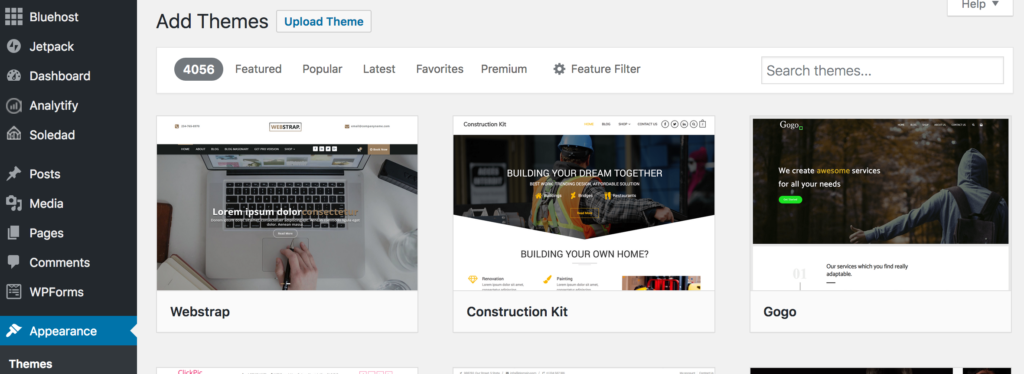
– In your WordPress dashboard, navigate to “Appearance” and select “Themes” from the dropdown.
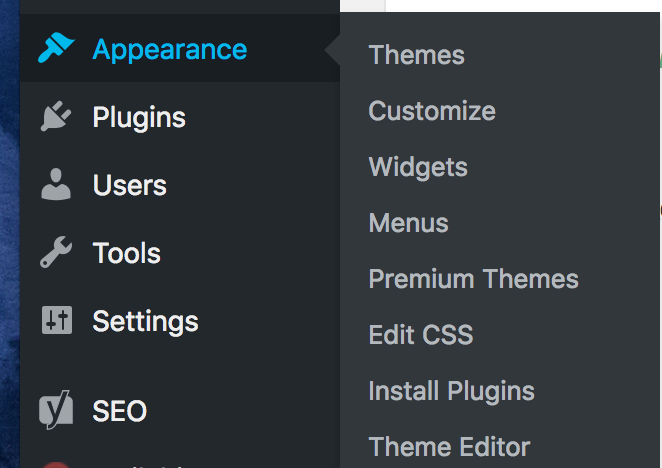
– On the “Themes” page, click “Upload” (in the top-middle of the page).
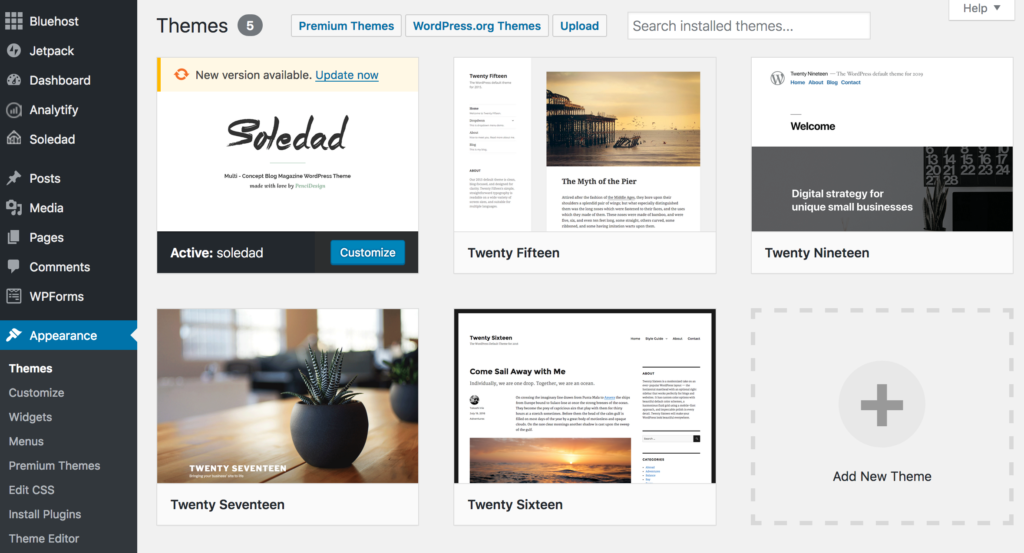 You can see in the screenshot above a number of themes we have installed behind the scenes, and one we are using as our Active theme now.
4). On the “Add Themes” page, click “Upload Theme”
When you click this button, the file input section will dropdown.
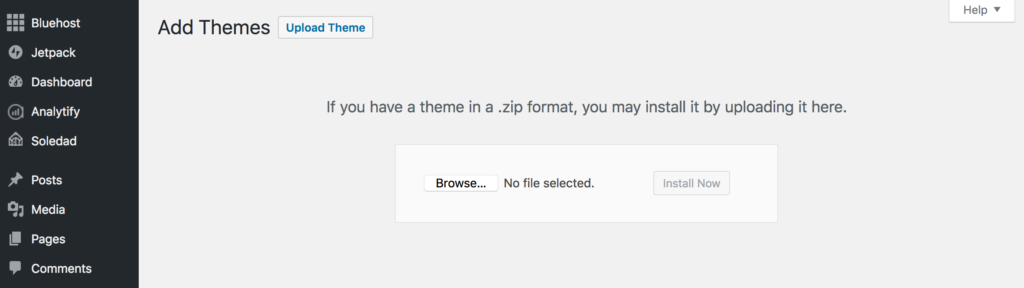
5). Click “Browse” and select the .zip file of your theme (that was downloaded in Step #1) and click “Install Now”.
Depending on the size of your theme, this could take a little while. Once it is completed, WordPress will prompt you.
THEN YOU’VE DONE IT!!
CONGRATULATIONS!!
 Finally, I should also mention, one other route you could go for your WordPress site is to have a developer custom create a theme for you.
For beginners, I would advise against doing this as it will be time consuming and costly.
Whether you decide to go with a free or premium theme, you will always have the choice in the future to make changes in this area. It is not particularly difficult to change themes, but you will have to do a lot of re-configuring – so try to choose one you feel will best suit your website for the long haul upfront.
2). Customize Your Website Layout

This is where setting up your website can get really addicting.
Customizing your site is as simple or complicated as you want it to be.
As we mentioned earlier, we suggest just getting your site usable and looking good enough. Do not try to emulate some highly polished and professional website you have seen before starting your own site. More than likely, those sites have the support of a development team, and have spent a lot of time getting things just right.
At this stage, you do not have enough website traffic or readers to warrant spending a huge amount of time perfecting the site. As you begin to produce high quality content, definitely return to this and go deeper, but don’t make it priority #1 on the first day.
Because every website is different, your customization options may vary or be presented in a different way.
Below is an example from my website to show you what you can expect.
In general, you will be able to customize different sections of your website, select from different post styles, make adjustments to some widgets, add a logo, etc.
For starters, begin by tweaking site colors, fonts, and add a logo if you have one. If you need a simple logo to get started, you can outsource one for cheap using Fiverr.

3). Install Useful Plugins
Plugins are what I would consider the life-blood of WordPress.
Once I understood the significant role they would play over the look and functionality of my website, I started to understand how to use WordPress much more.
There is a virtually limited number of plugins you can browse through.
Many are available directly through WordPress if you go to “Plugins” -> “Add New” and browse.
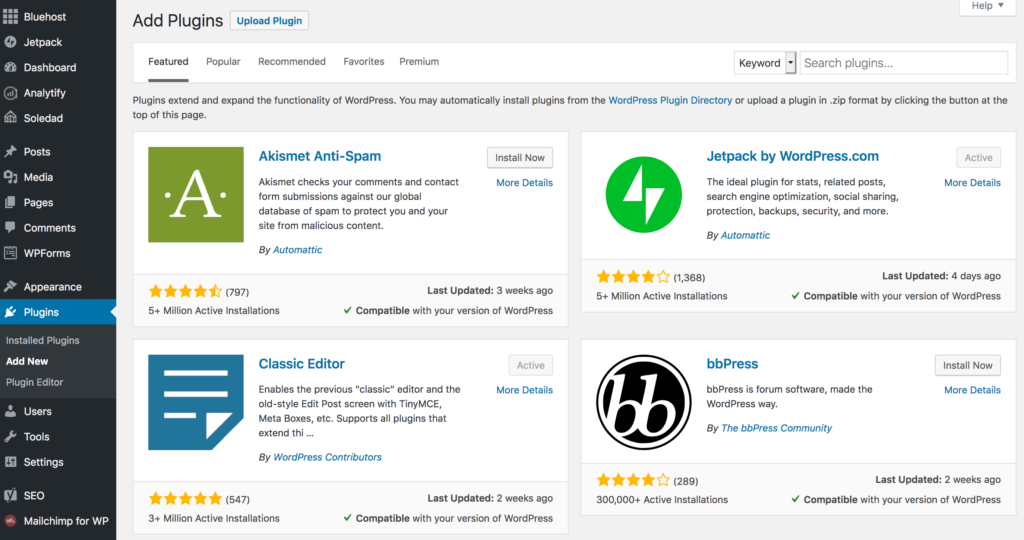
A few plugins we recommend right off the bat are below.
These plugins help to do things like provide website statics, better user experience, increased site speed and performance, help you produce better content, and make the look of your site better in some ways.
A quick note: the more plugins you have, the slower your site will end up being. You can get around this by effectively optimizing plugins and other areas of your code, but this gets pretty complicated quick. Trust me when I say this as I spent way too much time finding this out for myself. Because of this, I suggest new site owners to only install and run up to 12 plugins max.
1). Analytify
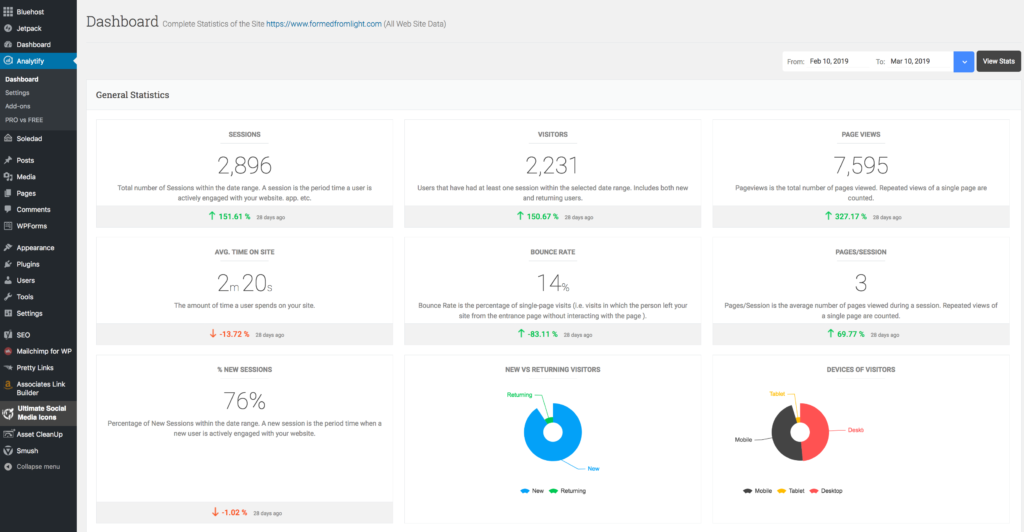 This is a simple to use analytics plugin that serves Google Analytics data into the backend of WordPress directly. It makes checking your viewership and other key elements about your traffic and site performance quickly and easily. We find it to be superior to MonsterInsights, a more popular (but also more expensive) plugin option.
2). Ultimate Social Media Icons
Having good looking social media sharing icons is essential on your website.
It’s such a small thing, but it makes a huge impact.
A lot of the basic icons that come with many WordPress templates are too simple, and often go unnoticed to the average user. Ultimate Social Media Icons is a plugin that enables great looking icons to be used on your site. You can use a whole bunch of free options, or upgrade to a paid option for even more options.

3). Smush

Smush (funny name we know!) is an image compression plugin. In order to have a faster website that is well optimized, having images with small file sizes is critical. You can do this manually, one photo at a time, using a software like Photoshop – but this is really tedious. Smush is a great alternative that will take any image file you add into your WordPress Media section, and compresses the image into a size that is more web friendly.
4). PrettyLinks
 A more “advanced” approach to blogging includes the use of link cloaking and heavier analytics tracking. PrettyLinks is a popular plugin that enables both of these things to be done pretty simply. Link cloaking is commonly used to disguise affiliate links. Special links can be set up to help you to determine where visitors are clicking links on a single page. There is a lot that can be done with this one plugin!!
5). FMTC Affiliate Disclosure
One of the simplest plugins out there also helps to cover an essential aspect of any blog. Wanting to operate within FTC guidelines, we looked for an affiliate disclosure plugin that would allow us to add disclosures before all of our blog posts automatically.
You can see how this looks at the top of each blog post on this website!!
6). Jetpack by WordPress.com
 Jetpack does a whole lot to offer site stats and optimizations.
It is one of the most popular WordPress plugins, and was actually made by the same creator.
We like using it to see links our visitors have clicked on. It has also helped to set up things like image lazy load, which causes images to load as they come on screen instead of all at once. To say the least, it is a workhorse plugin that can do a lot for your website.
7). WP Super Cache
When you set up a brand new website on WordPress, one of the initial ways you can begin to optimize your site is by using a caching plugin. Basically what this type of plugin does is allow your site to serve visitors “cached” versions of pages. These require significantly less bandwidth to process, and as a result increase your site load speed. It’s critical for SEO and your user experience.
We’ve tested a couple caching products and like this the most of all the free options out there. Since website caching is not the most intuitive thing in the world for beginners, following along with a tutorial can help you get setup properly in no time:
If you want even better caching for your site, consider getting WP Rocket – a paid cache plugin alternative.
8). Yoast SEO
Yoast is the premier SEO plugin for WordPress blogs.
It’s actually quite cool how it works, and we actively use for all of our blog posts.
It’s main selling points are how it breaks down the good and bad in your posts so you can make adjustments accordingly. This is all broken out in the “Readability Analysis” and “Focus Keyphrase” sections. By referring to the points made automatically by the plugin, you can fine tune your writings to make them more search engine friendly.

Like we said at the start of this section, these are just some great plugins to get you started. Definitely explore all the options out there for yourself to help suit the needs of your website.
4). Configure Your Important Site Settings
There is one essential thing you will want to setup immediately after starting your WordPress website: Permalinks.
Permalink structure is how your website links look. It is a representation of your site structure as well like this:
![]()
A good permalink structure can indicate to a reader where they are on your website, while a bad structure does just the opposite.
Additionally – your permalink structure plays a role in search engine optimization (SEO) and how search engines see your web pages.
There are different schools of thought on how to setup your permalinks.
In my opinion, there are multiple ways to do it right, but also some ways to get it really wrong.
For example, using a linking structure that is only numeric does not serve much value for SEO purpose, and could (potentially) be confusing for a reader’s experience. This would look like:
https://www.yourwebsite.com/123
For the sake of convenience, my recommendation is to setup your permalink structure just like I have it on this website. To do this, follow these 3 easy steps:
1). In WordPress, go to “Settings” -> “Permalinks”
2). Under “Common Settings”, select “Custom Structure”
3). Input the tag string “/blog/%postname%/”
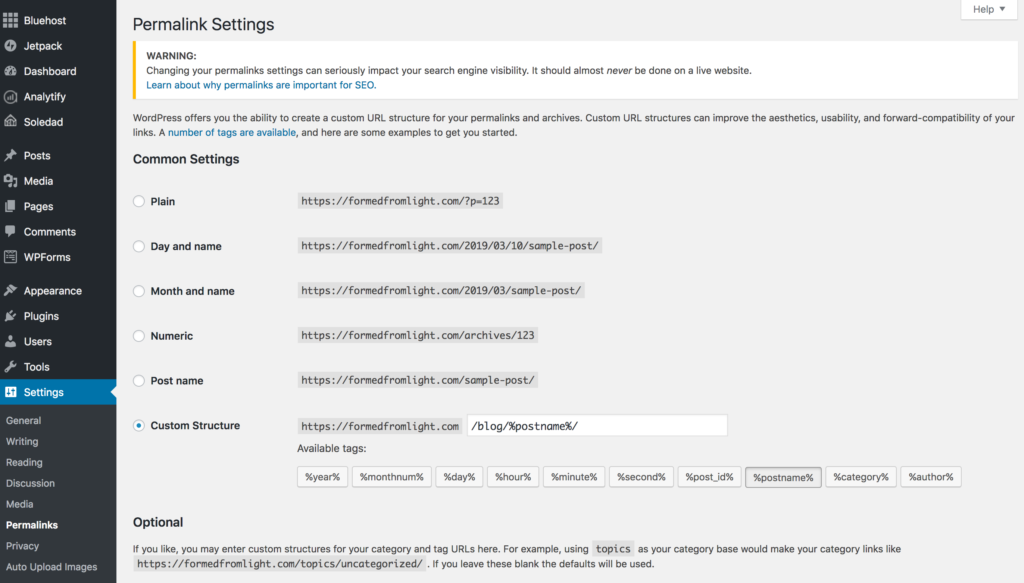
4). Click “Save” to complete
This is not a hard thing to do as you can see, however many website owners and bloggers just starting out with WordPress do not realize this is something they should update until it is too late. Once you’re website is live and beginning to circulate in search engines and being linked to from other websites, making any changes to permalinks can be severely damaging to your website.
5). Setup Essential Web Pages, Write Blog Posts, and Promote Your Site
I’ve collapsed these items into one last point to make to help you setup your WordPress site with Bluehost because I’ve covered all of these topics (and more) over on my post How to Start a Blog – A Comprehensive Guide for You. There, I go into great detail about each of these topics by covering what you need to do to create the best content and get it seen.
As a quick summary:
Create content that is high quality, useful to your audience, and able to be shared. For some people, writing website content is very easy, while for others it won’t come as naturally.
A great starting resource to give some insight into the content development process is this video:
At it’s core, you will hear often around the internet (especially when you’re digging into internet marketing blogs) that you need to do X, Y, and Z to make sure search engines pick up on your content. While it is true that you need to do some level of search engine optimization, the more important takeaway is this: produce high quality content. This type of content does take time to make, but will land you with a much more engaged audience – who will appreciate your efforts for it!
Frequently Asked Questions About Bluehost and WordPress
In this FAQ, we will be providing answers to common questions we have heard asked about using Bluehost and WordPress. Our answers are based on our personal experiences creating a WordPress website with Bluehost web hosting.
Is WordPress free with Bluehost?
Yes.
WordPress is a free open source software used by 60% of websites. With Bluehost, you get web hosting and one-click installation of WordPress.
How do I connect my WordPress to Bluehost?
We covered this in detail earlier in this post. Use the one-click installation or the manual installation method that takes just a couple steps.
Is Bluehost good for blogging?
Bluehost is only a web host platform. You will not actually do any of your blogging on Bluehost directly. All of your blogging will be done in WordPress itself.
How much does Bluehost cost?
Bluehost begins at $3.95 a month. On occasion, you might find a special deal lowering this rate, particularly around the holiday season.
How much does WordPress cost?
WordPress is actually free. It is an open source program that can be used through a number of web hosts. The only cost is to have web hosting service.
Can you share any Bluehost blog examples?
Yes. Our blog is one example of a blog hosted on Bluehost. A few others include:
How does Bluehost compare to other web hosts?
Bluehost offers a high quality web hosting service.
It can be difficult to find unbiased information about Bluehost and other web hosting providers due to affiliate programs and high commissions for converting readers into sales. For this reason, I only really can talk about the service I use.
In my personal experience, I have had no problems with Bluehost. With a rapidly growing website, I am in need of reliable servers, low costs, and so on. This service fills this need as expected. Around the web, it appears to be a reputable provider, and this is what led me to signing up with them in the first place!
Conclusion
I hope this article has proven to be a useful tutorial to show you how to create a WordPress website using Bluehost.
I wanted to write this post because of the struggles I had when getting my own website setup to help save you some hassle. If you go through this post step-by-step, you should be all set and ready to roll!
Because you managed to make it through this entire process and are stepping out to start your own website, I want to extend a nice and firm handshake to you! Bravo!!
 If you have any questions about WordPress/Bluehost, feel free to ask in the comments. If this is your first time setting up a website like this, definitely share the link to your site as well, I’d love to check out what you’re creating!