How to Shoot Portraits in Ugly Locations
Often around the winter months when we have portrait sessions scheduled to take place outside, we end up receiving a few emails from clients who are starting to get nervous their photos won’t look as nice because the environments outside are turning really bland. Can we blame them?
There is no doubt that there is a difference in how an outdoor location will look in winter vs. the spring, summer, and fall months – all of which bring a lot more color into the frame.
By most standards, the winter months here in Pennsylvania aren’t exactly the most aesthetically pleasing – except for when we get hit with some fresh snowfall to mix things up. Otherwise, the lack of flowers, the dominant grey and brown colors, and the cold weather tend to make for what most would consider to be an “ugly” environment.
For us, we do often reconsider if it’s worth scheduling a shoot during this time – and have even contemplated moving shoots to the spring just to avoid having to deal with this “problem.”
In practice, this is hard for us to do because our schedules are often very busy outside of the winter.
Our initial hesitation is usually the result of some self-doubt and anxiety – feelings that pretty much every photographer is going to feel at some point when faced with a challenging location to shoot.
Fortunately for us, this feeling always subsides, and is replaced by our professional knowledge of how to shoot in these types of situations. They’re replaced with our knowledge of how to photograph people when the places we are shooting at are pretty ugly.
Today we’re going to teach you some practical ways to shoot in unattractive spaces, and make your portraits still rock!
What makes an environment attractive or unattractive?
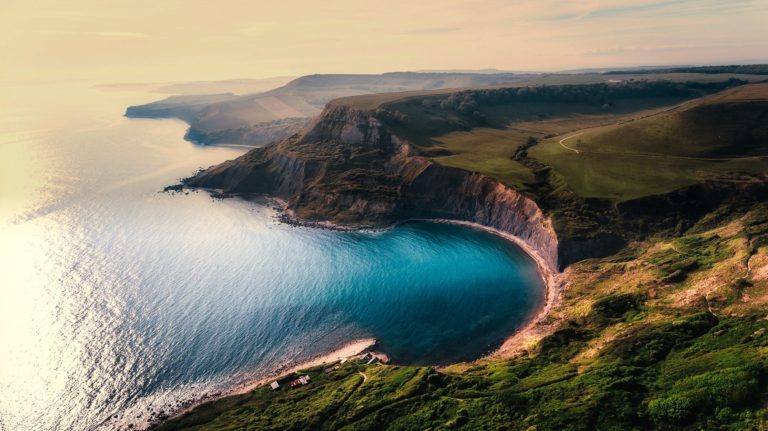
When thinking about ugly environments, our minds actually initially drift to thinking about places that are so photogenic it would actually be difficult to take a bad photo. Pretty much all of Iceland is like this from our experience traveling there, and browsing through some of the top portrait photos online showcases again and again locales like The Isle of Skye. In places like this, you simply set up your portrait subject, and fire away. The backdrop speaks for itself – and whether rain or shine, Golden Hour or not, the photos in these places are almost always memorable.
Unfortunately, most places we shoot on a day-to-day basis aren’t like this.
Unless you are a destination portrait photographer, your sessions are more likely to take place at a local community park than somewhere really scenic.
This isn’t to say that all local parks are unappealing, we have a lot of great ones near us and are happy to shoot in those spaces. It’s just you might have to look a little harder to find spots to shoot that are more suitable.
While what you might consider an “ugly” environment can vary, a few things we tend to notice include:
- A lack of interesting features
- Limited color palette
- Spaces that are too cluttered
- When outdoors, signs of decay (like trees without leaves, dead grass, etc.)
We’re sure you could add to this list!
A simple philosophy lesson – the self-fulfilling prophecy of our expectations
 Sometimes, what you expect is what you get.
If you approach a shoot with the thought that the environment is ugly, you end up limiting what you are capable of creating.
When we receive those concerned messages from our clients, we always respond with reassurance that “everything will work out fine” and “your images will be beautiful!”
We have learned these things from experience, and know how to create great shots even in dull locations.
As we guide you through taking good portraits in ugly locations – just remember to open up your mind to the possibilities of the space you are working in, and don’t let the fact it isn’t immediately appealing (like the entire country of Iceland) put you off just yet.
10 Things to Do and Look for When Shooting Portraits in Ugly Locations
It’s the day of your portrait shoot, and you’re already less than thrilled about where you will be taking these photos. You don’t want to come across as being unsure of yourself in front of your clients, but it’s hard to not be a little nervous on the inside. They pull up to the parking lot, and you go to greet them. Now what do you do?
With these tips, you will be able to better come prepared, and learn how to guide your portrait shoot with more ease. Whether shooting a single person, a couple, or a family – these tips apply to all types of portrait photography.
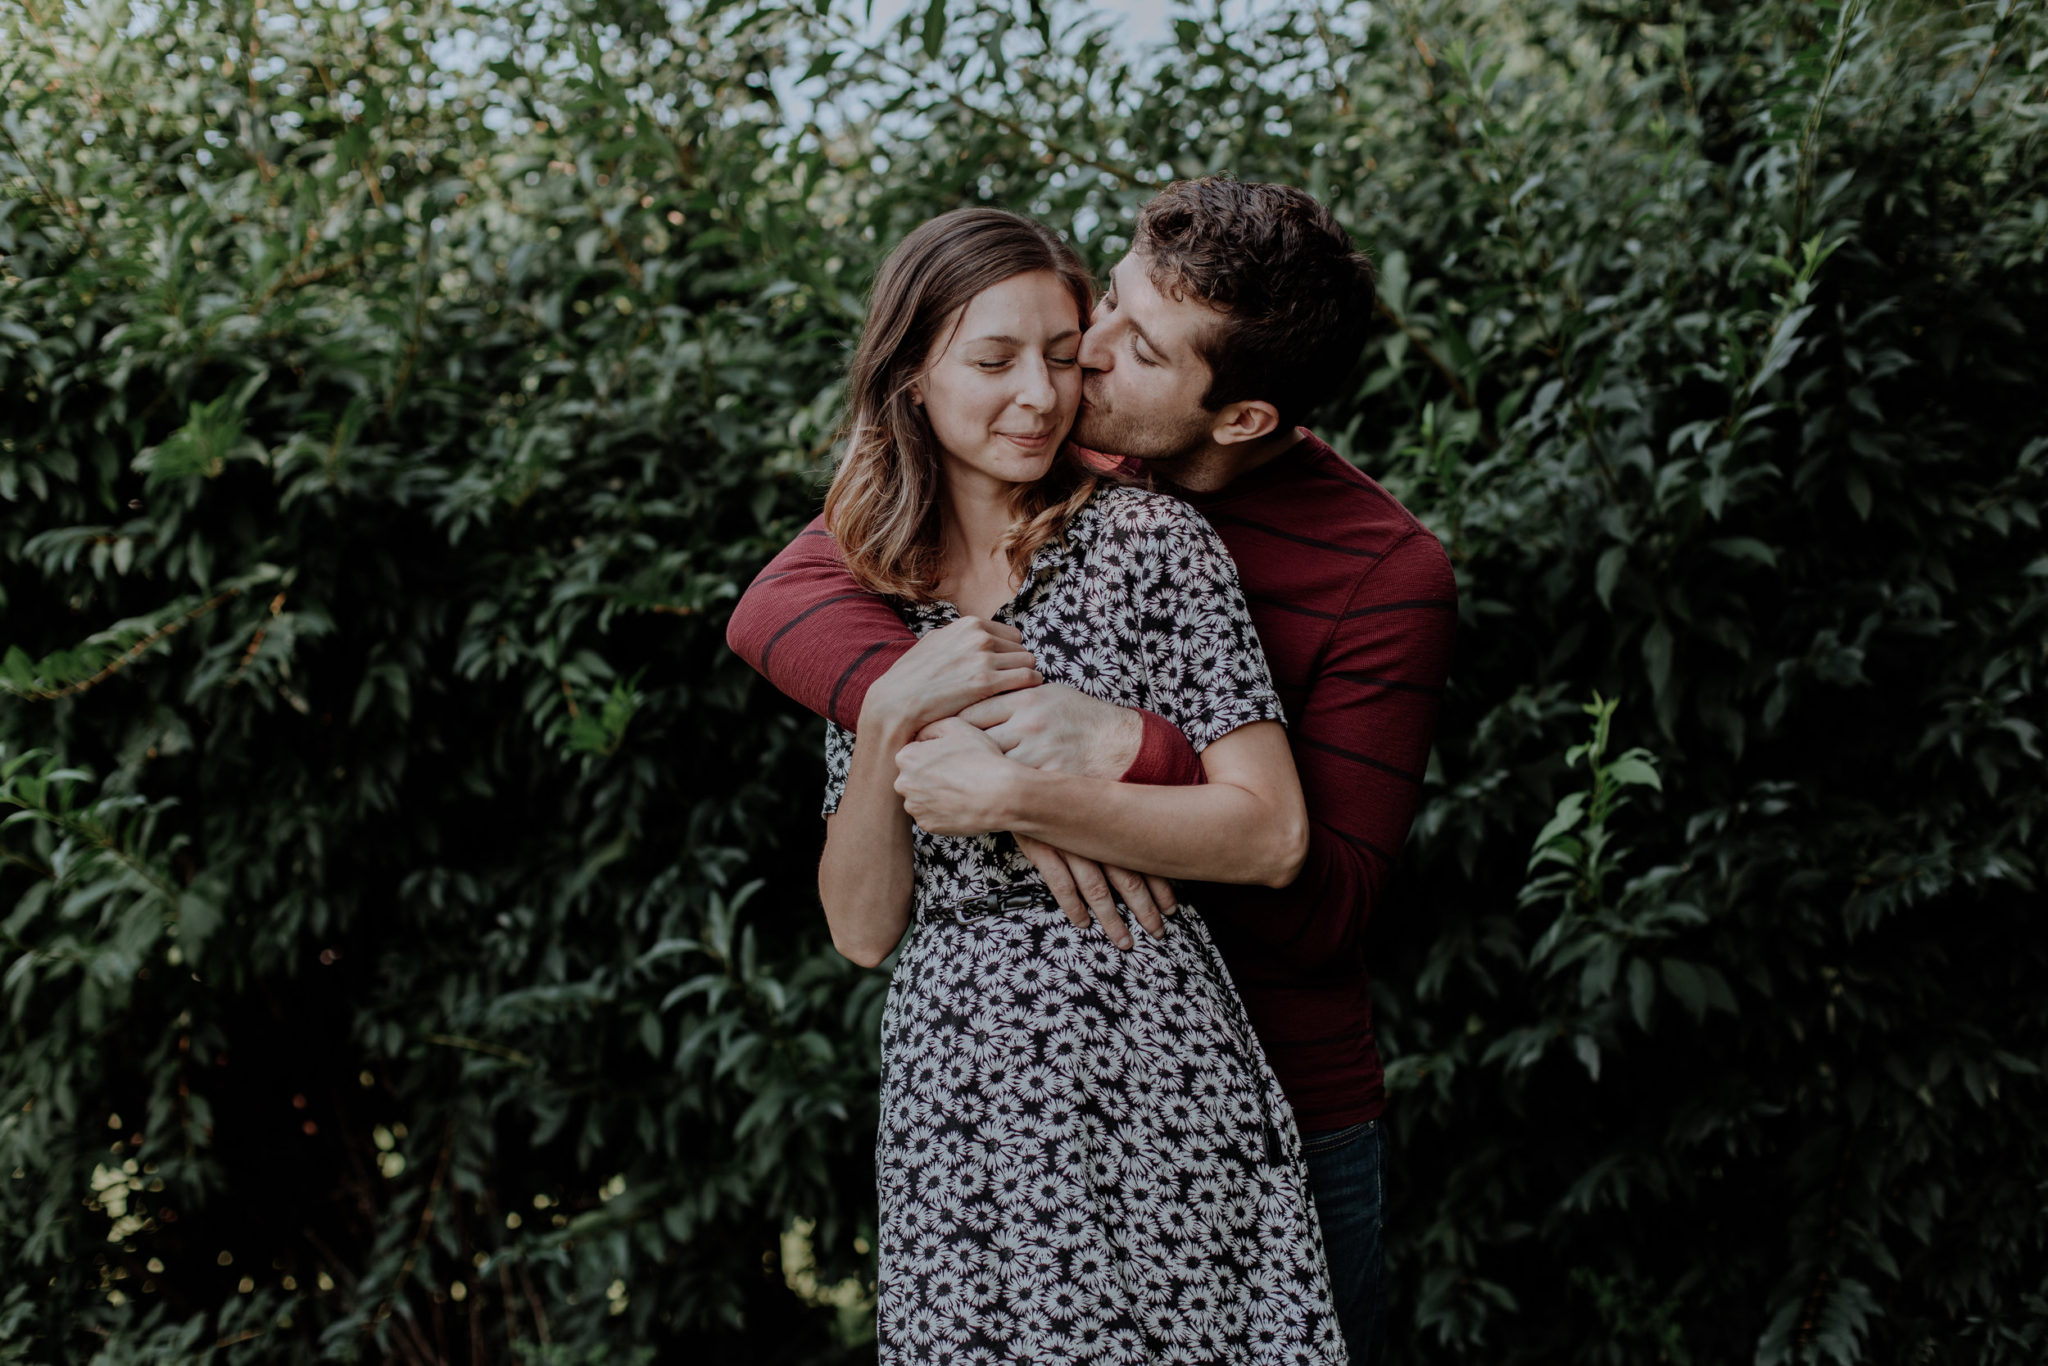
1). When it doubt, open your aperture.
One of our go to techniques when shooting portraits is leveraging our wide aperture camera lenses to create separation between our subject and the environment. With a high quality prime lens, you can create a significant amount of separation and replace it with a beautiful bokeh blur instead. Our favorite lens for doing this is the Canon 85mm f/1.2 II Lens.
2). Put away the wide angle lens.
Going hand-in-hand with the wide aperture tip suggested above, shooting with a wide angle lens is not likely to help create a flattering look if the environment is drab. Your 16mm lens should be replaced for longer focal length options. This allows you to create a tighter image composition, and limit the amount of the environment in the frame.
3). Look for splashes of color.
A little bit of color can go a long way. Photographers who went into Hobby Lobby to take portrait shots would often drift towards the floral section of the store. Some careful framing and they can eliminate the fact they are in a big box store altogether, and the color of flowers (even fake ones) can create a pop in the image. This is especially true when edited effectively.
4). Use contrast to your advantage.
Contrast comes in many forms. You can look at the contrast between light and shadow, the contrast between colors (put a person wearing a blue dress up against a solid black background – for example), and even the contrast between a beautiful thing and an ugly thing. One of the reasons why portraits in places that would traditionally be considered unattractive – like a retail store or an abandoned building – is because of the contrast between a beautiful portrait subject and the environment they are in.
5). Don’t disregard a simple backdrop.
We are not a huge fan of taking portraits in cities, but one thing we’ve started to do more and more when we set off to photograph in these types of places is looking for simple backdrops. A lot of times we’re just after a solid wall color (like a white brick wall) or a cool looking door. In more unattractive spaces, this is especially important because you can minimize dull colors, clutter, and so on.
6). Use props to add to the scene.
Portrait photographers can pull on a wide range of props to draw some focus. When shooting bridal portraits, a bouquet of flowers is an easy addition to help add some texture. You might also consider using a colored smoke bomb (if outdoors) or Atmospheric Aerosol to create a foggy and dramatic look anywhere.
7). Remember how photo editing can change the look of the scene.
One of the most important digital photography tips to keep in mind is how post processing will impact the look of your shot. While getting your exposure correct in camera is excellent, the specific look of your image can change dramatically when you edit the photo.
Using Lightroom editing presets is a great place to get started. Some we’ve used in the past include:
These days, we’ve created our own presets that we use consistently for all of our shoots.
8). Shoot during Golden Hour.
If shooting outside, the time of day you decide to take photographs will impact the look of your images. For portraits especially, shooting during mid-day is drastically different than shooting during the Golden Hour. Golden Hour takes place during sunrise and sunset, and is when the sun is low on the horizon, creating a natural softness to the light. The added colors that come with these times of day also add a little bit of moodiness and drama.
The great thing is these times of day can even make dull and unattractive locations really beautiful. In the landscape photography world, when we traveled out west to Death Valley, we saw first hand how a bland looking desert (filled with a lot of brown colors) can turn into something spectacular as the sun begins to set.
9). Adjust the space to work for you.
Sometimes, all you need to do is move things around to create a better space for photography. We experience this a lot when shooting weddings. Sometimes we go to shoot portraits in a hotel room, but it is a challenge because so much stuff is scattered all over the places. These are ugly environments that, frankly, just need a little cleaning. Don’t be afraid to move things around to get the shot you need. All you need to do is move things out of the frame, and you can showcase the best of the person you’re photographing and the space you are in.
10. Add water to saturate colors already present.
Colors become naturally saturated when water is present. Shooting on a rainy day, for example, is a great way to take advantage of this outside. On dry days or when shooting indoors, you might consider bringing some water along to saturate the environment a little bit. Of course, we don’t recommend doing this where it could cause damage.
The Big Box Store Photo Trend
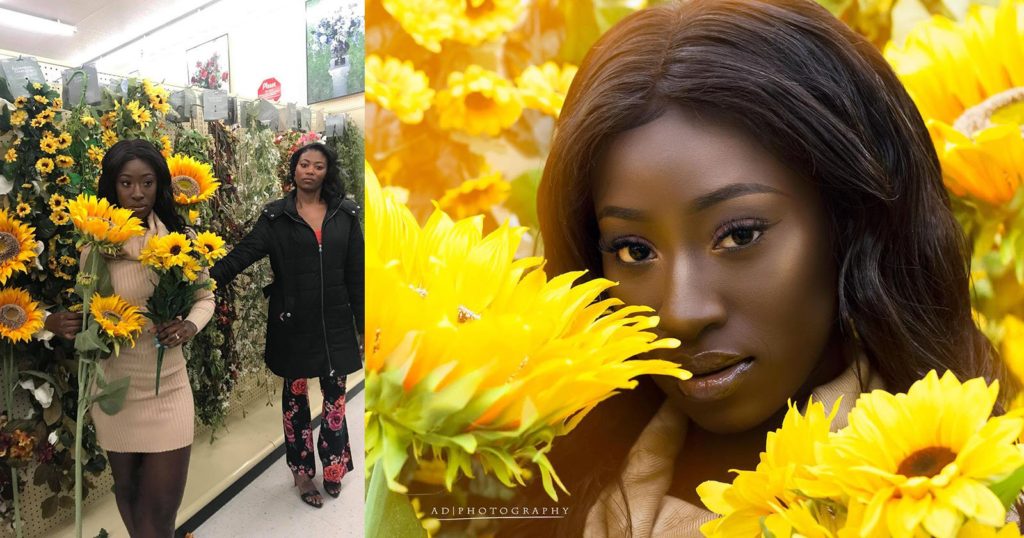 The above photo was taken by Adam Delane.
Another use case that springs to mind for us when we think about ugly shooting locations is the trend that went around on social media for a while. Taking portrait photos at Hobby Lobby, Target, Wal-Mart, Home Depot…the list goes on…seems to be a real challenge. Unless you are photographing someone really obsessed with one of these places (like a contractor who just really loves Home Depot…), you’d probably not want to step foot in one of these places with a camera in hand.
All of these stores tend to have a few things in common: clutter, too many people, artificial light…the list goes on.
By most standards, these would not be considered appealing places. In fact, some people might even call them “ugly.” But, as you can see, in the hands of a great photographer with some artistic vision, they can be used to great and beautiful effect for portraits.