How Do You Shoot Night Time Photos?
Last Updated: February 14th, 2020
There have been a number of times over the past few years where I’ve decided to go outside in my backyard, while it’s pitch black, with camera in hand and thought…”Maybe I can take a photo right now?” Maybe you’ve done the same…
In retrospect, it’s pretty ridiculous. I’m not sure what I was expecting, but when reviewing the preview images after the fact – they began as just being black, and as I gradually upped my ISO to ridiculous numbers like 32000, I could start to see some semblance of things on the screen – but the amount of grain in the images made them simply unusable.
So, with this little story in mind, I’m going to use this post to show you how to take night time photos the right way. I’ve already done the dumb things, so you don’t have too! 🙂
What is Night Time Photography?
The term “night time photography” can mean a number of different things depending on who you are talking too.
It could range from taking portrait photos during the twilight of Golden Hour and Blue Hour that follows, to capturing photos of the Milky Way through some midnight astrophotography explorations.
Because of this, our approach to writing about night time photography will be to look at some of the different topics (like those just mentioned) and providing a valuable education resource for any night photography need.
The remainder of this post will highlight photography at key points during the night. For our purposes, will consider night to be anytime between 1 hour before sunset (the Golden Hour time window) and sunrise.
- Twilight (Portraits)
- Twilight (Landscapes)
- Real Night (Portraits)
- Real Night (Astrophotography)
- Real Night (Light Painting)
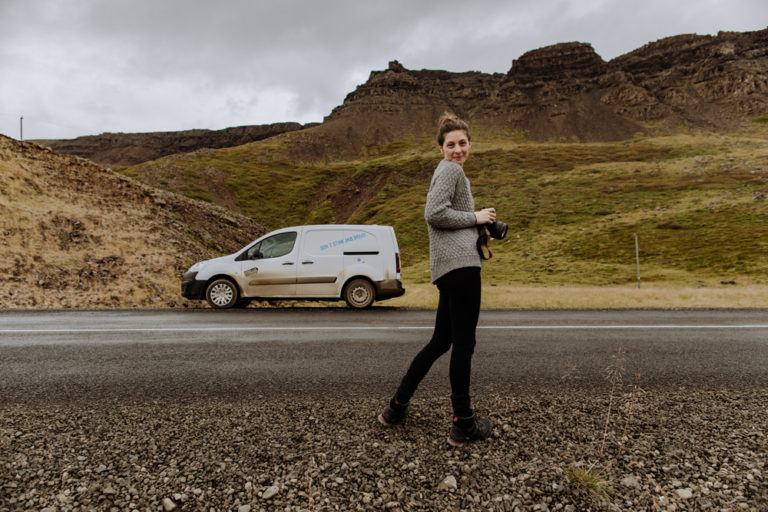
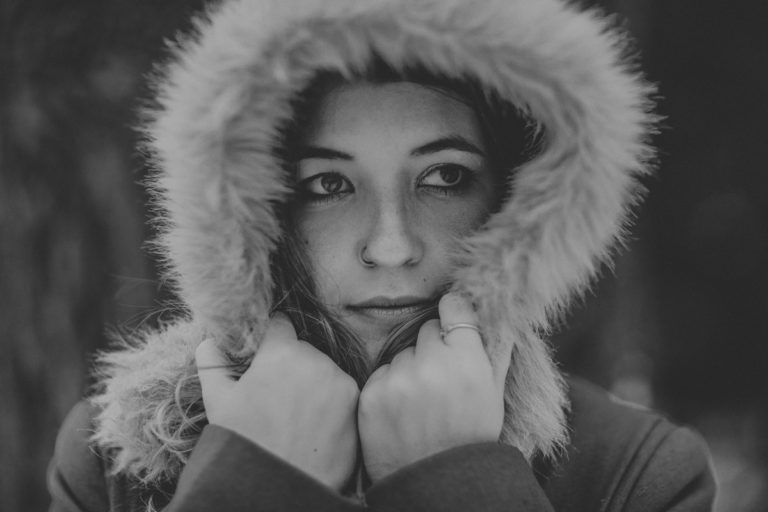
Night Time Photography Time #1. Portraits During Twilight
 Overview –
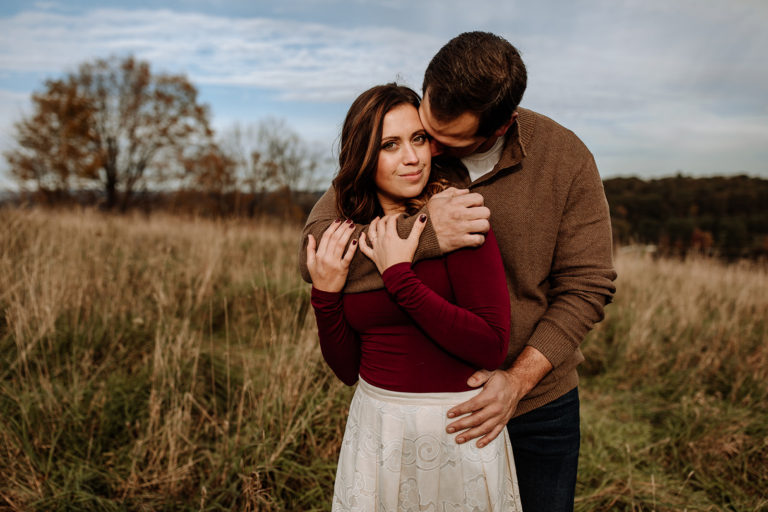
The twilight hours are actually the dream time for taking most types of photographs.
For portraits, it really is the perfect time to get images that are beautifully lit by natural light.
During the early portion of Golden Hour, portrait photography will be pretty much the same as taking these portraits earlier in the day. You may need to lightly adjust your settings, such as bringing up your ISO a stop or two, but for the most part – things are very similar.
As you reach the latter end of Golden Hour and start moving into Blue Hour, this is when the light becomes much less. If you are positioned in an area that is well exposed to the sun (such as an open field), you may be able to continue shooting with the natural light available (again – just adjusting settings to let more light into your camera).
If you are taking portraits in more shaded areas (like in the woods), this is the time where photography will start to become much more challenging. You will want to consider using lighting accessories like a flash or video light to bring some extra light into the scene.
Adding More Light –
One of the key components of night time photography is being able to introduce (or extract) light from a scene. With portrait photography, bringing in artificial light is really the best way to maintain good quality images while still taking in the magic of the twilight hours.
As I’ve already covered, early on in Golden Hour – you don’t really need to add light. However, some photographers do this anyway because of their aesthetic preference.
In some cases, photographers may also add an off camera flash that can be used to expose both the portrait subject AND the background (often the beautiful sky at this time).
As the time shifts into Blue Hour, external light sources become all the more valuable to light up your subject. This can actually be as simple or complex as you want it to be!
 Lighting Solution #1: Static Light
Difficulty Level: Easiest
The easiest way to add light is to get a video light or (our preference) a lightsaber light.
These types of light sources do exactly what they sound like – provide a steady beam of light that can be positioned on your subject.
Static lights most commonly will show up on movie sets and in stage productions. While the marketing for these products is oriented towards videographers in general, the use for photography is very similar and a practical solution for getting light on your subject when taking photos at night.
The only downside we’ve faced with this method is that the light can sometimes be too dim to be really useful. In general, you’ll need to have the light positioned very close to the subject. This is fine for most shots but can make getting wider portrait photos difficult unless you plan to just Photoshop out the light source later.
Lighting Solution #2: On Camera Flash
Difficulty Level: Easy
If you’ve used flash before, you are probably going to be most familiar with on camera flash.
There are really two types of on camera flashes: those built into your camera (normally on consumer level cameras) and those you buy separately and attach to the camera in a hotshoe.
A flash built right into the camera should almost never be used. This light is pointed directly at the subject and leaves a lot of unflattering looks in its wake. While this sort of thing might be suitable if you are just wanting to document things going on (crime scene photographers use it plenty!), for portraits you would to have more control of the light to make the end result more appealing.
Separate on camera flashes have a number of features that make them better.
The first being an ability to change the direction of the light so it can be bounced (when possible) – creating directional light that is instantly more appealing. In addition, you can also buy diffuser accessories that help soften the light and make it better for portrait work like the Gary Fong Lightsphere and Magmod Flash Kit.
The best part about on camera flash is that they are cheap (you can get a Yongnuo flash that’s compatible with most cameras for about 75$) and easy to use. The downside for night photography is that, unless you are in a location where you can bounce the light, you’ll be forced to point it directly at your subject to illuminate them. With a diffuser accessory, this still will look way better than the built in camera flash we talked about, but it’s still not the best solution.
Lighting Solution #3: Off Camera Flash
Difficulty Level: Intermediate
Off camera flash is the best solution for taking portraits during the night time hours. In the case of Golden Hour and Blue Hour, shooting with an on camera flash will allow you to keep the dramatic skies exposed for while highlighting your portrait subject.
While we wouldn’t go so far as to say that off camera flash is hard, it does have a learning curve. Getting the flash properly set up is probably the most difficult part – especially if you’re entirely unfamiliar with this type of equipment. Once it is, though, you will need to learn more about directional lighting to create great portraits. This is an area where you can experiment or learn through serious tutorials like can be found in Digital Photography School’s Fast FLASH for Portrait Photography.
Once your working with off camera flash, the quality of your images will drastically improve. For night photography like this, it’s a godsend!
For more help to find the best flash for you, check out our Recommended Flash Photography Gear!!
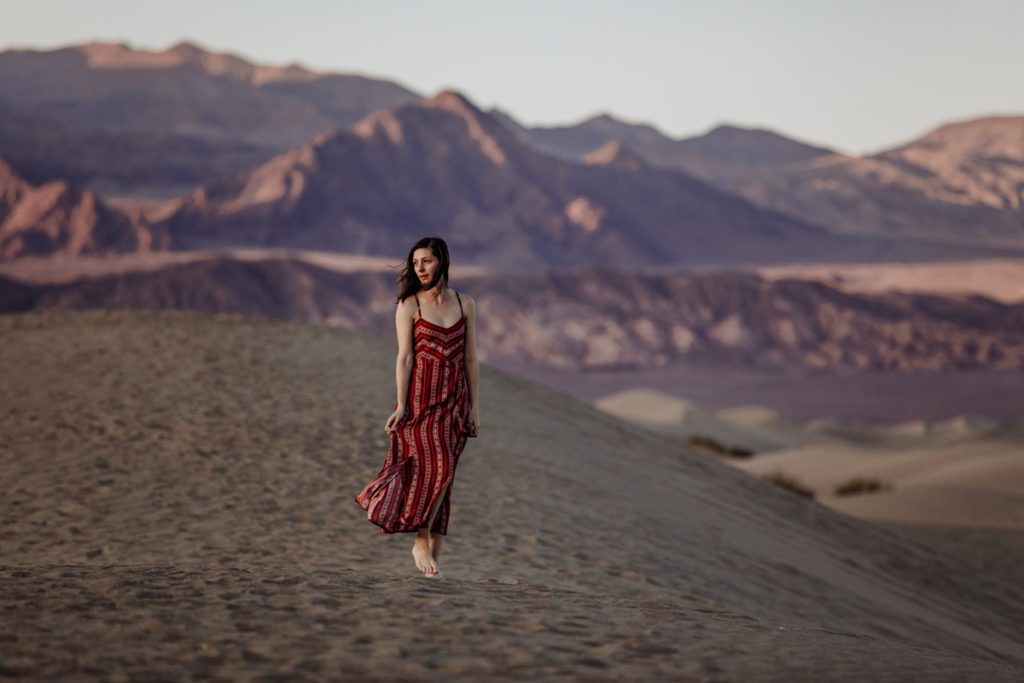
Night Time Photography Time #2. Landscapes During Twilight
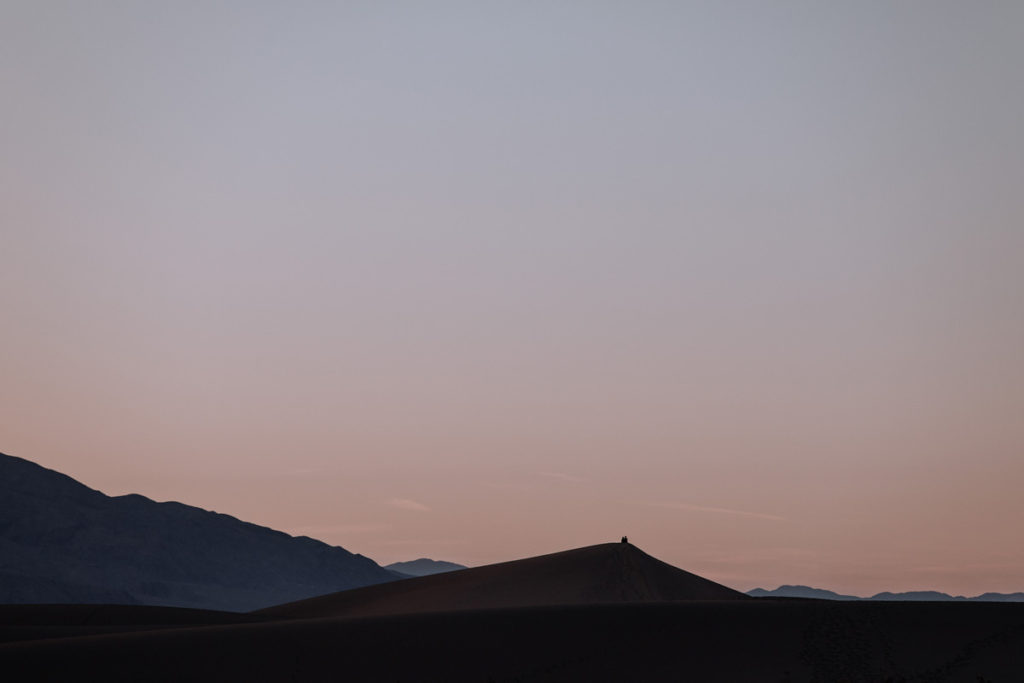 Taking landscape photos during twilight will result in some crazy beautiful images. There is nothing quite like a sunset painting the sky with vibrant colors to contrast with rolling hills, woods filled with trees, bodies of water, and mountainscapes.
In practice, landscape photography is going to be the easiest type of photography to take during the twilight hours. You only need to dial in your exposure correctly for the whole scene vs. portrait photography which requires dialing in an exposure that works for the subject AND the background.
You will end up using much the same settings as you would when taking landscape photographs at any other point during the day. We cover a lot of this in depth in our posts How to Take Good Landscape Photographs.
The most important thing is finding a good composition when it is still light out. We actually documented some of our own landscape photography experiences that involved hiking out long distances to find the ideal shots. Hiking in the dark for a mile is far more challenging than getting to the position earlier in the day.
Where landscape photography at twilight is easier from a technical standpoint, it is more difficult to get a good composition and actually find yourself at a good spot. It’s a trade off many will find worth it, though! 🙂
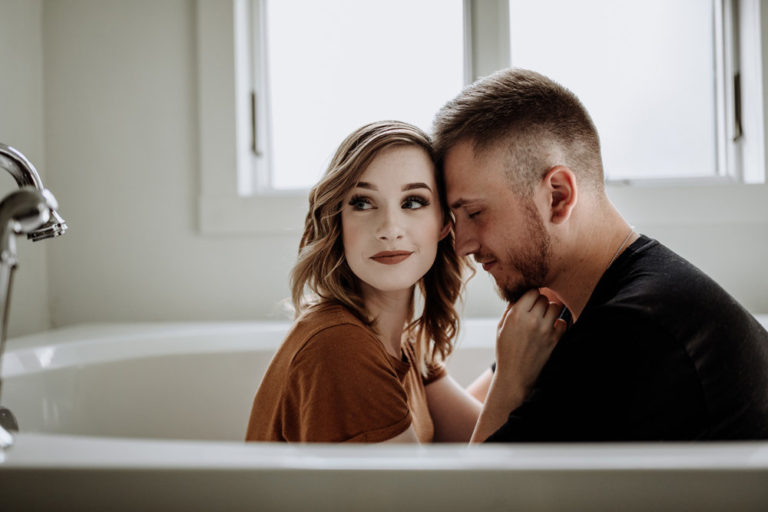
Night Time Photography Time #3. Portraits During Real Night
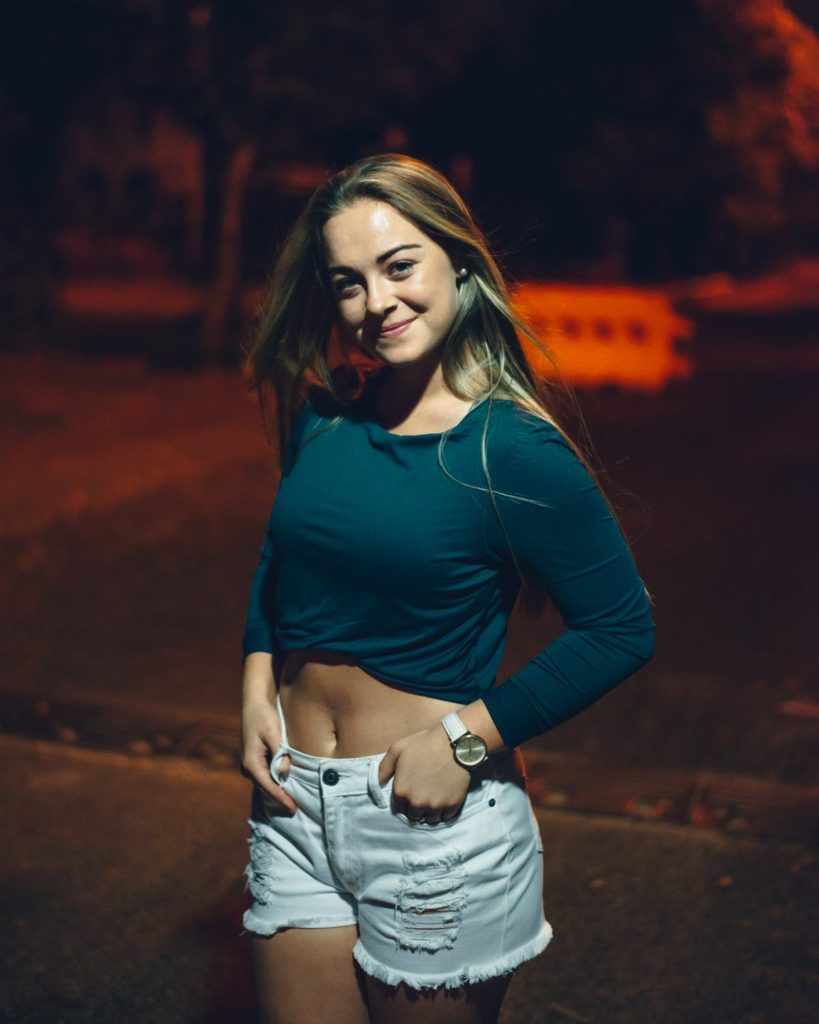 “Real night” is our fancy term for the time of day when it’s pitch black out.
There is no natural light at this time as the sun has gone down in its entirety. It’s at this point that artificial light will be the only way to take portraits.
As we discussed earlier, techniques for capturing good portraits will involve the use of flash or other types of external light sources. In metro areas, you may be able to also leverage ambient light coming from street lights, stores, and so on.
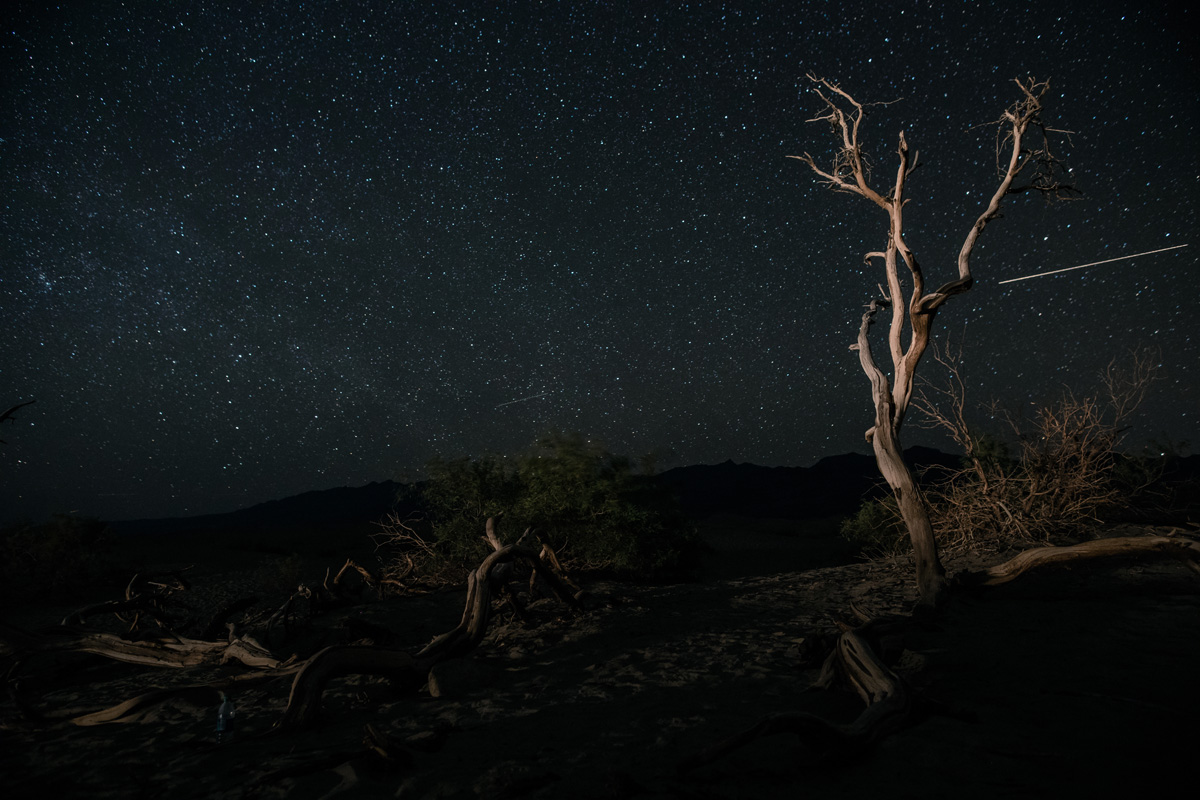
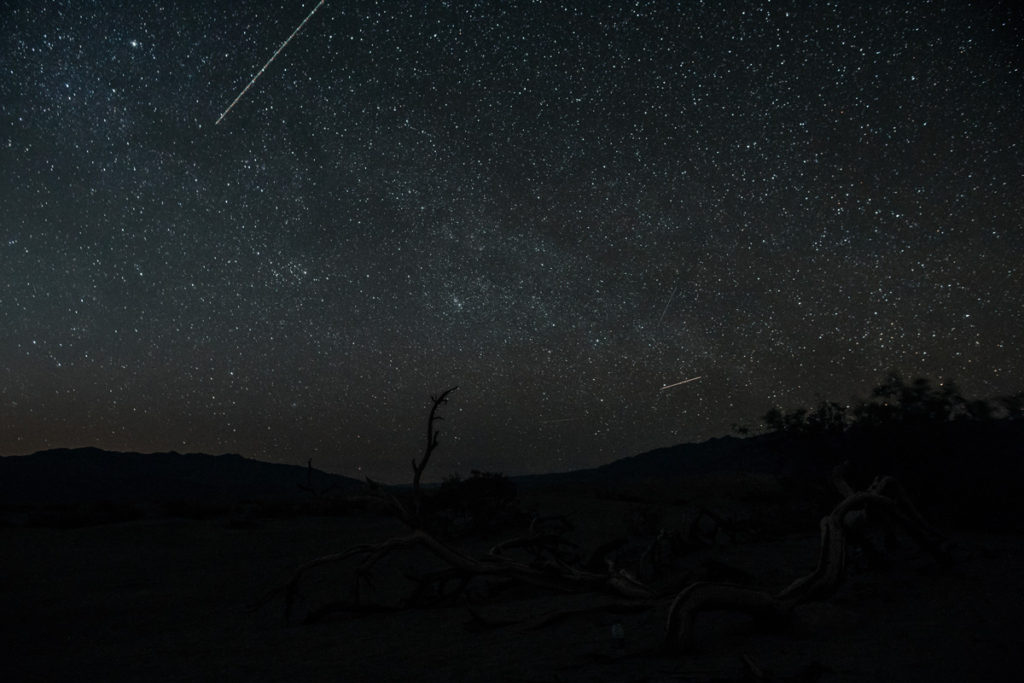
Night Time Photography Time #4. Astrophotography During Real Night

Overview –
When we think of “night time photography” – we really are thinking about astrophotography.
This is the one style of photography we’ve experimented with that required us to be out in the middle of the night.
Having any natural light, other than what is projected by the moon, stars, and other heavenly bodies, will quickly put a damper on your shots.
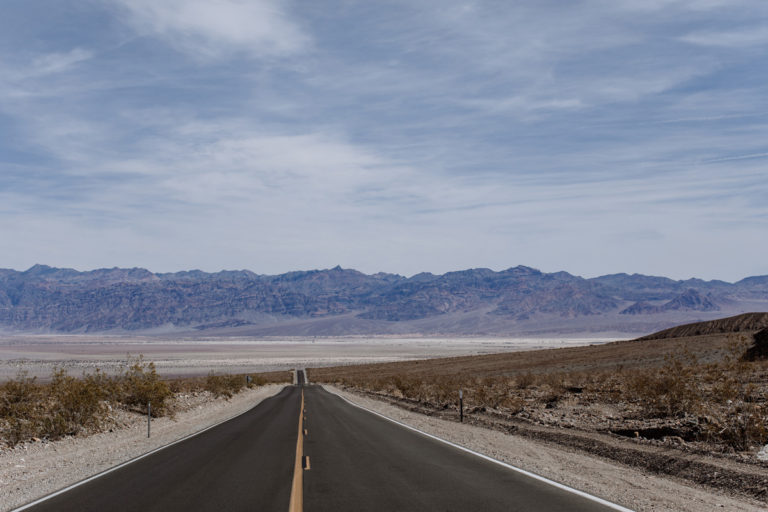
Astrophotography is an amazing discipline that involves some unique camera techniques to capture photos of stars, planets, the Milky Way, and so on. Our best experience with astrophotography was in the desert sand dunes of Death Valley, where we saw the sky light up in a full display thanks to the lack of pollution in the area.
As we live in a metro area ourselves, we had never realized what we were missing. It turns out that the view of the sky is the #1 reason why we would return back to Death Valley – which is no small feat considering how tough of a place it is to be in during the daytime.
How to Take Astrophotography Pictures – Starter Tips
 Our experience in Death Valley was a huge hands-on learning experience for us. We did a lot of reading to prepare ourselves for taking these pictures, but no amount of self-educating will completely prepare you.
There are a few key takeaways that came from our experience that will help you to take the night sky photos you crave!
1). Have the Right Gear for the Job
While we do believe that gear isn’t everything, for astrophotography it is actually more important than normal.
The reason for this is because your equipment needs to be able to perform well in the absence of light!
Unlike pretty much every other type of photography where you can get by with a starter camera if you throw a flash on to brighten up the scene, with astrophotography you will be lighting things up by using a long exposure (more on this shortly!).
There are 4 pieces of gear that will come in handy the most:
- A camera body that can perform well in low light (ie: have good higher ISO performance)
- A wide angle camera lens with a wide aperture – a lens between 8mm – 35mm that can shoot at f/1.0 – f/2.8 would be ideal, though you can get away with using f/4 if you can compensate with a higher ISO
- A tripod so you can stabilize your camera – this is an essential for astrophotography
- A remote shutter release – as the name implies, this is a little remote that you can use to take pictures without pressing the shutter button on the camera. Using this will allow you to eliminate any camera shake that would result from pressing the shutter yourself (even a small amount can ruin a photo like this!).
- A sky tracking mount – this is setup on your camera and tripod to move ever-so-slightly while you take your photo to compensate for the rotation of the planet. This is more of an optional purchase – especially if you are a novice.
If you need some recommendations, we put together The Astrophotography Buyers Guide where we document all the must have equipment to take great astrophotos.
2). Get in Position Early
We hiked about 30 minutes into the sand dunes at Death Valley during the twilight hours. By the time we got into position, we had hardly any light to work with as we situated our camera settings and dialed in our focus.
This is a very simple tip, but one to take to heart so you start off your photography session on the right foot!
3). Dial In Your Settings
To take great astrophotography, you need to use the right settings. As with most types of photography, there is no one size fits all – but you should start by using the following settings:
- ISO: 400-1600 (or more)
- Aperture: The widest aperture your lens will allow – f/4
- Shutter Speed: 30 second exposure
- White Balance: Set to Daylight (approx. 5500 Kelvin)
4). Lock in Your Focus
The single hardest thing about astrophotography is locking in the focus.
During the day, focusing is easy because you can see what you want to focus on. When using auto focus, you will get a signal in the viewfinder or hear a noise from the camera when focus has been attained. With astrophotography, you don’t really get this type of response from your camera – so focusing can feel more like guessing unless you know how to do it!
There are a few different methods, all of which work well:
- Set your camera lens to infinity focus. Most camera lenses can be switched into Manual Focus (MF) mode – start by doing that. Then, rotate the focusing ring to the infinity symbol. Lock in your focus and take a few test shots to verify it’s looking sharp.
- Use Live View to focus on a bright star. Most digital cameras include a Live View feature where you can see the environment around you on the LCD screen instead of through the viewfinder. When focusing in the dark, this is very helpful. While in MF mode, watch the screen as you set the focus to the brightest object (a star or the moon work well). Once everything is looking crisp, lock in your focus and take some test photos.
5. Understand the Purpose of a Long Exposure
Astrophotography is made possible because of the long exposure. This is when you set your shutter speed really low so it takes multiple seconds (even minutes sometimes!) to take a photo. For the maximum control, you’ll want to use your camera’s Bulb mode – which functions so you press the shutter button, and it continues the long exposure until you release it.
What this does for your photograph is collect light data over time. The flickers of light let off by distant stars, planets, the moon…all contribute to help brighten up the image as it’s captured by the camera sensor. It’s really an amazing thing when you think about it – astrophotography is not just photos of a single moment, but a collection of moments!
Night Time Photography Time #4. Light Painting During Real Night
 The last type of night time photography we want to talk about is one of our favorites: light painting!
The art of light painting really changes up how you will approach photography.
With almost any photography subject, you can see it. It’s one of the amazing aspects of photography – to capture what is right in front of our eyes. But, light painting flips this on its head!
With light painting, you will literally paint into your image with light. You won’t know exactly what the end result will look like until you check your images later.
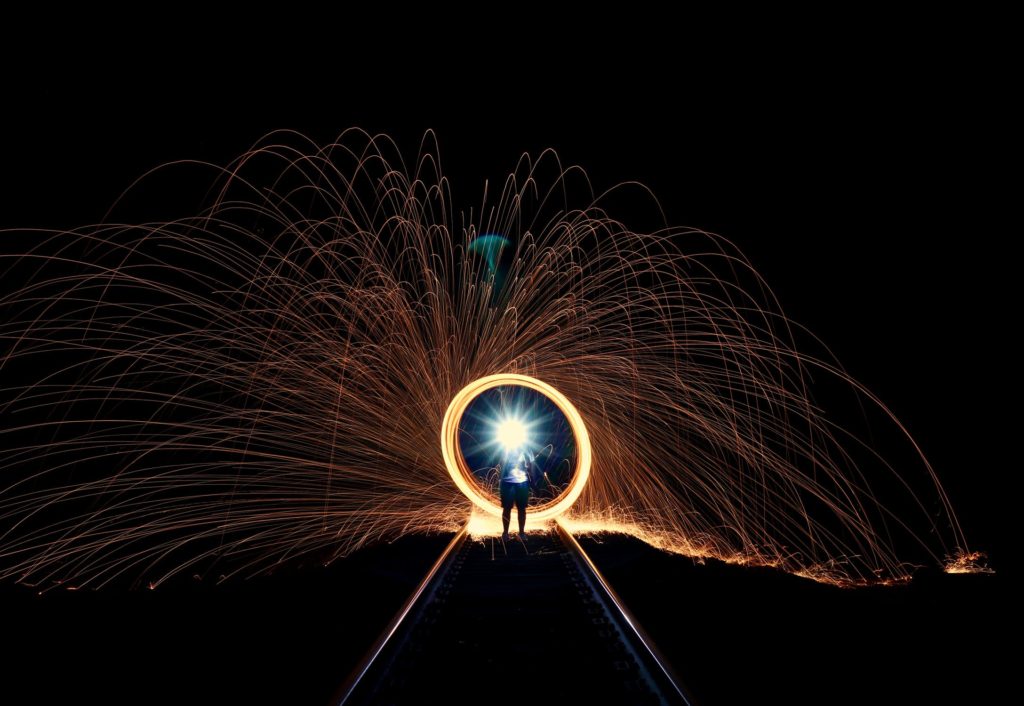
By setting up your camera on a tripod and using a long exposure, you can illuminate any subject you want using a light source. The resulting capture will end up having streaks of light, shapes, and so on that you actively have to add into the image.
To effectively light paint, your settings will be very similar to what you do when you want to take a picture of a starry sky. The real magic comes from what happens right after you click the shutter button.
Using a light source like a cell phone light, flashlight, steel wool, or a light wand designed specifically for this purpose – you will “brush” the light across your subject. Alternatively, you can run in circles or spin the light into shapes.
At it’s easiest, light painting can be a sort of circus act for you to experiment and have fun with it.
At it’s most complex, it can be an intricate artform where you have to carefully balance the amount of light and dark going on in your scene to create really interesting images.
Discussion
This post covered a whole lot to do with night time photography.
From the late evening hours to the middle of the night, you can be prepared to take these photos yourself.
So – did you learn something new? What are you planning to photograph in the night? Let me know in the comments below and let’s talk about it!!