Natural Light Photography: The Photo Industries Biggest Lie
Last Updated: February 14th, 2020
On the surface, a person who describes their style as a “natural light photographer” has most likely given some thought to how they want to brand themselves, but may be disguising a fear or total lack of technical ability to work with artificial lighting.
I have gone through countless portfolios and websites of photographers – particularly portrait, family, and wedding photographers – and have recognized a fairly new trend (as of the past few years) where these photographers have opted to describe their approach to photography as that of natural light. Part of the reason for this, I suspect, is because the words “natural light photography” have a great sound to it. It sounds authentic and raw, and might be to photography what words like “organic” are to the food industry.
While I am not looking to discredit any of these photographers, or even the practice of taking pictures in natural light (that would, literally, be dumb) – I do want to draw some attention to this recent trend of natural light photography being used as a simple branding trick that can end up providing potential clients with sub-par photography services if expectations are not explicitly set.
So, kind of like how good product reviews are used to inform consumers about the thing they are considering purchasing, I want to review the phrase “natural light photography” and talk more about why it’s a wolf in sheep’s clothing – or in other words – a (often unintended) lie.
I’ve described myself as a natural light photographer, too
 It would be disingenuous to call out “natural light photographers” and not call myself out in the process.
Early on in my wedding photography career, as I began to build my portfolio and establish my website and social media presence, I needed to find ways to sell myself as a photographer.
Through research, I started to identify things other people were saying about their approach to photography that made it sound compelling.
I’ve always been intrigued in branding methods used by businesses in general (even when they manage to annoy me in my personal life as advertisements interrupting my Pandora listening sessions do).
Out of all the things I’ve read and heard photographers use to describe their approach – natural light photography always stood out as a simple 3 word phrase that seems to denote skill, an essence of nature, and (honestly) – am I wrong to suggest it even sounds a little…sexy?
While I rode the curtails of natural light photography as a descriptor of my work for 6 months, maybe even a year, I eventually moved away from using it entirely. I realized that it just didn’t describe my style effectively – especially not for an educated audience.
In practice, many of the people I’ve photographed came to appreciate when I could work with the light available, but also appreciated my use of artificial lighting techniques (which require more effort and more skill) to create great results no matter the environment.
Throughout the rest of this post, I’m going to talk about what natural light photography is (and isn’t), and how to break out of the exclusive relationship with “natural light photography” and grow your confidence to create more consistent and better work no matter what.
What is natural light photography?
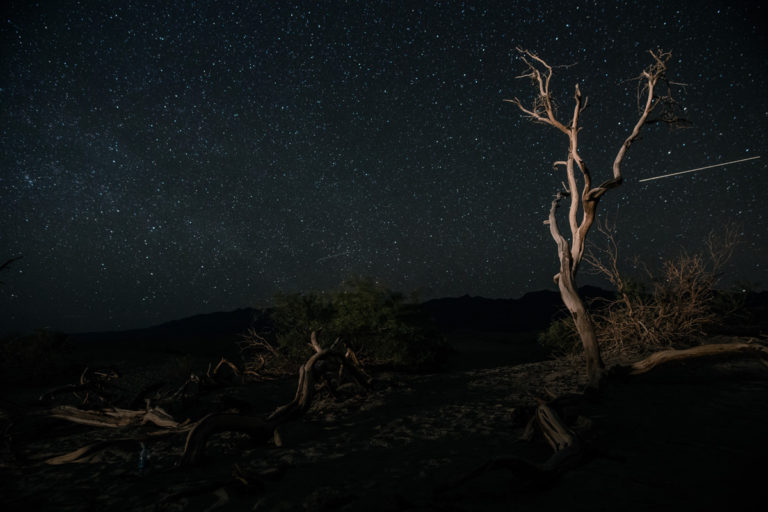
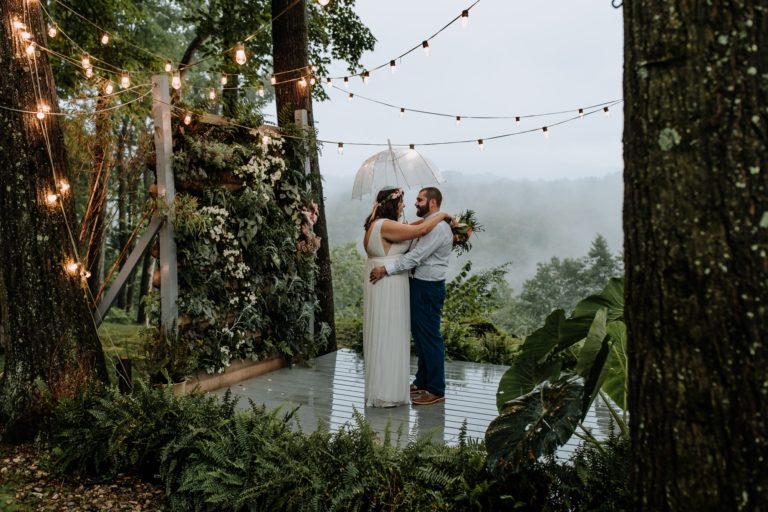
Natural light photography is photography taken with sunlight. Some people may expand their definition of natural light photography to also include ambient lights that occur in an environment “naturally” such as street lights, string lights, ceiling lights, lamps, and other lights one would normally expect in a particular space.
As you might imagine, natural light photography is representative of most pictures that are taken “in the real world.”
Photographers, whether they are professional or people just playing around with their smart phone cameras, frequently take photos in natural light. For this simple reason, the words “natural light photography” really comes to mean very little – it’s just photography by the light of the sun, the way man has done it since the first camera was created!
Natural light comes in different forms
One of the first problems with being a self-declared natural light photographer is that “natural light” comes in different forms, too.
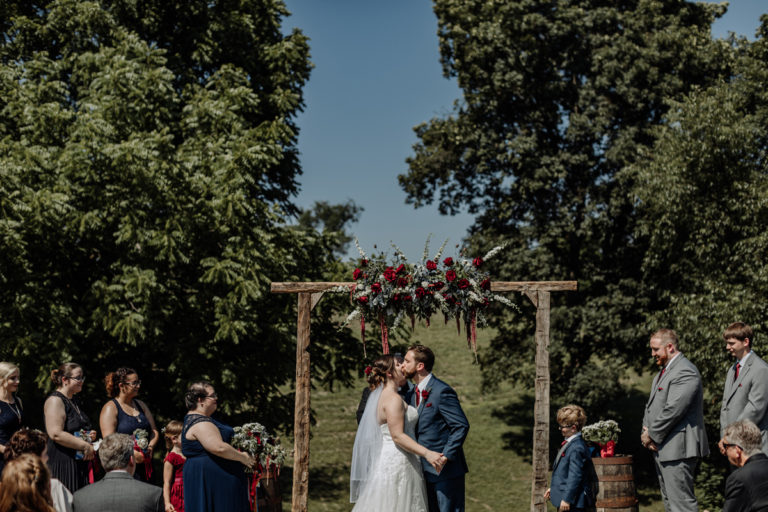
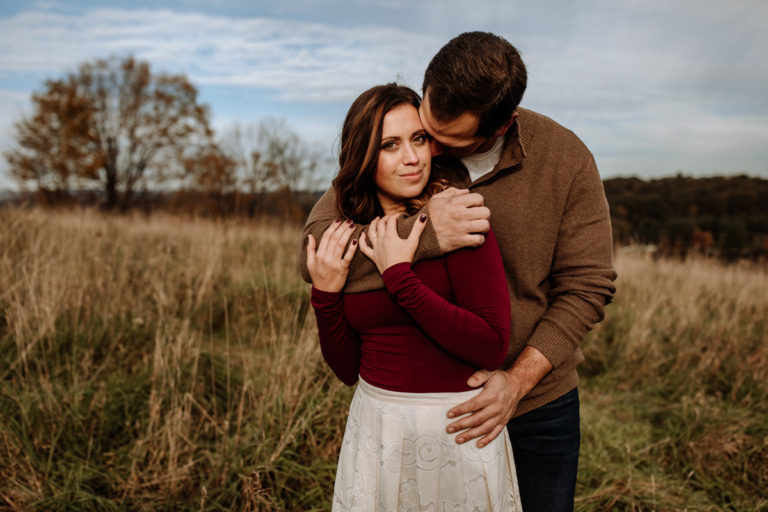
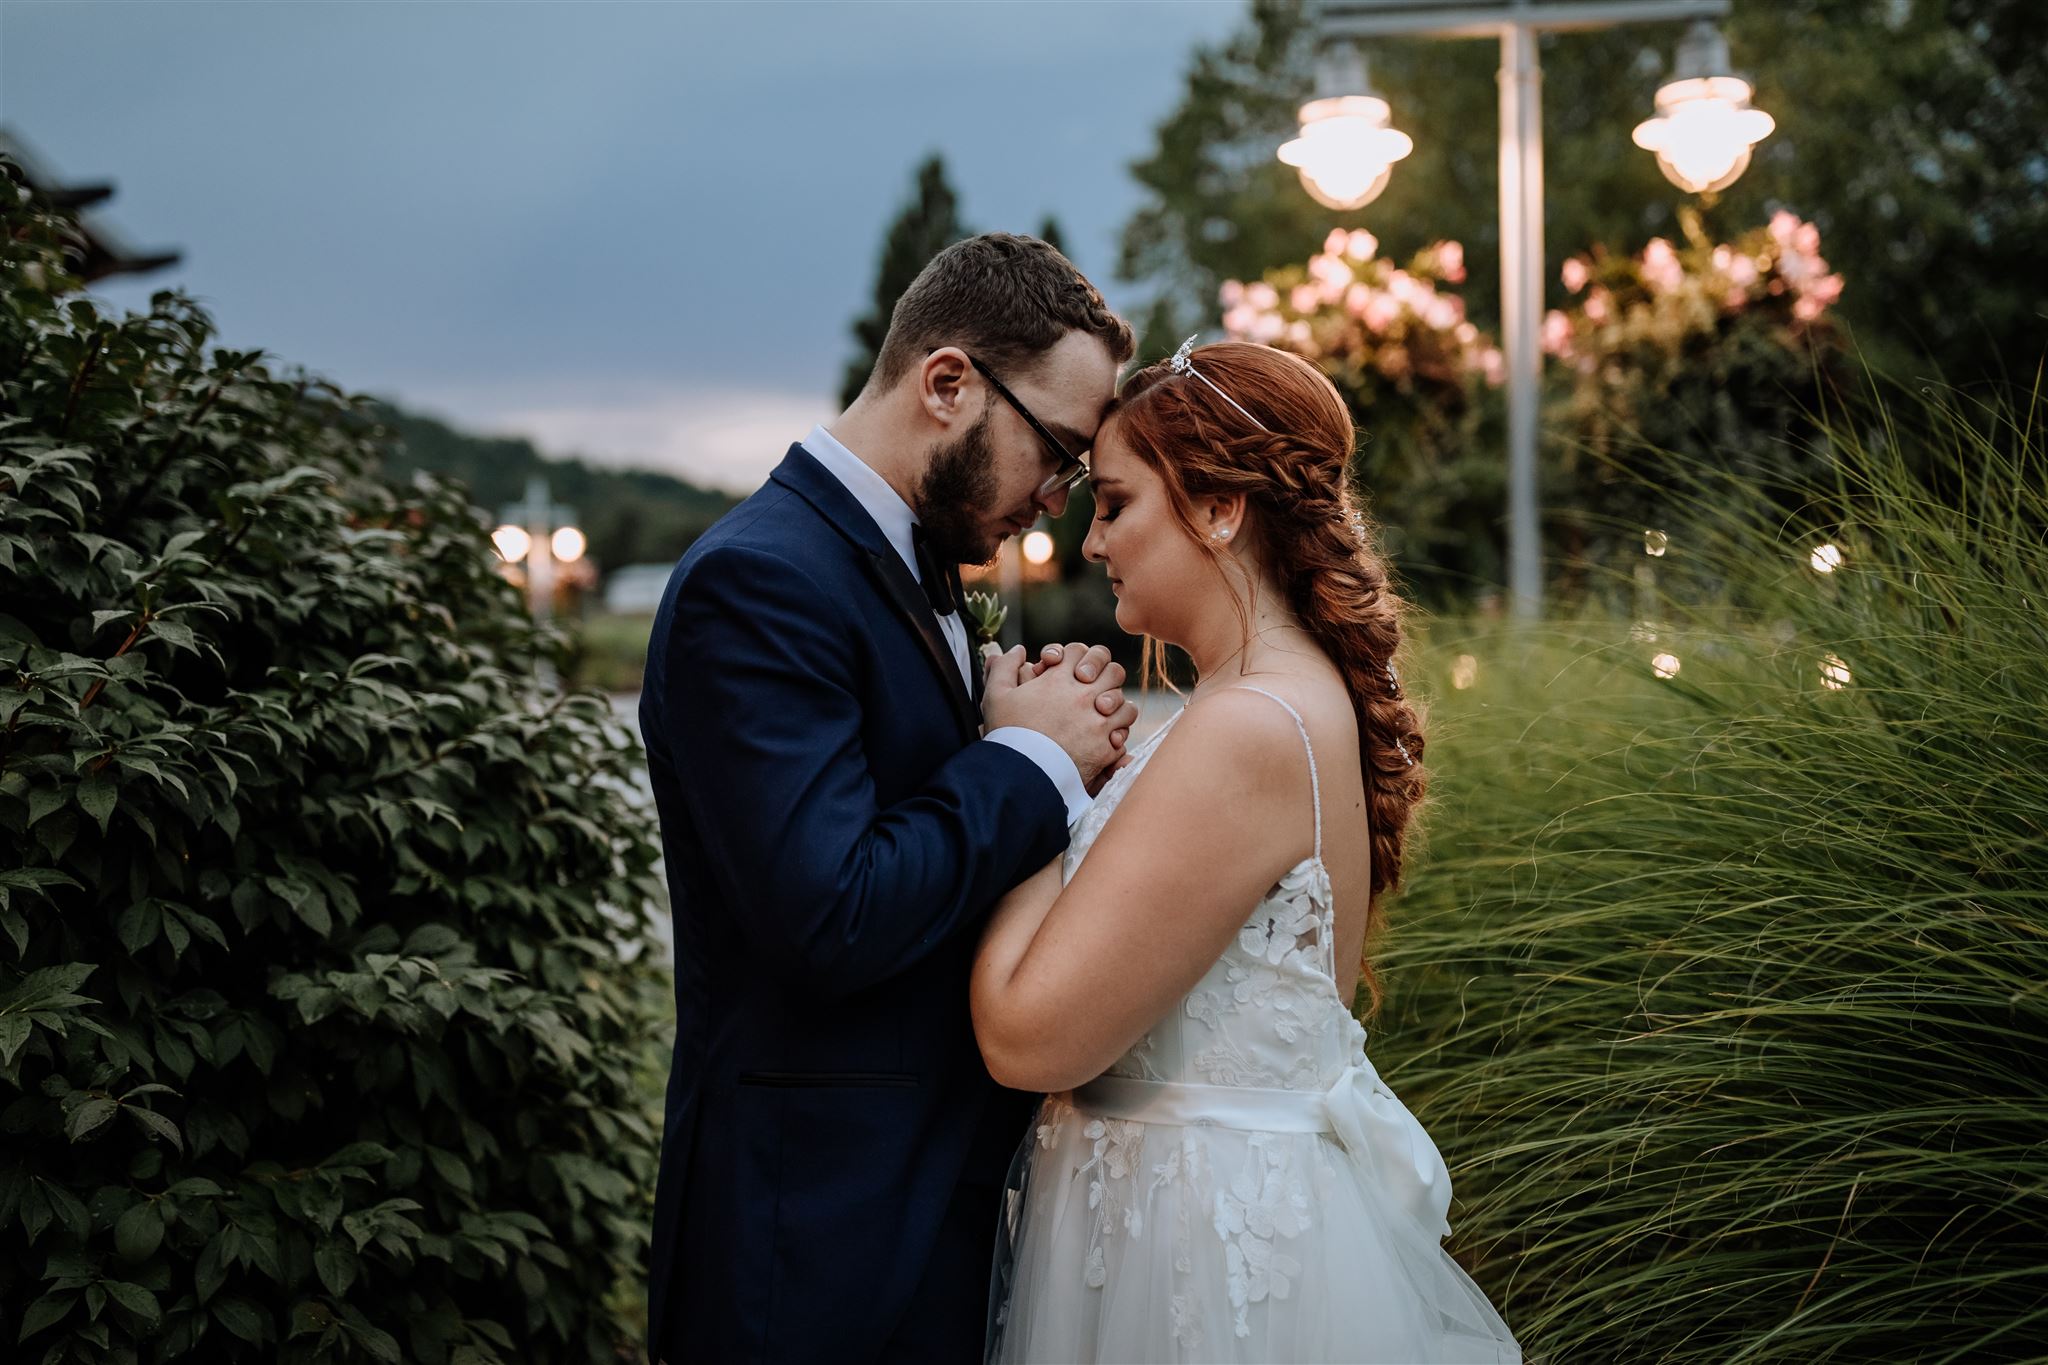
By and large, people branding themselves as natural light photographers tend to give precedence (as we all do really) to ideal light conditions that can be found during Golden Hour or throughout the day on overcast days.
It’s this little reality that plays into my belief that “natural light photography” is just a branding phrase that indicates less technical skill to handle the more difficult approaches to lighting including the ability to work with harsh sun light.
In my own experience as a portrait photographer, I highly prefer shooting during Golden Hour not just because I feel it looks better thanks to the softness of the light, color on display, and ability to focus more on posing methods and prompts – but because it is genuinely easier to work with. Having shot beach portraits at noon before, it’s not impossible, but it is more challenging – and it is made easier with artificial lighting in tow.
The Power of “Unnatural” Light in Photography
 “Artificial” and “unnatural” are two words you likely never want to hear. Certainly, I don’t walk into a grocery store and seek out these terms on a cereal box (but I do know full well that most food products have plenty of artificial additives).
In photography, the idea of using light that is being created by our own gear is both extremely common, yet very frightening. This is especially true for new and beginner photographers.
Think about it – many photography tutorials we read and watch online will inevitably cover flash photography. We’ll not only hear about it, but be shown beautiful results from photographers who took the time to learn how to control their artificial light sources.
As I expanded my gear kit to include some on camera and off camera speedlights, as well as an assortment of continuous lighting options, I learned that I really could take control of the images I wanted to produce by having access to good light no matter what location I was stuck in.
While the need for this type of set up may not feel 100% necessary for all styles of photography, as a wedding photographer – I’ve been exposed to working in a wide range of environments that I often do not have direct control over or even an ability to check out for “good photo spots” beforehand. When I roll up to a cramped hotel room with gross indoor lighting and a small window, I’m not going to rely on the unsightly “natural light” available there. I am going to bring the light I need with me.
It’s these types of moments where artificial light is most beneficial.
I like to keep my photography as simple and natural as possible, but in spaces where there is no other good option available (and taking a poor quality image is not a good option) – it is nice to have knowledge of artificial lighting in order to create a good photo regardless of the space.
How You Can Become a Master of Light
Being real – it’s ultimately up for you to decide whether or not you want to put in the work to learn how to use artificial lighting in your own photography. I’m not judging either way – but for those who want to go beyond hiding behind the natural light photography moniker, I’ve put together the rest of this post to show you how. The good news is – if you’re good at working with natural light, you will simply be building on your knowledge to make sense of controlling light you produce.
Artificial Photography Lighting 101: Flash vs. Continuous Lighting
Flash photography works based on strobe lights. You press the shutter button on your camera and POP goes the flash. There are different types of flashes and set ups, which allow you to get more complex levels of control.
For those just starting out with flash photography, my recommendation is to start with a simple on camera speedlight with an adjustable head like this (a $50 Yongnuo flash). When shooting indoors, you can shoot the flash towards a wall or ceiling (creating a “bounce”), which then provides directional light that is more flattering to the subject. It also helps eliminate that “deer in the headlights” look many people associate with flash photography.
Continuous lighting is another option that is, frankly, simpler to master. While there are some caveats (again – covered in our larger post on this topic), it is an easy solution for taking good quality photos in low light and dark spaces. For the average natural light photographer who may be scared to set up a flash, this may be the route to go just because it’s as simple as clicking an ON button and illuminating the subject. I regularly use an ICE light because it is easy (…and secretly…because it looks like a lightsaber).
How to Make Artificial Light Look Natural?

I’ve seen my share of red eyed flash photos of people looking like they were just entering the prison system – and I’ve even seen plenty of “pro photos” taken with excessive flash that, while maybe technically “okay”, seemed to lack the richness of color, contrast, and other features that makes fresh sunlight so appealing to photographers.
The problem with this pre-conceived notion is that, even for someone just starting out in flash photography, it’s easy to correct!
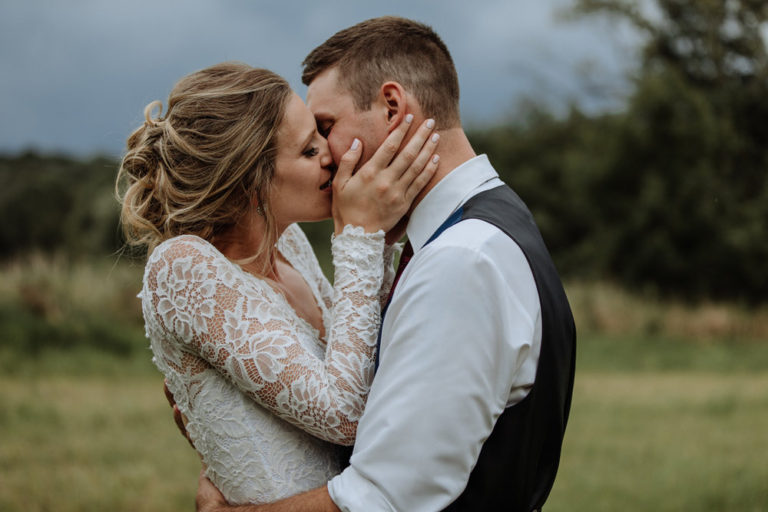
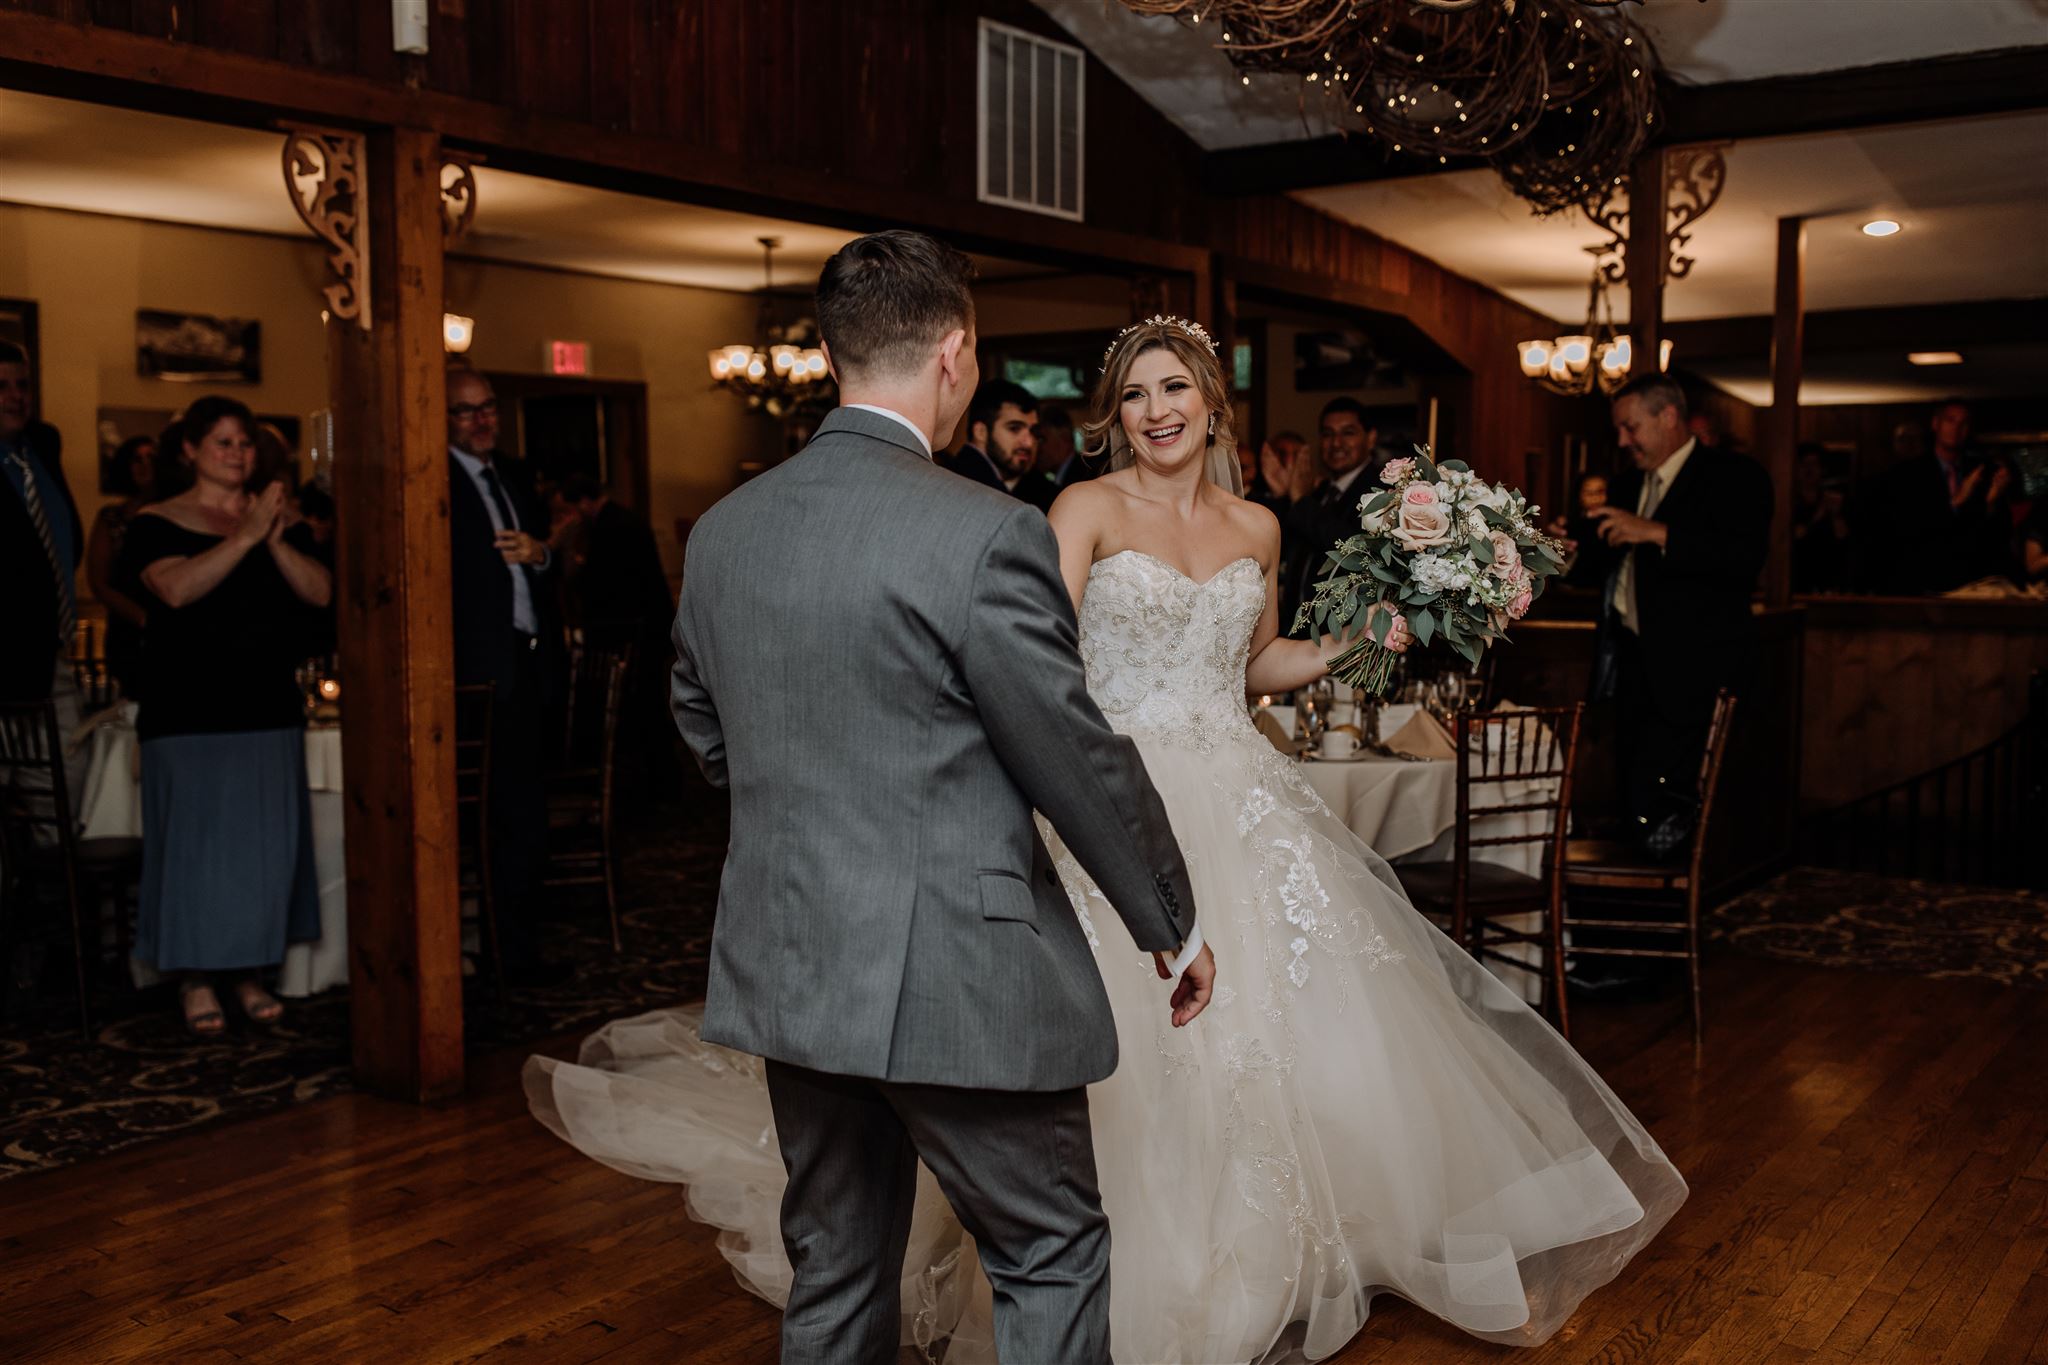
This reminds me so heavily of a recent meeting I had with a prospective wedding photography client (who ended up booking with me). We were reviewing a few full online photo galleries so I could show her what my work looked like throughout an entire wedding day. Towards the end of our meeting she made the comment, “I really love that your photos don’t even use flash!” There and then I had to correct her…”I do use flash, I just aim to use it naturally and try not to let it steal the show.”
A few starter techniques will make a world of difference in your photography that will allow for you to create images with flash that still look natural. Here are a couple flash photography tips I apply at all of my shoots:
6 Rapid Fire Flash Photography Tips
1). Never point the flash at someone directly
The biggest mistake people make when using flash is pointing it directly at their subject.
While this may not matter so much for product photography, in portraits – there is nothing worse than being blinded by a flash.
This is such a common issue because some cameras include built in flashes that can not be controlled. Instead, by design, they are made to simply illuminate things in front of the camera. While this will allow functional pictures to be taken, those images are going to be less than ideal for anything greater than simple personal documentary photography.
2). Use directional lighting techniques
 So – how do you make flash look good?
When light hits your subject at an angle, it gives more depth. It not only creates a more interesting looking photo, but it also showcases the subject in a much more interesting and dynamic way.
The basic approach to adding directional lighting by using a flash is to simply bounce your flash off of ceilings or walls. By adding multiple flashes, you can create even more complex scenes.
One approach I like to keep in mind when shooting portraits (in particular) is to try to replicate natural lighting situations that I love.
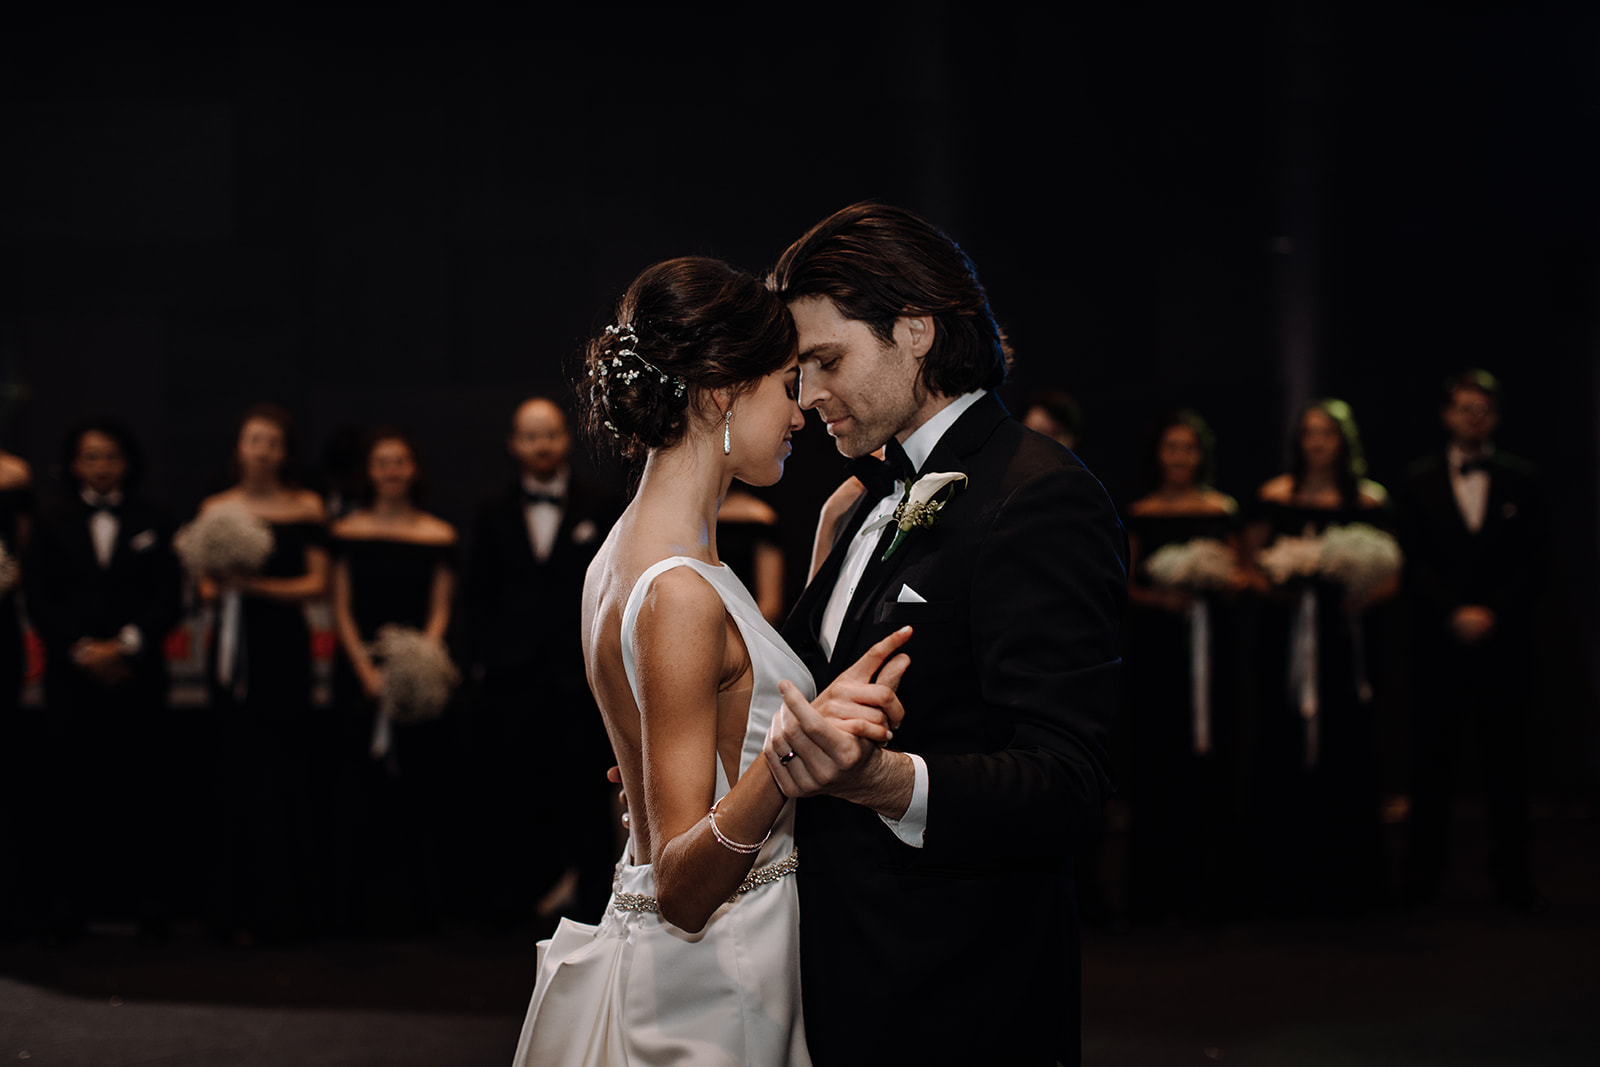
For example, when shooting portraits indoors, I really like the look of natural window light. In these types of shots, I end up with portraits that feature half of a person’s face (the side facing the window) illuminated by the light, and the other half (the side away from the window) cast in shadow. Keeping this in mind, I can set out to replicate this look using a flash by simply positioning my artificial light source(s) in the same way.
2 simple set ups to replicate the window lighting effect:
- On camera flash pointed towards a wall. Let’s say I was stuck in an enclosed room to take a portrait. Without a flash, it would be very difficult to get a good looking photo because of the absence of natural light. I could set up my subject in the room a few feet away from a wall, and setup my on camera flash to aim at the wall on my right or left. When I take the picture, the flash will fire and bounce off the wall, coming back at my subject and casting one side of their face in highlights and the other side in shadow. My flash settings will need to be dialed back to get an effect similar to natural lighting as too high of a setting may still bounce throughout the entire room and illuminate the entire subject.
- Off camera flash set to the immediate side of the subject. Off camera flash in this situation will provide a higher level of control over the light because, in the on camera flash scenario, there will be a lot of unnecessary light being added into the scene. With an off camera flash, I could set this up parallel with the subject (or up to a 45 degree angle) to illuminate one side of their face. With the right settings and a diffuser, replicating window lighting is fairly easy to do.
3). Start using an off camera flash setup early
It’s easy enough to make the argument that on camera flash is easier to work with (whether you’re a beginner or advanced photographer) – and this mostly comes down to the simple fact it’s attached to your camera.
Off camera flash can come across as very daunting – in part because it’s this device that is disconnected from your camera.
Being pragmatic for a second, I can really understand this – both because I experienced the same uncertainty and because I see a lot of other photographers never give off camera a shot.
This isn’t helped by the amount of complicated to use flashes on the market – for a non-techie just wanting to take pictures, words like “transmitters” and “receivers” just sound like a huge mountain to get over. While I started on gear I found to be pretty convoluted to work with, I upgraded to a Profoto A1 (used both as on camera and off camera flash), which simplifies this experience significantly. If you really want to get into flash photography, it is the way to go for ease of use and quality. Because it is “up there” in price, you may even consider renting it before buying.
Why do I suggest getting into off camera flash quickly? Because working with off camera flash will help you to better visualize how you are using light to shape your scene. You will be less constricted in space, too, and illuminating a subject dozens of feet ahead of you really showcases the power of artificial light in photography.
4). Dial back the power of your flash in Manual mode
I have long considered flash power to be an extension of the Exposure Triangle for flash photographers. While every photographer will need to make adjustments to ISO, aperture, and shutter speed (though shooting in auto camera modes will take care of this for you), you can also customize the power of the light being outputted on the flash.
In my experience, most of the time I like to reduce the shooting power of my flash. This reduces blown out highlights, and allows me to light a subject with a softer and more gentle light. It also plays a huge role in my speedlight battery life – allowing me to shoot for much longer.
Related post: Find the Best Batteries for Your Speedlight – Our Helpful Guide
5). Use a flash with good Auto (TTL) mode
Many flash units available include an Auto (or TTL) option. I consider this to be a really essential thing when it comes to flash photography.
Unlike regular camera settings that I prefer to be able to have total control over, flash systems have become fairly advanced that they can take really consistently lit images over and over again automatically. The flash artificial intelligence has been designed to factor in the level of light in the space, proximity from the subject in focus, and other things that, upon press of the shutter button all the calculations have been made and results in a burst of light that just works.
I will admit, TTL mode can vary from great to poor depending on the flash unit you are using. This is why it is really valuable to read good flash equipment reviews before deciding to purchase. And remember…even an excellent choice may not be perfect for shooting something like studio portraits that maybe require an extra level of consistency that could just be manually adjusted.
6). Use flash modifiers to control the light

The one downside about flash photography, especially when working with living subjects such as in portraiture, wedding and event photography, is that it can be harsh to our eyes.
In some environments, the burst of a flash can fit in – such as during a wedding receptions lively dance floor filled with DJ lighting and a lot of energy. In most others, it’s jarring.
Flash modifiers like a diffuser help to soften the light – making it easier on the eyes, and (even more importantly), help to shape the light for photographic use. That same diffuser also helps to produce a more flattering light for portraits.
A diffuser is really the #1 flash modifier any flash photographer should be using, and one consistently great choice among photographers is the Magmod Modsphere.
If you really want to advance your flash photography game, you will also find yourself exploring the larger world of modifiers including gels, umbrellas, grids, and more down the line.
Conclusion
Natural light photography is often preferred by photographers all around the world. But, just because it is preferred, doesn’t mean it is always the right choice for the job.
Self-declared natural light photographers (my former self included) make a mistake by branding themselves in a way that, while sounding pretty on the surface, ends up suggesting a lack of technical skill to work with any type of light including artificial light sources.
In this article, I took you on a journey to understand my perspective on what natural light photographers are seeming to offer, and how you can expand your knowledge of photography by learning how to use flash and continuous lighting to take amazing pictures no matter what location you are in.
While the talk about “branding” and “marketing” may apply most heavily to other photography business owners like me, even if you are just a photo hobbyist – it’s still valuable to see how, at the end of the day, learning to work with light of all types (whether it be from the sun or a speedlight you just bought online) is one of the best goals for photographers to have. To constantly be challenged and learn new things – trust me, it keeps photography interesting!