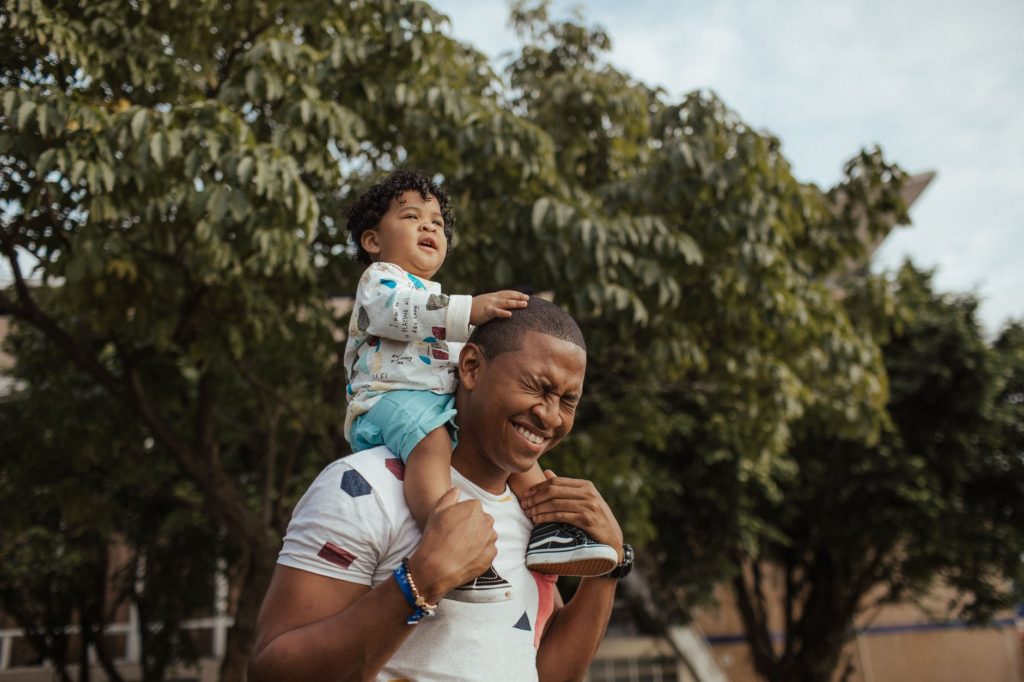
How Can I Take My Own Family Portraits? (Step-by-Step Guide Inside!)
Once your family catches wind that you have skills with a camera, they’re going to be dying to have you take pictures. Sure, anyone in the family (even your grandma) could take a photo with a smart phone, but what the family really wants is a picture that could be suited to put in a frame on the living room mantle.
Last summer, we had a family gathering for the 4th of July, and the request came in for one of us to take a picture of the whole family. It was actually a pretty rare event to have grandparents, aunts & uncles, and all the kids in the family available at the same time. This is for the usual reasons – at least 1 or 2 people normally get stuck at work, some family is from out of state – you name it. So in this case, grabbing a family portrait just made sense, but how could it be done without having to pay someone on such short notice?
Queue us – the photographers of the family.
While we are very comfortable photographing other people, it’s a different experience to get the family under control. If your family is like ours, getting around 15 people (ranging from babies to 90 year olds) to stand still for 5 seconds is a miraculous feat.
In this post, we’ll show you how. We’re going to walk you through end-to-end what need to do to take your own family portraits all by yourself!
16 Steps to Successfully Take Your Own Family Portraits Yourself
The scenario:
You’ve been tasked with taking a family photo (we wouldn’t be surprised if your mom asked you on a whim!). You think to yourself…” But hey! I’m in the family too!” For sure, you don’t want to be left out of the photo. So, you need to find a way to take a family portrait that has you in it as well.
On the surface, this may seem like an impossible task.
To be honest, it’s maybe a little more difficult than just taking a regular family portrait where you are the photographer and other people are the subject of the photo. The good news is, it’s still pretty simple once you know what to do!
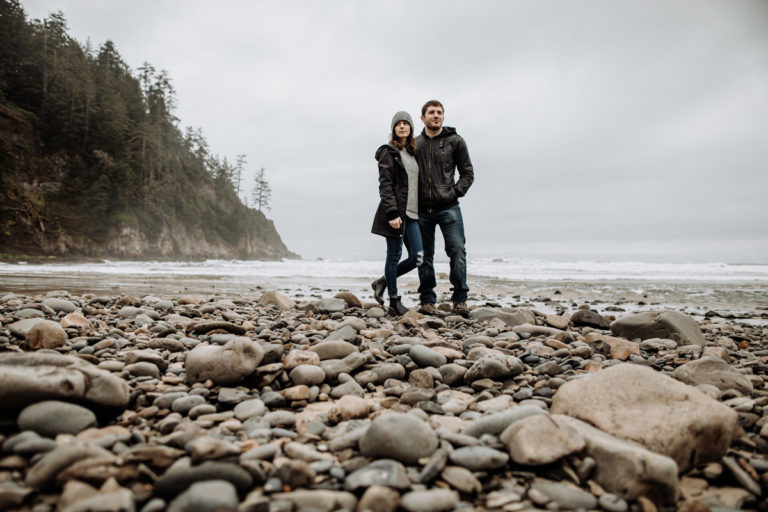
1). Find the right location for the family photo
 Your choice of location will play a huge role in how your portrait turns out.
A few things to think about when choosing a place to shoot:
- Is there enough space for all of the people in the photo?
- Is the background distracting?
- Does it reflect your family?
- How is the light?
In our July 4th family photo, our choice of location was pretty easy, but we considered all of these things quickly in our heads.
By shooting in a backyard of our family’s home, we knew there would be enough space even for ~15 people. The background was simple – a large tree, a fence, and grass. At it’s core, this location worked well because it was home for the family – who was already together for the holiday.
Lastly, the light was very important. While we couldn’t convince everyone to wait around until later in the day (more on this in the next step), we were intentional to make sure no one was getting covered in shadow from the tree, while others were well lit by the sunlight.
2). Get everyone to agree on the timing
If your family is already together for a get together as was the case with our photo, this should be easy enough!
But, if the family isn’t all together already, it’s important to set the expectation early on when you expect them to be showing up for this picture. If you know some family members are naturally late to everything, you might want to give them an earlier starting date 🙂
As the “photographer in charge”, you also can put your 2 cents into the ring if there is a time of day you prefer to take portraits. We (like most portrait photographers) prefer shooting during Golden Hour – where the light is pretty much perfect for any type of picture since it’s naturally diffused.
3). Have the right photography gear for the task
 It’s likely you already have a camera ready for taking this family photo – so if that’s you, feel free to jump to the next step.
In the event you don’t have one, or you’d like to see some better options out there so you can be sure the picture you are taking will be of a high quality – we put together a bunch of Recommended Photography Gear Resources you can check out!
When it comes to gear for this type of shot, there are only a few pieces of equipment we’d consider to be essential. These are:
- A good quality camera body
- A lens suitable for the number of people you are photographing
- For smaller groups: 50mm
- For larger groups: 35mm
- And a tripod/shutter release combo
All-in-all, keep it simple in the gear territory!
You definitely don’t need to go and buy a $4,000 camera just for this one picture. If you happen to be using really cheap equipment like a $50 point-and-shoot, you might want to consider at least upgrading to an inexpensive beginner DSLR kit.
4). Set your camera up on a tripod
For self-portraits (of any variety), a tripod is your friend!
If you don’t have one already, they are really cheap to pick up online like this one we use.
Tripods are standardized to work with pretty much any camera. You just screw the camera on to the tripod, and you’re ready to go!
5). Use a remote shutter release
In addition to using a tripod, a remote shutter release will make a world of difference for you to snag your family photo.
The biggest benefit of the remote shutter release is that it allows you to trigger your camera to take a picture remotely. This means, once you set up the framing of your shot, you can stand in the frame and click the button on the remote to take the photo. If you were picturing yourself clicking the shutter on the back of your camera and running to get into place, this will eliminate the need to do that!
The AmazonBasics remote shutter controller is a super simple option that works. For less than $10 bucks, you can’t beat it!
6). Use Camera RAW file format – NOT JPEG!
If you’re not shooting in camera RAW, now is the time to start.
The biggest reason to shoot in RAW is because you will be able to have maximum control over the images in post processing (more on that later in this post!).
If you just want to use the photo as it is in camera, then this is less of a concern.
7). Use a shallow aperture (high f-stop)
When photographing families, you will naturally want to use a higher f-stop to get everyone in focus.
For smaller family groupings (say 3-4 people), we normally use f/4 or a little higher.
For larger families, you could easily shoot at f/11 or higher.
One of the biggest factors will be how you arrange people. If everyone is in a straight line, a lower f-stop can work. But, if you have people tiered (some in front, some behind) – a higher f-stop will become even more important. If you do not use an appropriate f-stop, what will happen is the people in the front will be in focus, and the people in the back will be less in focus.
Hint: Your shutter speed and ISO are less important factors for this type of photo. If you are still a beginner and not fully comfortable with the settings, try putting your camera in Aperture Priority mode – this way you set the aperture, and the camera does the rest!
8). Set your camera up for delayed shutter
A delayed shutter will put your camera on a timer. So when you click the shutter button, you have a few seconds to get situated before the photo is taken.
Having this simple countdown will allow everyone in the family to put on a good face!
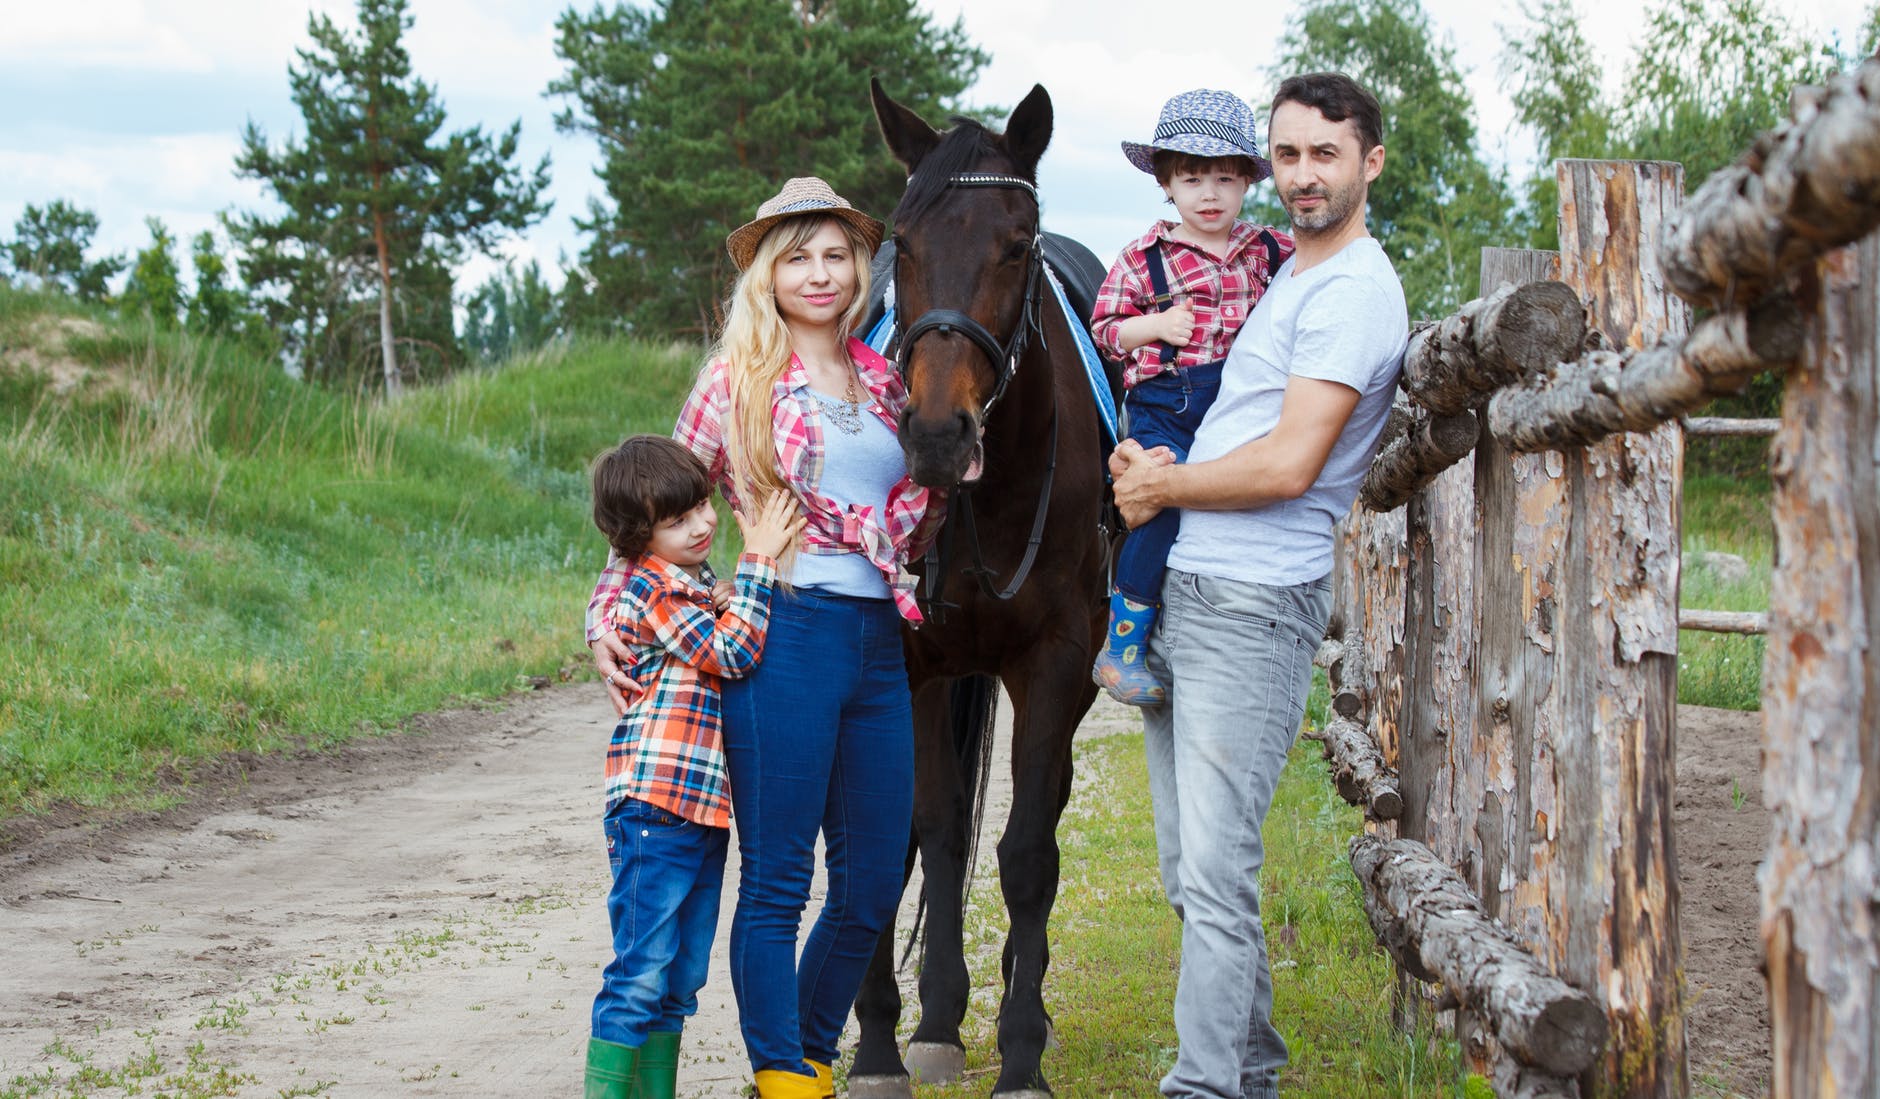
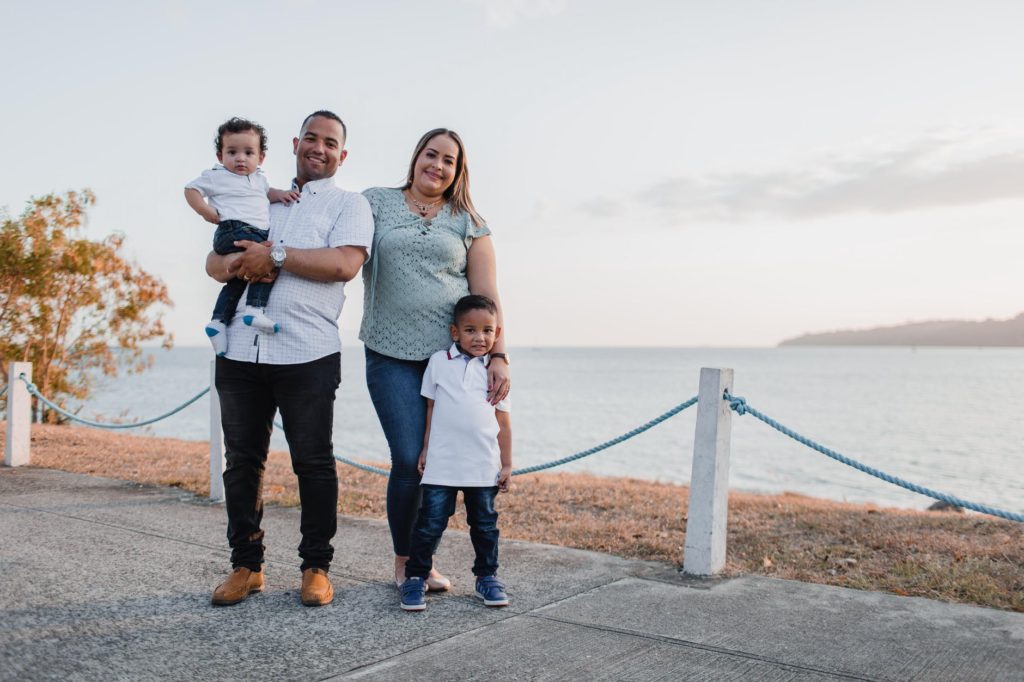
9). Get everyone set up for the shot
 Maybe the most important part of taking a family portrait is having everyone arranged well.
Small groups are fairly simple and straightforward – so if it’s just 3 or 4 people (say 2 parents, 2 children), the arrangement will probably come naturally.
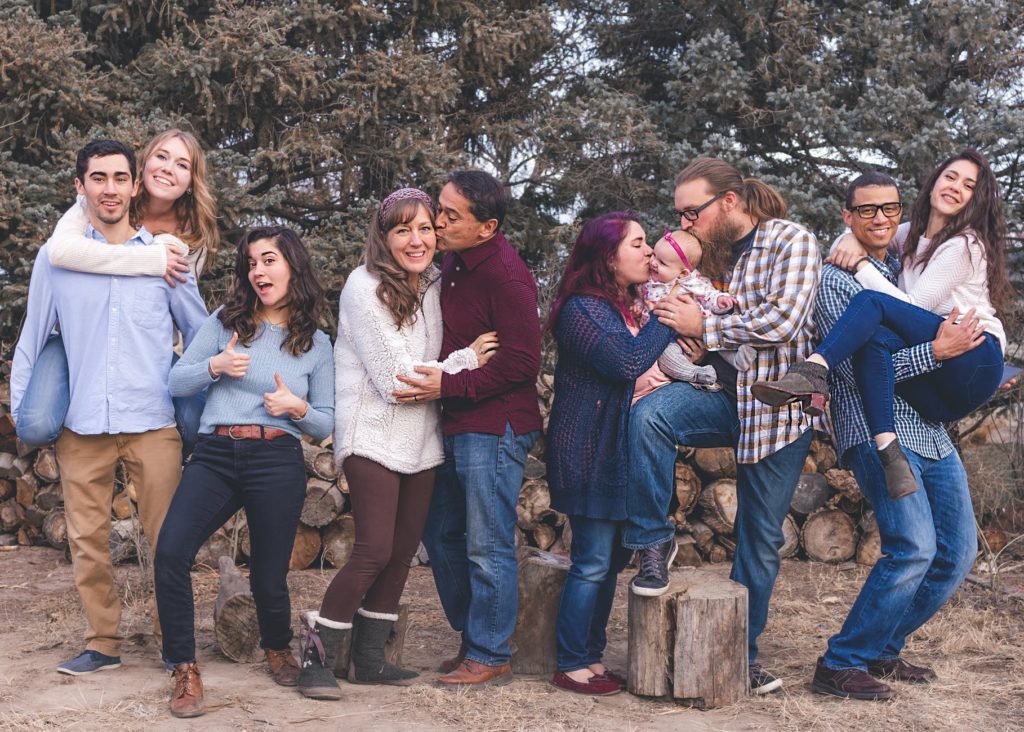
If you are taking an extended family photo, though, it can be a little daunting.
Going back to our example, that July 4th family photo took a little more effort. Some things we had in mind:
- Can we actually see everyone? Is anyone being blocked by another person?
- Does our arrangement make sense? We had multiple generations spanning 2 sides of the family in one photo. Where people are positioned needs to make sense given this!
- Is the positioning comfortable? Take into consideration where the older folks and kids are.
10). Set your focus to the person front-and-center
Your camera’s focus should be placed on the person in the center of the frame and closest to the camera. With the proper aperture selection (as we already set in step #7), everyone will be in focus!
Note: the family members should stop moving at this time. Movements could throw off the focus and lead to out-of-focus shots.
11). Countdown to get everyone to focus – it’s photo time!
Even though your camera will be on a timer, you should do a nice-and-loud countdown so everyone get in the mindset of HAVING THEIR PICTURE TAKEN!! 🙂
A simple…1-2-3…should do the trick!
If you want to be a little cheesy, you could add “say cheese!”
(It’s sure to make the kids have a laugh at least)
12). Click the shutter button
With the remote shutter release in hand, click the button!!
You can either hide it in your hand, or quickly drop it into a pocket (or even on the ground).
13). Check the image on your camera
For your first shot in particular, you will want to review the image to make sure it came out correctly.
Check the following things:
- Is everyone in focus?
- Is the image straight?
- Is everyone actually in the frame?
- Is anyone trying to be sneaky? Do an extra check for bunny ears, anyone hiding, etc.
If everything looks good, get yourself setup and move to the next step.
If anything is off (blurry image, bad composition, etc.), retake this first photo.
14). Take another 5-10 photos (this is very important)
Since family photos like this come around so rarely, it’s important to take advantage of this time.
Snap a couple more photos!
If the family starts complaining (it happens), just remind them that “we’ll just be doing this another minute or 2 if everyone behaves” 🙂
The reasons for doing this are fairly simple:
- It lets you have a couple shots to go through so you can pick the best
- It gives you more options later if you want to make any adjustments (such as head swaps if someone blinks during one of the photos)
15). Let the family go 🙂
 Depending on your family’s personality, you may just end up being the unintended hero at this stage. 🙂
16). Load up the images on your computer
Simple: load the photos onto your computer.
17). Select the best images of the bunch
With just a couple handfuls of photos, you should be able to cull through the shots to find your favorites.
If you plan to leave the photo as is, you will only need 1!
If you want to touch up your photos, pick a couple (let’s say 3-5). We’ll show you below how you can create the best possible family photo by combining these.
How to Edit Your Family Self-Portrait (4 Optional Steps)
These extra steps below are entirely optional but can help you get an even better result.
We like editing our photos in general to have more control over the colors and other dynamics (like cleaning up shadows on people’s faces). For more advanced users, you can also do “face swaps”, which are pretty commonly needed when you have a lot of people in one picture.
Please note: these tips are based around having Adobe Lightroom and Adobe Photoshop. Both are staple programs for photographers and graphic artists. There are alternatives out there, and the same concepts will apply, but just keep in mind these are the programs we use, recommend, and are showcasing here.
18). Edit the photos with a solid preset in Lightroom
We use presets for all of our photographs.
They provide an extra layer of control over the images we create.
We can adjust colors, play with the exposure, adjust highlights and shadows, and clean up things in the images like random objects lying around in the background.
If you’re unsure where to start with Lightroom presets, pick up SleekLens Strike a Pose Presets. This is a very affordable preset starter pack consisting of 69 presets for portraits. By purchasing with our special link, you can also get 20% off your purchase.
19). Remove distractions in Lightroom
Using the Spot Removal tool in LR, you can remove things that are distracting in the image. These might include:
- Debris
- Unwanted items around the scene
- Acne and other blemishes
As an FYI, the tool looks like this:

If you’ve never used the Spot Removal tool before, it’s very easy!
- Click the button to access the tool
- Adjust the Brush Size to match the dimensions of the object you’re trying to remove
- Click on the part of the picture you want to remove
- Replace the part of the picture with a cleaner part of the image
This tends to work best on areas with repeating textures like skin, grass, etc.
20). Do head swaps in Photoshop
There is probably nothing more gratifying than taking off the heads of family members. We joke! 🙂
In all seriousness, head swaps are often necessary with family photos. This becomes truer the more people you have in the photo.
We regularly have to do head swaps as a part of our wedding photography work when it comes to family formal shots because it can be difficult to check every image to make sure everyone has their eyes open.
Head swaps are the main reason why we wanted you to choose a couple favorite images – if anyone is squinting, blinking, or not even looking at the camera in one image you prefer, but you like their look in another – now is your chance to fix it up.
To do this, follow these instructions:
- Bring both images into Photoshop
- Use the Lasso Tool to remove the better looking head (you will normally want to include some space around the sides including some of the upper part of the person’s shirt)
- Copy/Paste the cutout over onto the image where you want to make the replacement
- Reposition the cutout using the Move Tool
- Add a Layer Mask and Use the Black Brush to blend the edges
A great guide on this topic is found over on Cole’s Classroom.
21). Export the photo to JPEG
With your image completed, export it from the RAW file format to JPEG (if you haven’t already).
You will need to do this before working on the image in Photoshop, but it’s not necessary for changes made within Lightroom.
All in all, it’s been a successful family photo shoot!!
You should feel equipped now to take on the challenge and meet it with flying colors.
Have any questions? Ask away in the comments below!